8x8x8 LED Cube Horizontal Layer Construction
The first step to building the 8x8x8 LED Cube itsself is to solder together the 8 horizontal layers of the cube. On this page I'll give you as much resources as I can to explain and show you (through video) the process I used the connect things together.
Building The Layers
I made two videos that are time-lapses of me connecting together two seperate horizontal layers for the LED cube. The first video shows me actually soldering it all together. The second video is a series of photos that gives you an idea of the order that I used when soldering the LEDs together.
Time Lapse - Soldering A Horizontal Layer Together
Time Lapse - LED Layer Connection Pattern
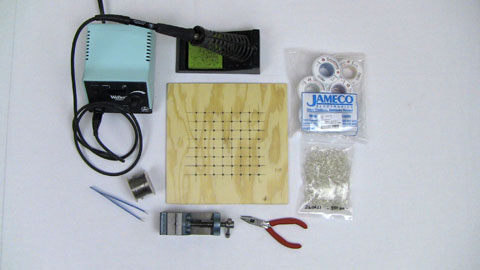
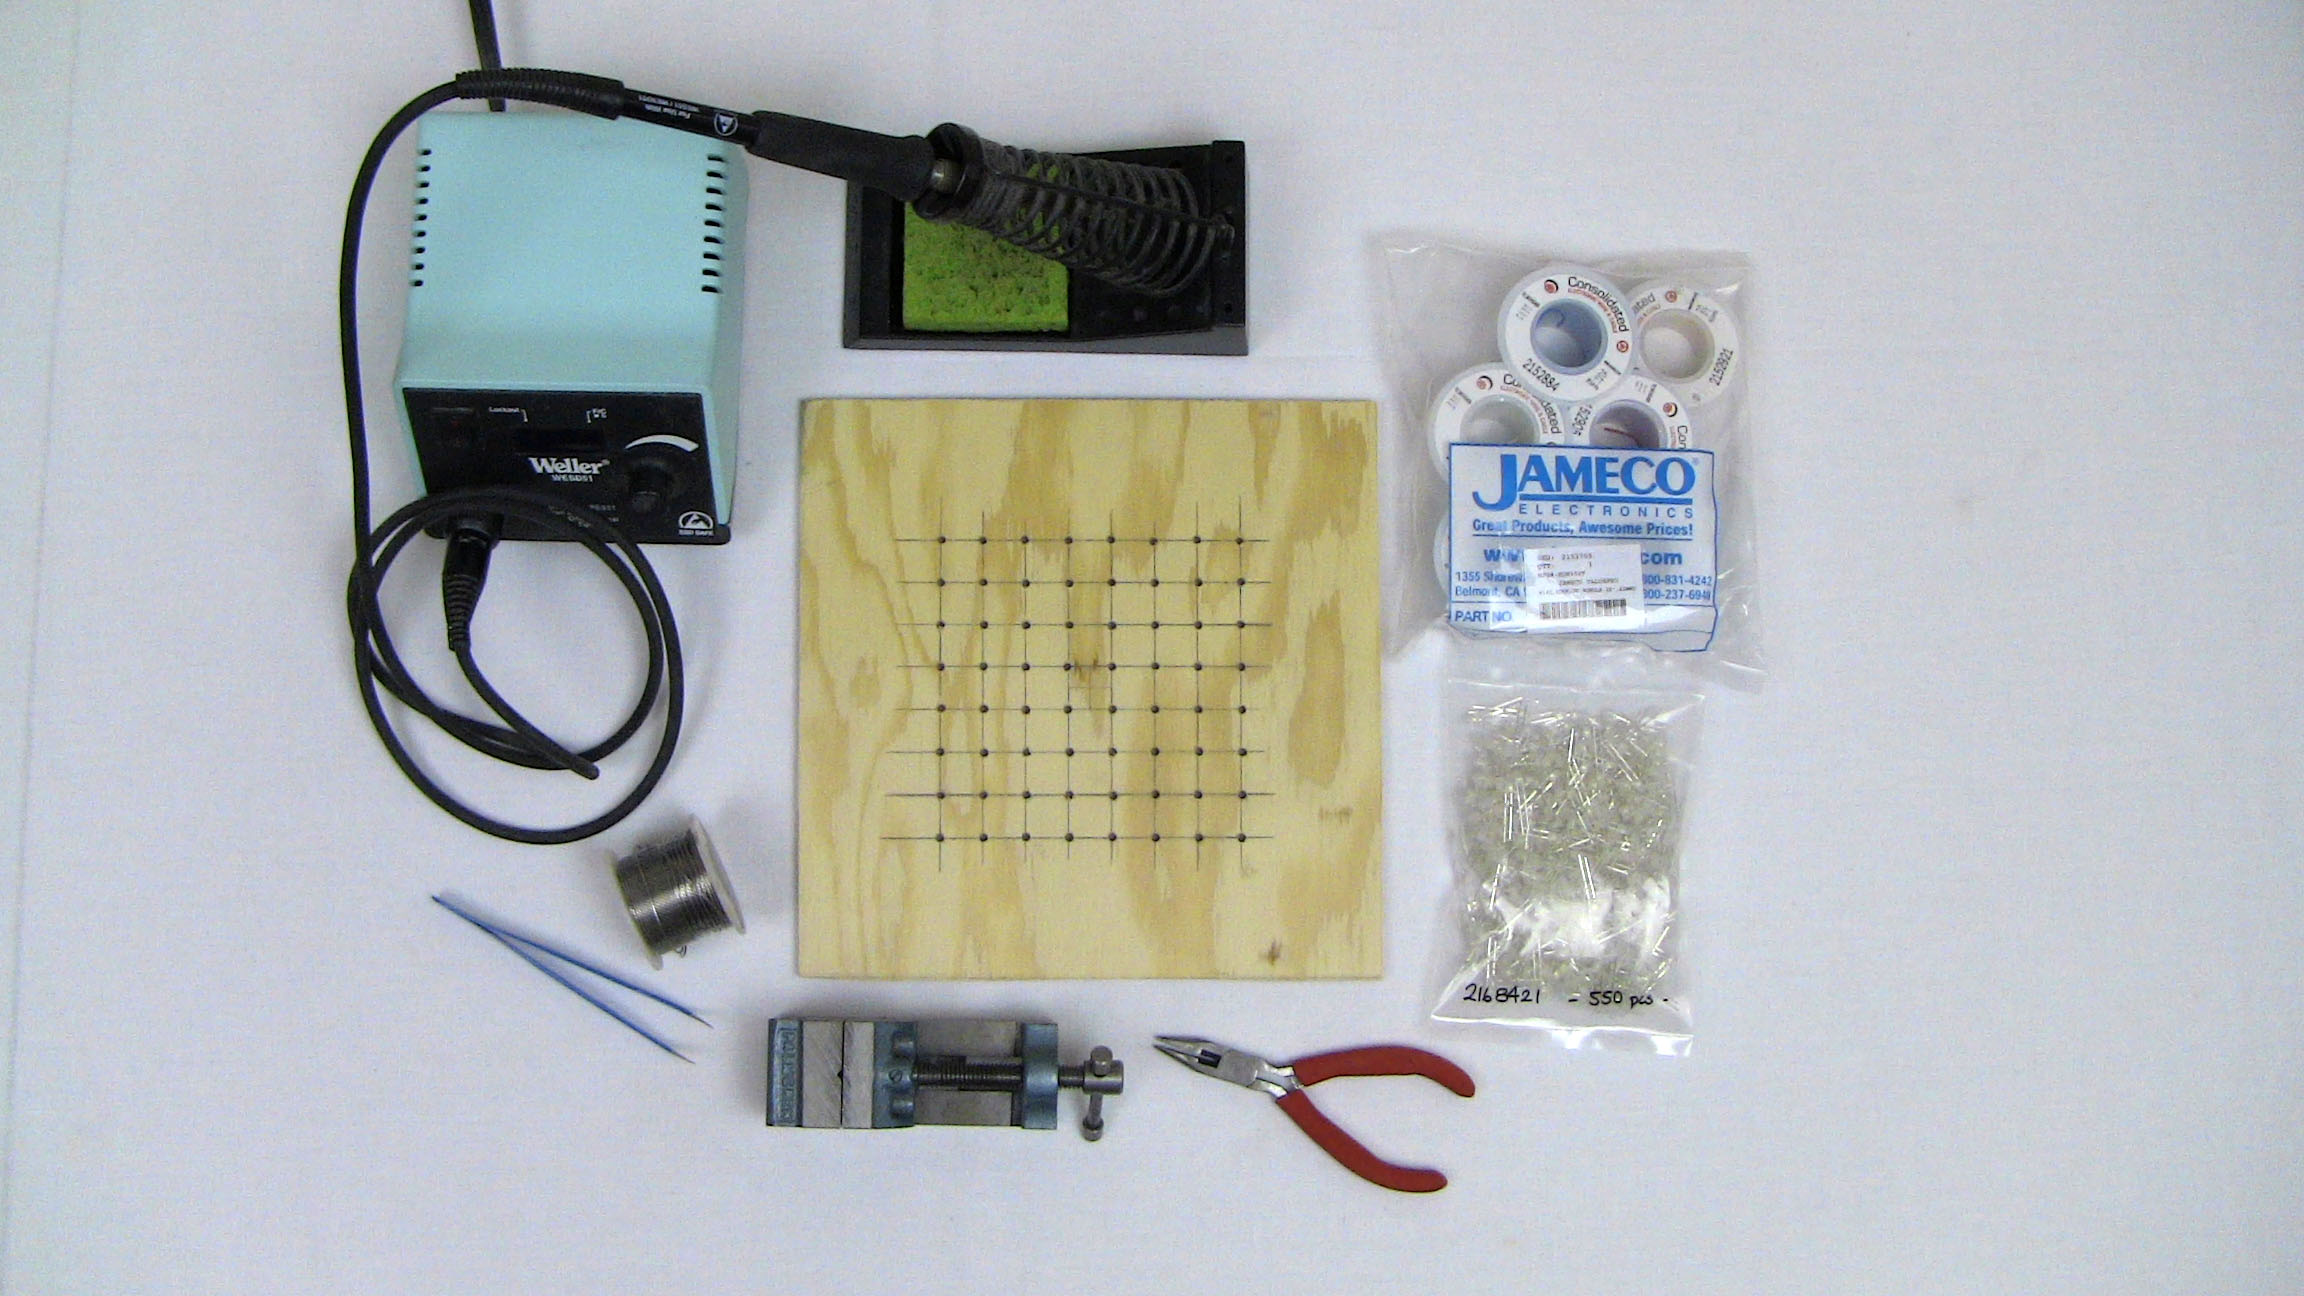
To build each horizontal layer of the 8x8x8 LED Cube you will need a few tools: A soldering iron, tweezers, a vise, pliers, wire, LEDs and the wood template we made. You can see them pictured below:
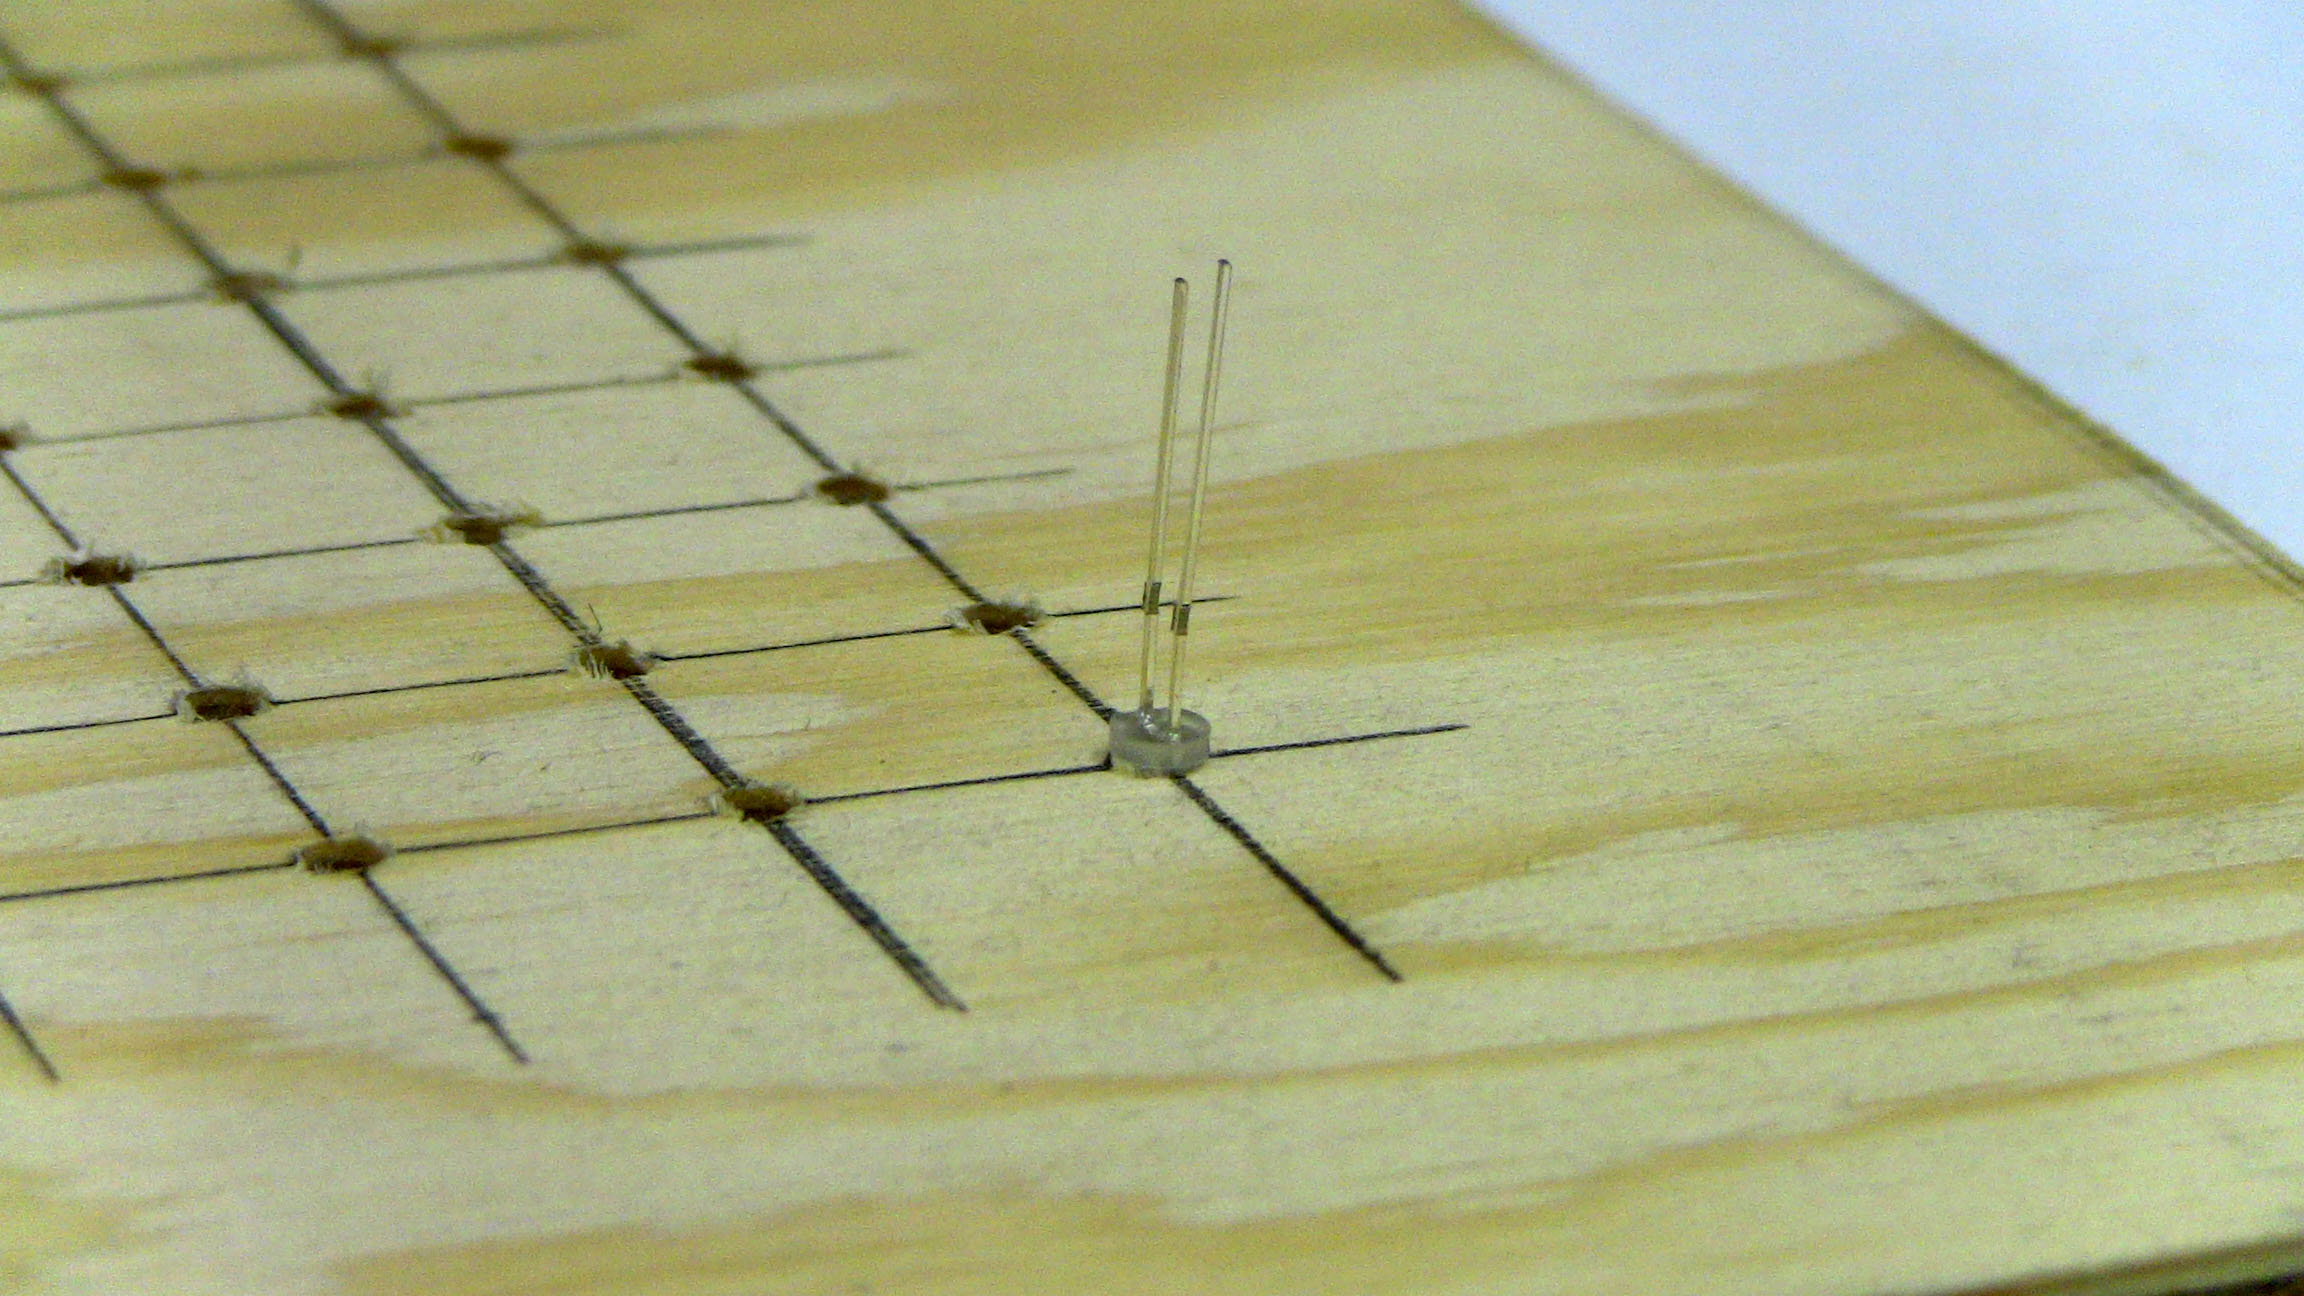
·The method we'll use to solder the LEDs together is not too difficult. First you place a single LED into the template as seen here:

·Then, place another LED in the next spot and bend both of their cathode pins so that they are perfectly straight. At that point, solder the two pins together.
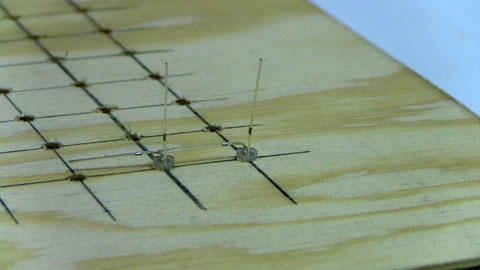
·After soldering the two LED's cathodes together, they should be connected fairly strongly. The LEDs easily come out of the template at this point, just by pulling up.

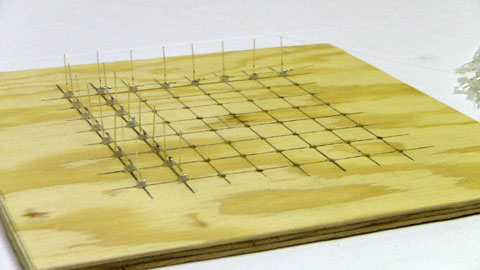
·The way I made each horizontal layer, was first soldering an L shape like you see below:

·And then soldering each strip off of the L shape:
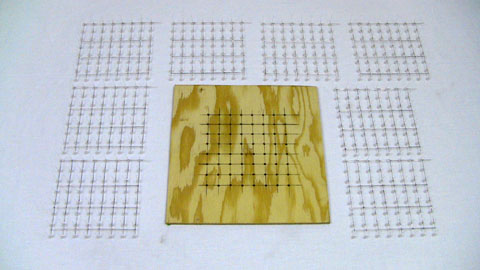
·Here you can see what it looks like after all the strips are soldered to the L shape and the layer is ready to have some wire 'braces' connected.

·Unfortunately I didn't document the process of building and soldering the wire 'braces' too well. The video at the top of the page shows how I added them in a better way. Anyway, I took the vise and clamped one end of a peice of wire, then used the pliers to pull on the other end until the wire became straight. Then I added it as a brace on every other row of the LED layer.
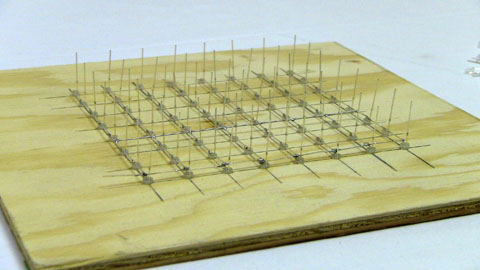
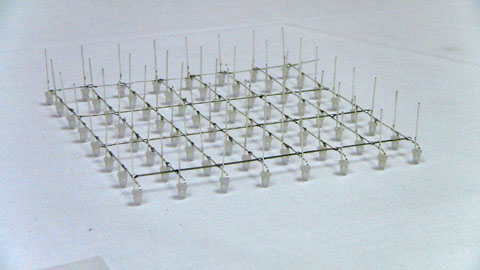
·The 3 braces add support so that you can easily take the LED layer out of the template and move it around without any LED wires bending:
·Now the really fun part: Do that process again 7 more times! Keep your spirits up because every solder joint counts and makes the cube a cube and not a rectangle.
·With each horizontal layer complete, let's go vertical and get things connected so it looks more like a cube.
The first step to building the 8x8x8 LED Cube itsself is to solder together the 8 horizontal layers of the cube. On this page I'll give you as much resources as I can to explain and show you (through video) the process I used the connect things together.
Building The Layers
I made two videos that are time-lapses of me connecting together two seperate horizontal layers for the LED cube. The first video shows me actually soldering it all together. The second video is a series of photos that gives you an idea of the order that I used when soldering the LEDs together.
Time Lapse - LED Layer Connection Pattern
To build each horizontal layer of the 8x8x8 LED Cube you will need a few tools: A soldering iron, tweezers, a vise, pliers, wire, LEDs and the wood template we made. You can see them pictured below:
·The method we'll use to solder the LEDs together is not too difficult. First you place a single LED into the template as seen here:
·Then, place another LED in the next spot and bend both of their cathode pins so that they are perfectly straight. At that point, solder the two pins together.
·After soldering the two LED's cathodes together, they should be connected fairly strongly. The LEDs easily come out of the template at this point, just by pulling up.
·The way I made each horizontal layer, was first soldering an L shape like you see below:
·And then soldering each strip off of the L shape:

·Here you can see what it looks like after all the strips are soldered to the L shape and the layer is ready to have some wire 'braces' connected.
·Unfortunately I didn't document the process of building and soldering the wire 'braces' too well. The video at the top of the page shows how I added them in a better way. Anyway, I took the vise and clamped one end of a peice of wire, then used the pliers to pull on the other end until the wire became straight. Then I added it as a brace on every other row of the LED layer.
·The 3 braces add support so that you can easily take the LED layer out of the template and move it around without any LED wires bending:
·Now the really fun part: Do that process again 7 more times! Keep your spirits up because every solder joint counts and makes the cube a cube and not a rectangle.

·With each horizontal layer complete, let's go vertical and get things connected so it looks more like a cube.