8x8x8 LED Cube Hardware Design
In this hardware section we will show you how we built the 8x8x8 LED cube from start to finish. It consists of 8 pages split into the different portions of the project. I tried to include many, many photos beacuse I quickly learned from the instructions and resources on the web that the more photos for showing details, the better. Words just cannot convey what a single picture does. So with that in mind, take a deep breath and let's go!
Building The 8x8x8 LED Cube Template
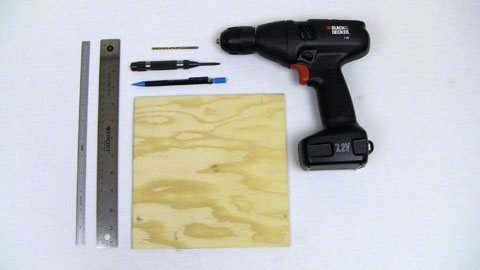
The first thing we need to build is a template for each horizontal layer. The template will make it so that the LEDs in each of the 8 layers are equidistant and that things come out in a square, with the LEDs evenly distributed. So first we'll need a piece of plywood, a center punch, some rulers, a pencil and a power drill.
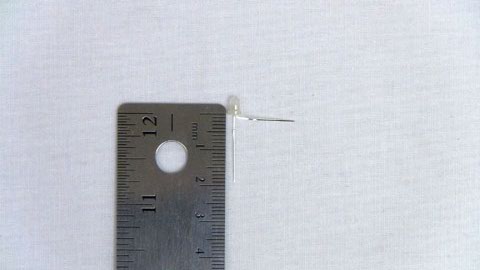
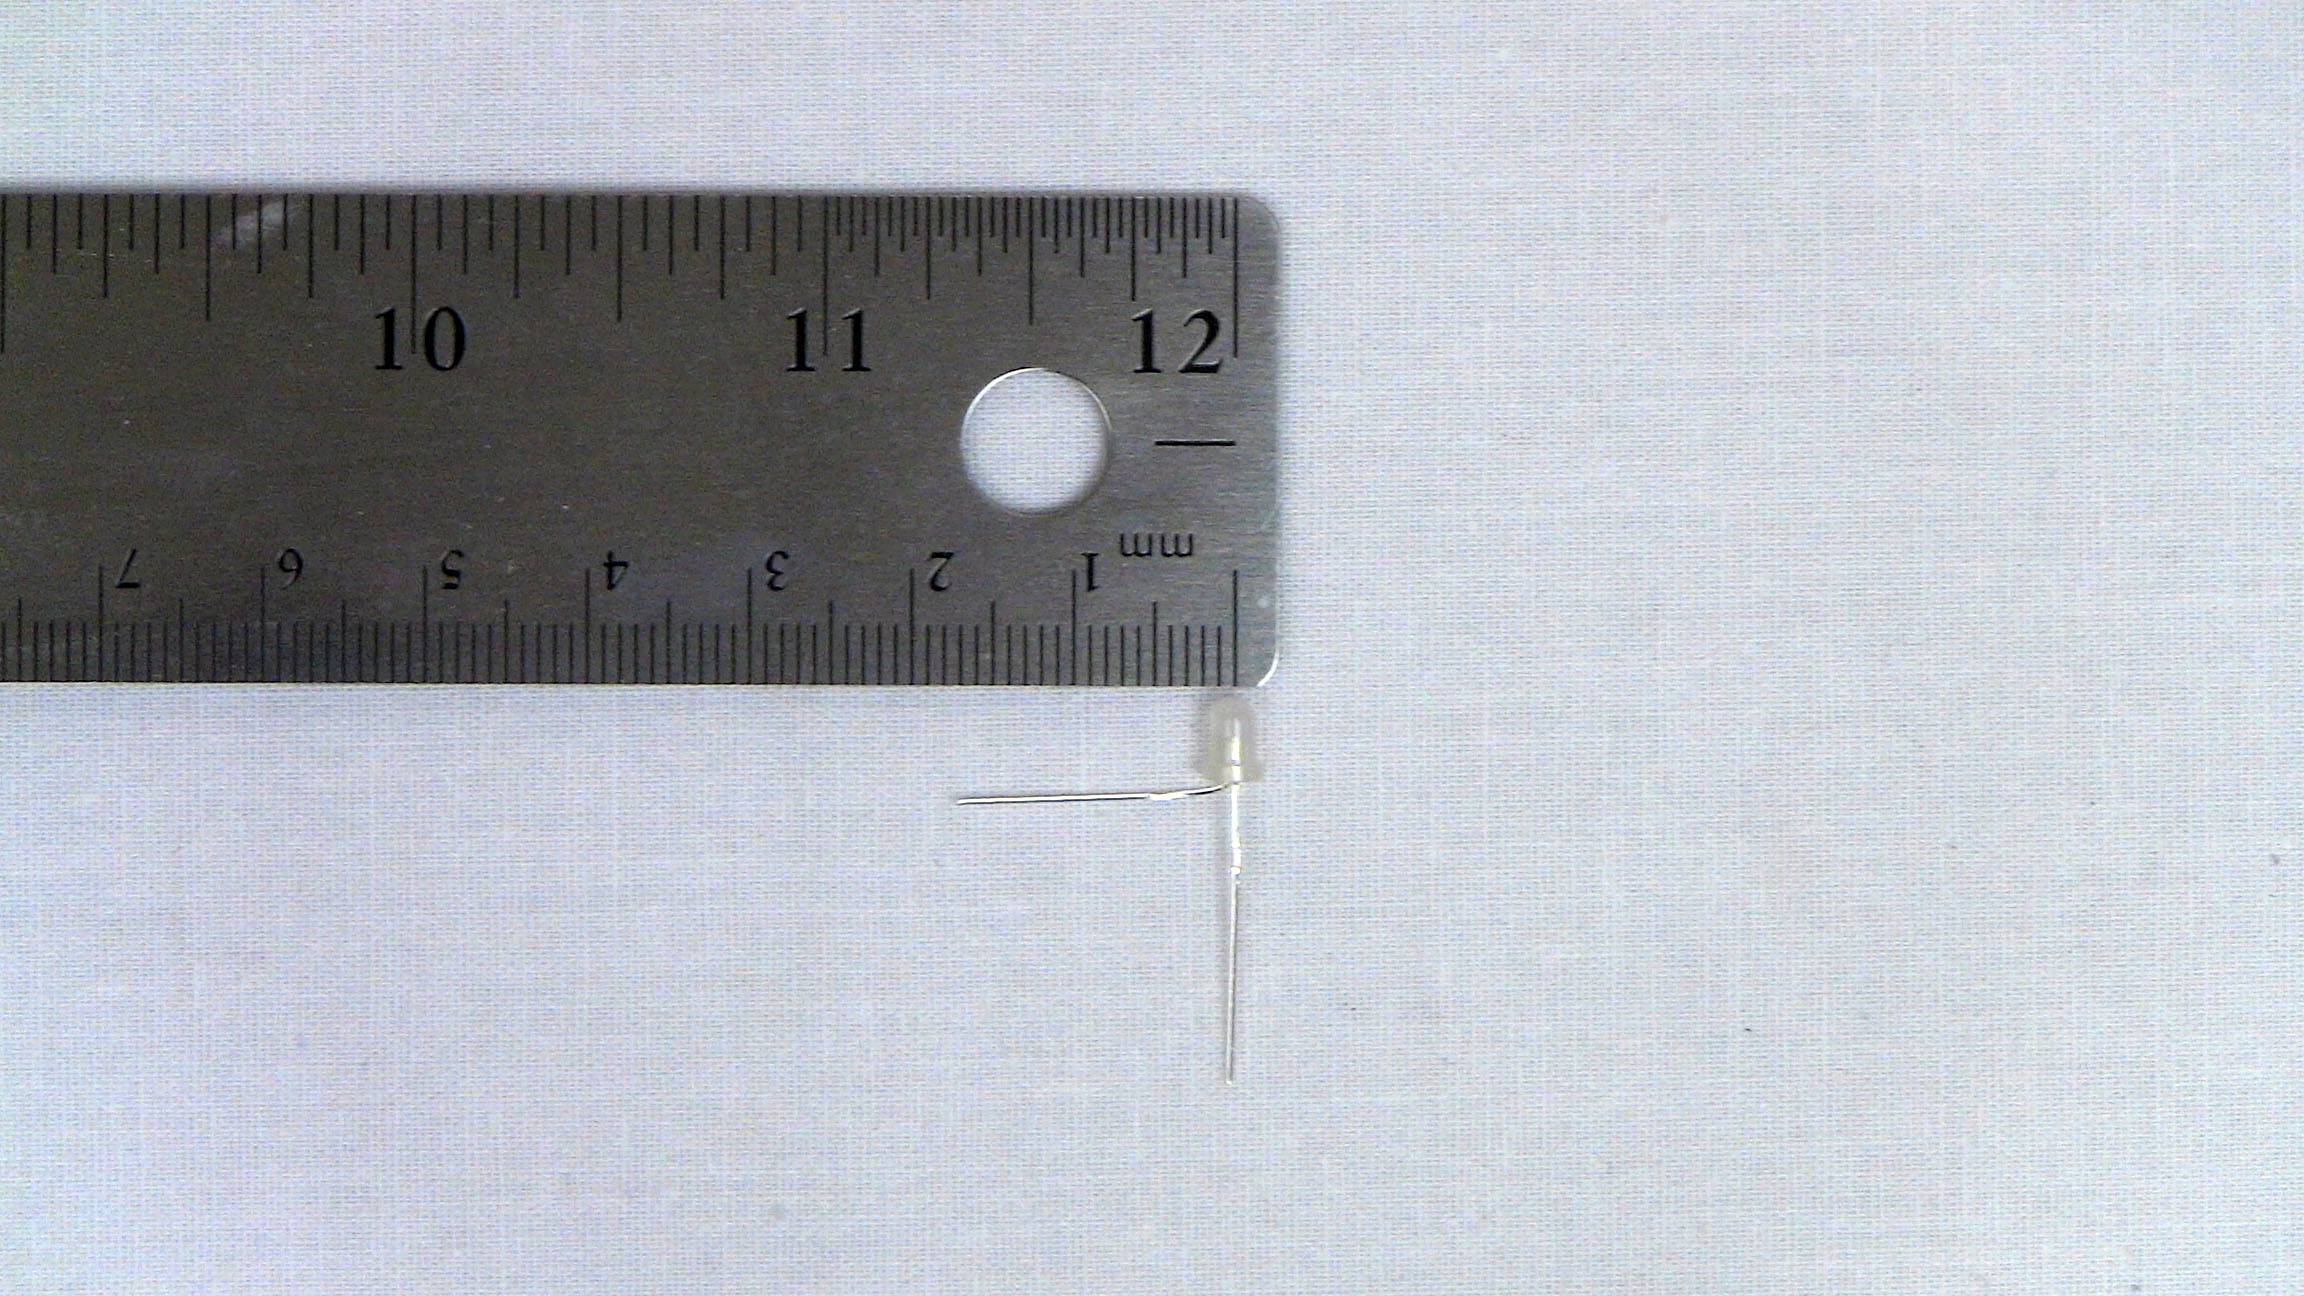
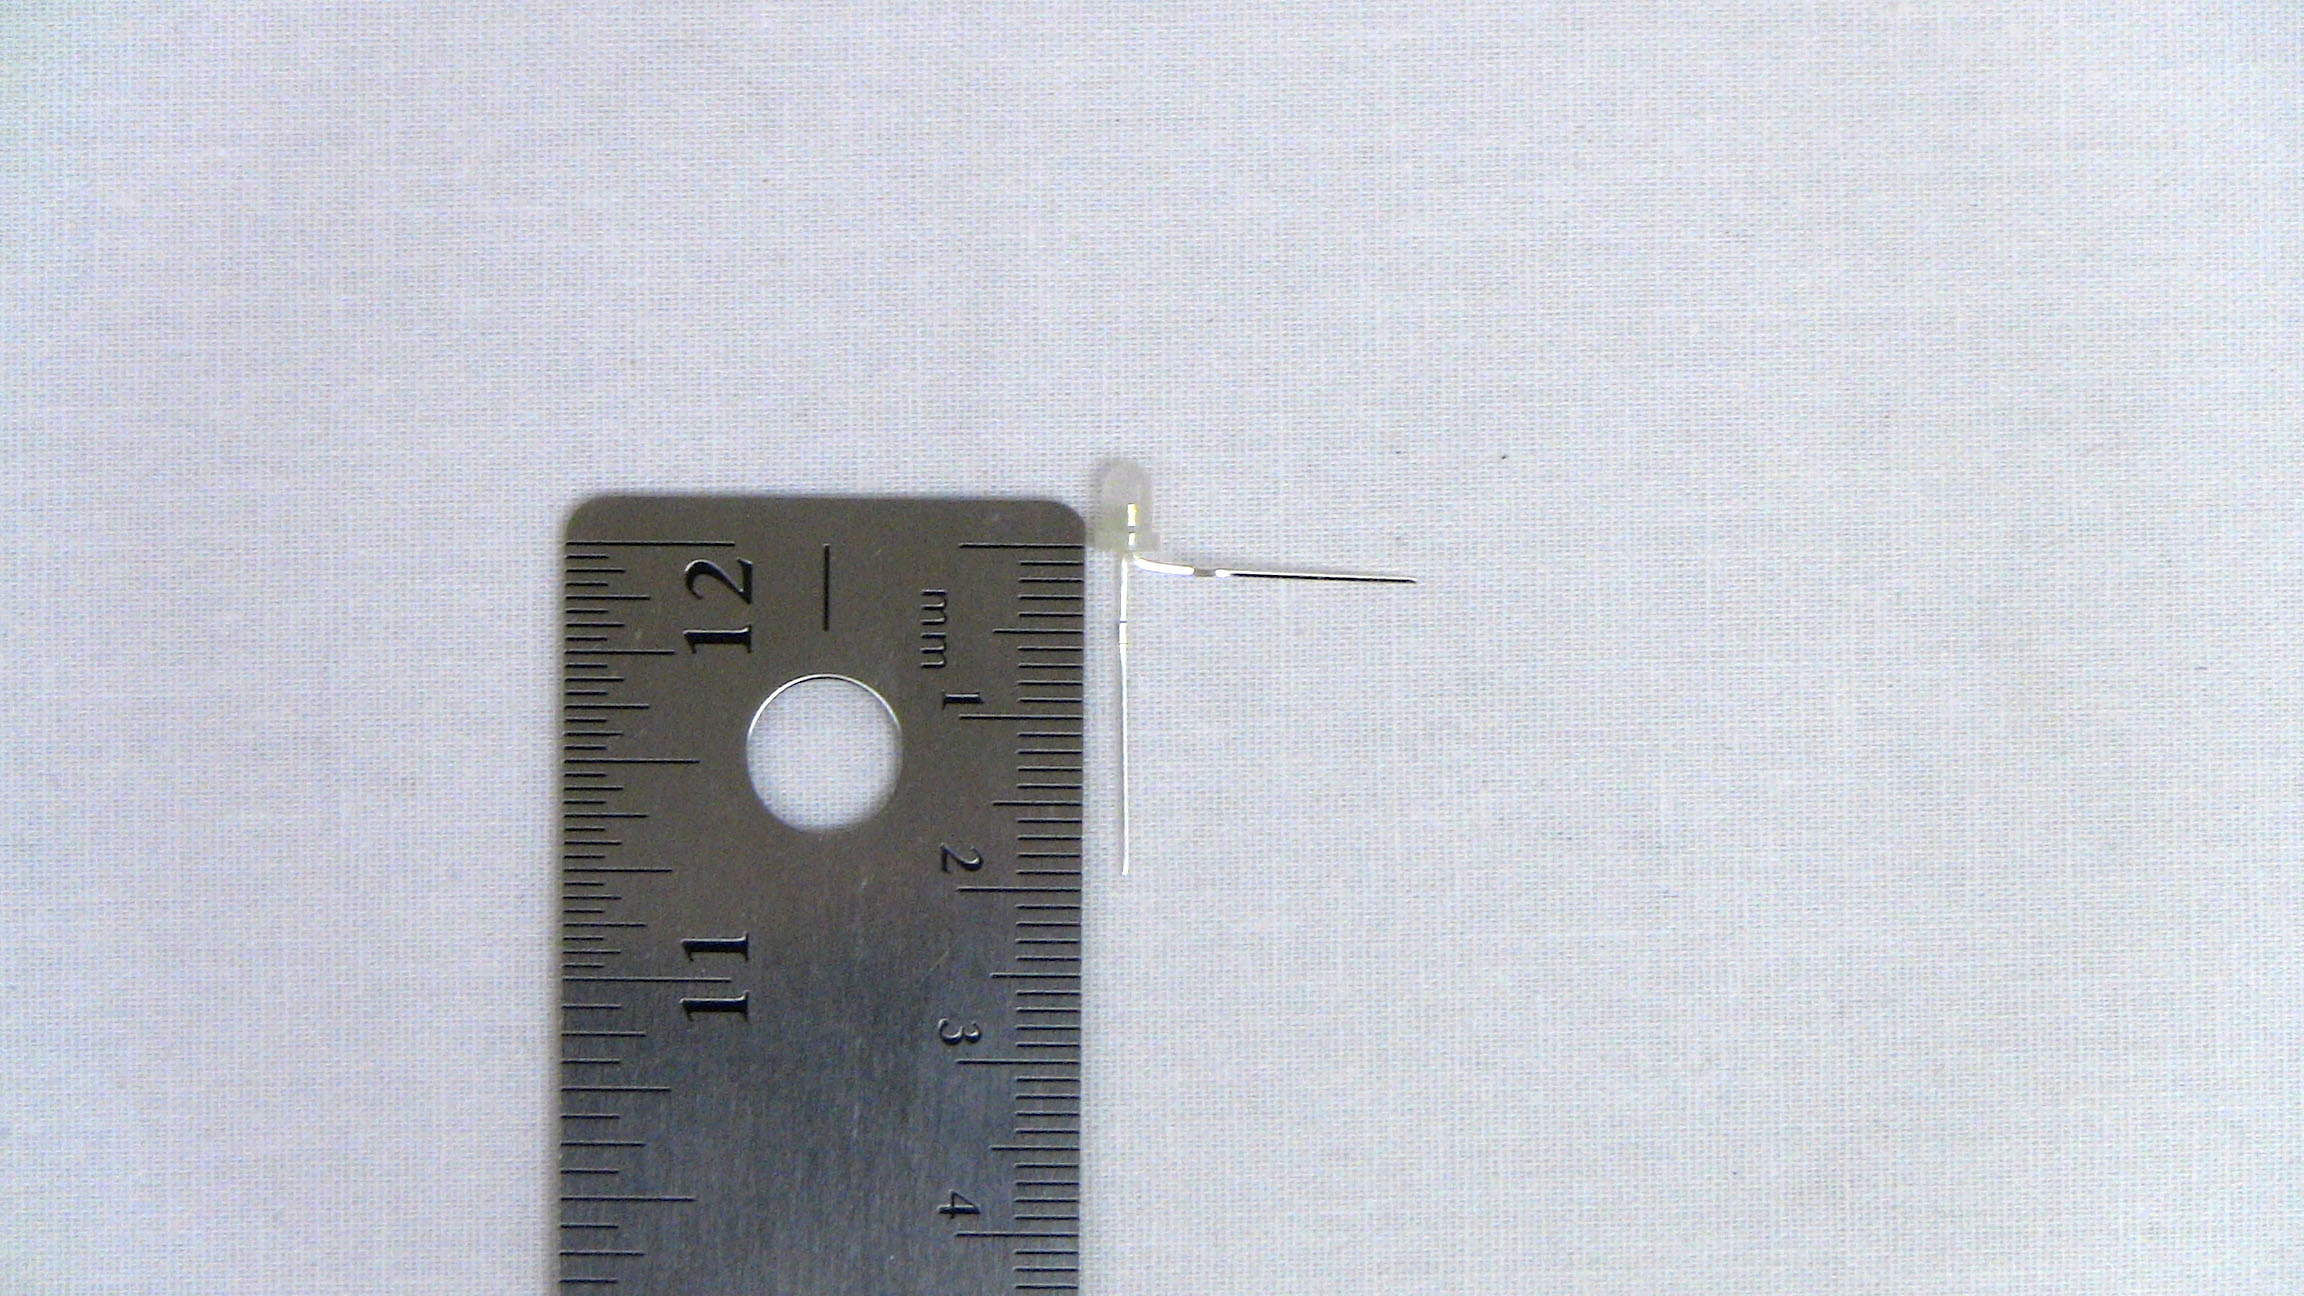
·The LEDs themselves will be used as the structure of the LED cube so we need to see what kind of distance we can get so that the cube comes out square. Measuring the cathode wire of the LED, it's about 17mm. The cathode wire will be connecting to the cube horizontally.

·The Anode wire is a little bit longer at about 19mm. The Anode will make all of the vertical connections, and it's great that is longer by so much because we'll later need to bend this pin.
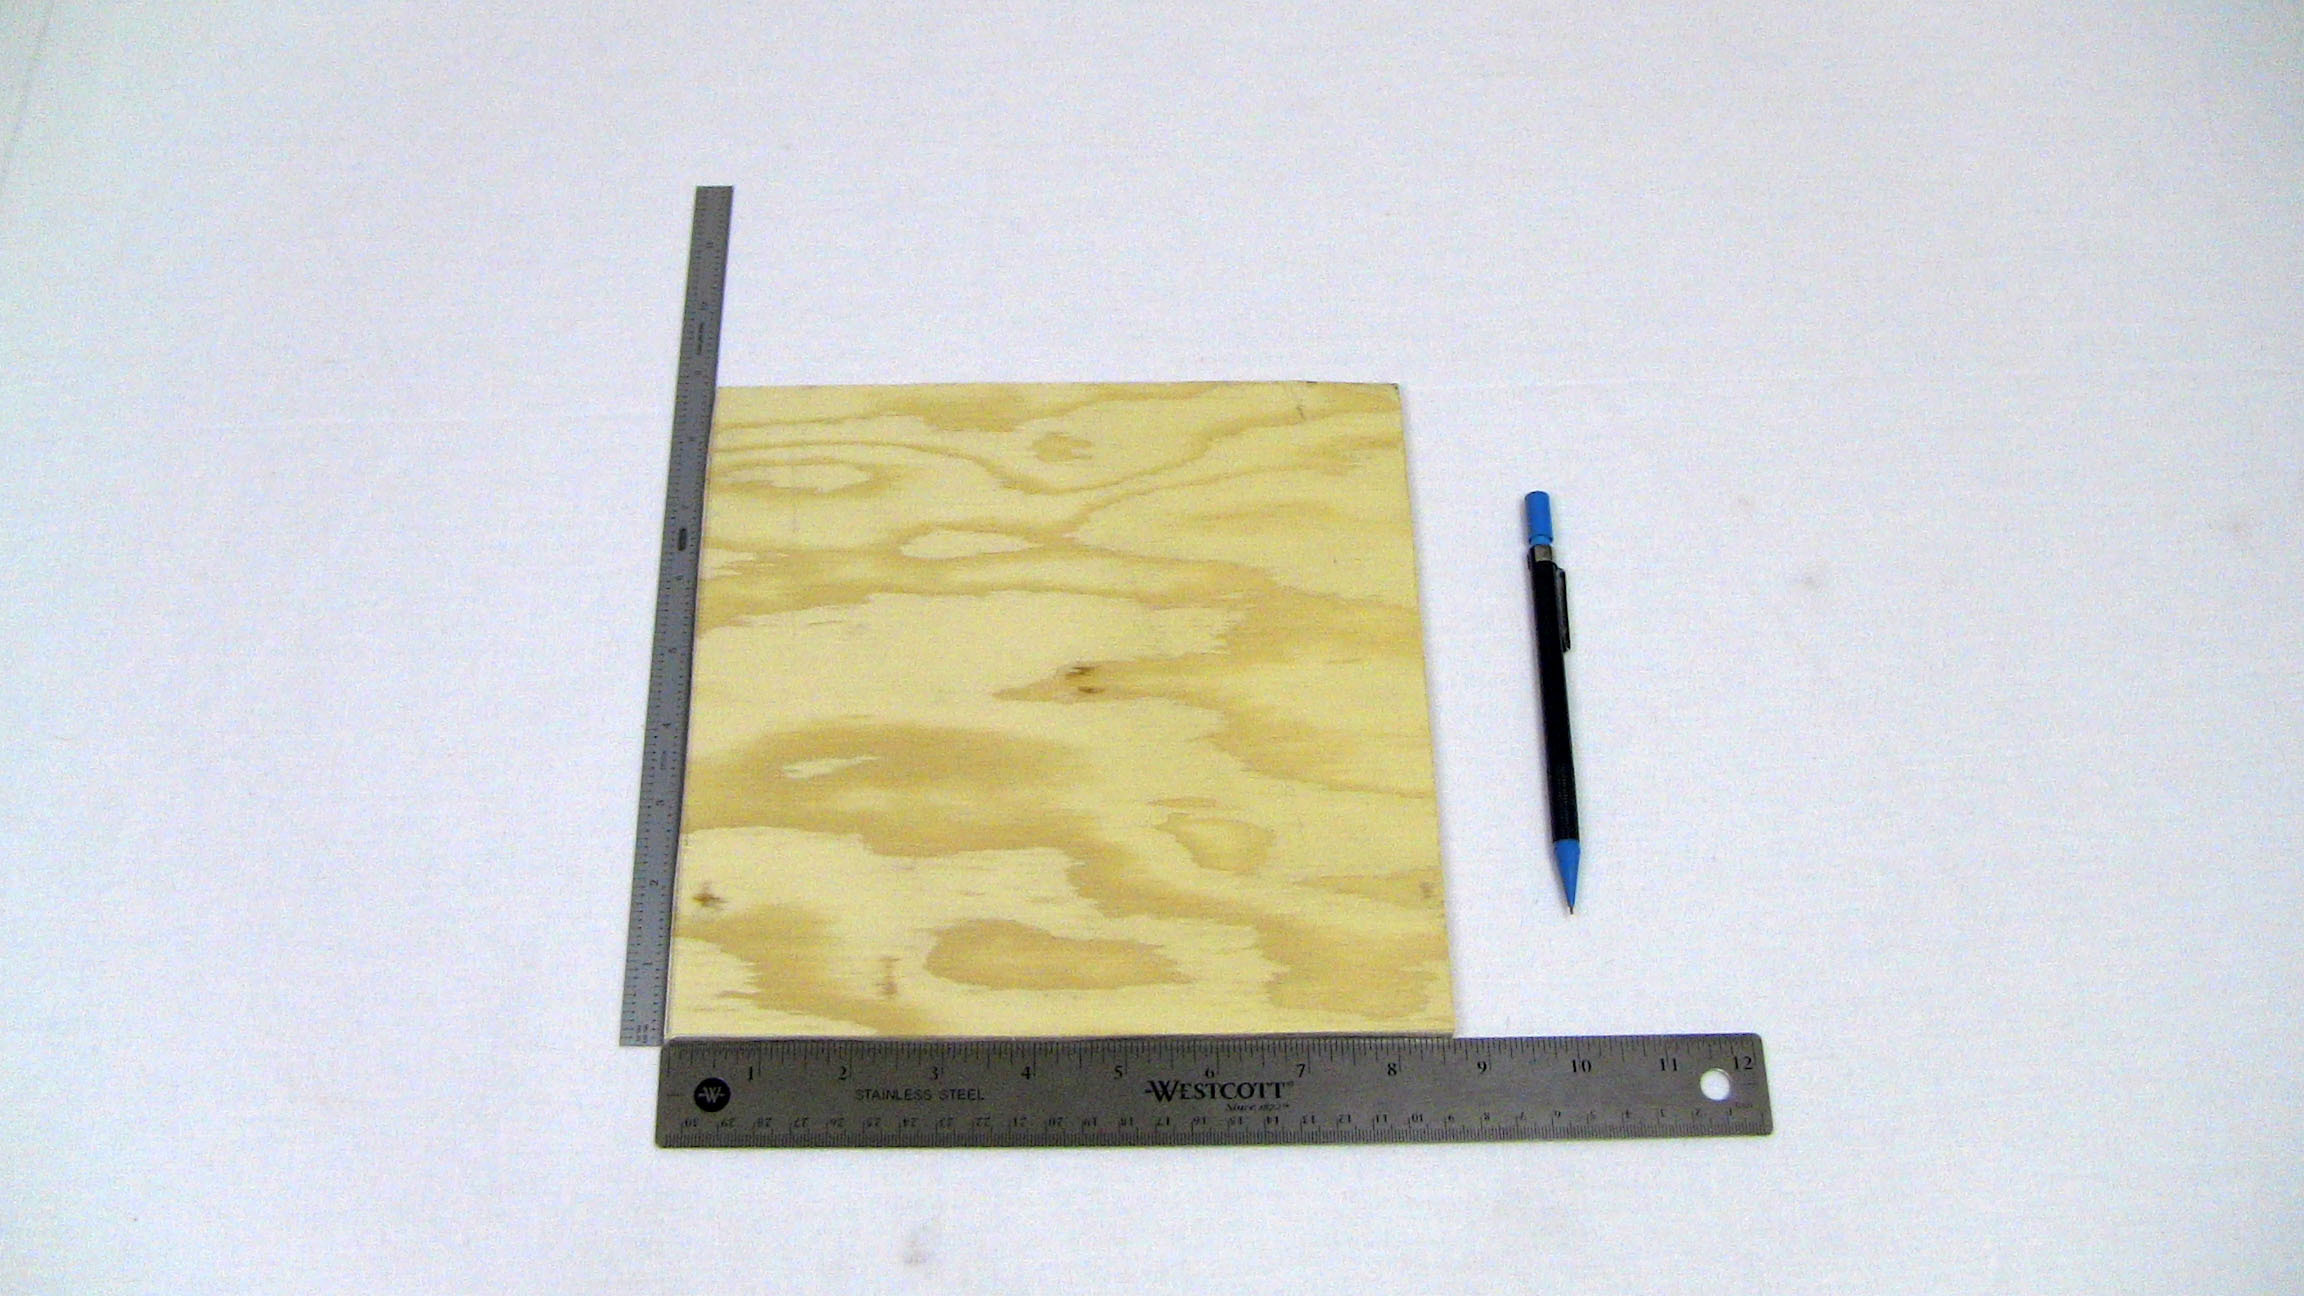
·Now that we know the LED's wire lengths, we can get a big piece of plywood for our template. Here I have a 8.5" x 8.5" (inches) piece of plywood.
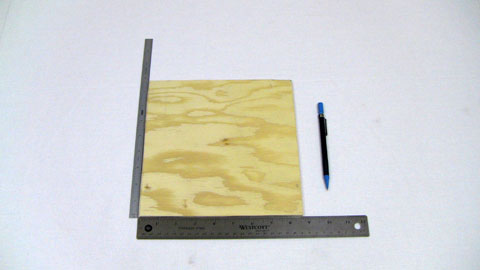
·Since the Anode pins will be connecting horizontally in each layer, I decided to use 16mm spacing between LEDs so that there would be a 1mm overlap, just enough to solder the LEDs together.
·Since the grid has 8 LEDs, and they're spaced apart by 16mm, the cube square will roughly be 12.8mm x 12.8mm.
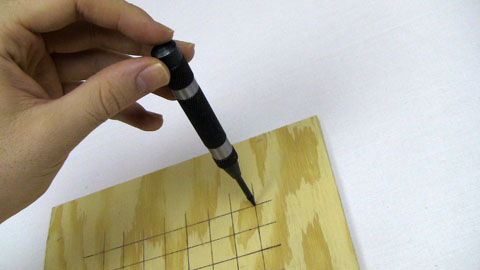
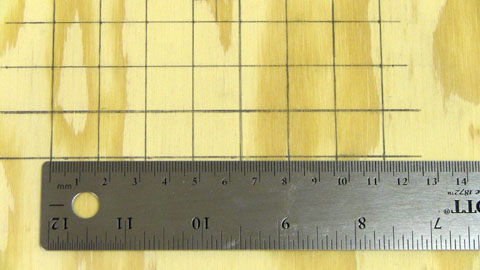
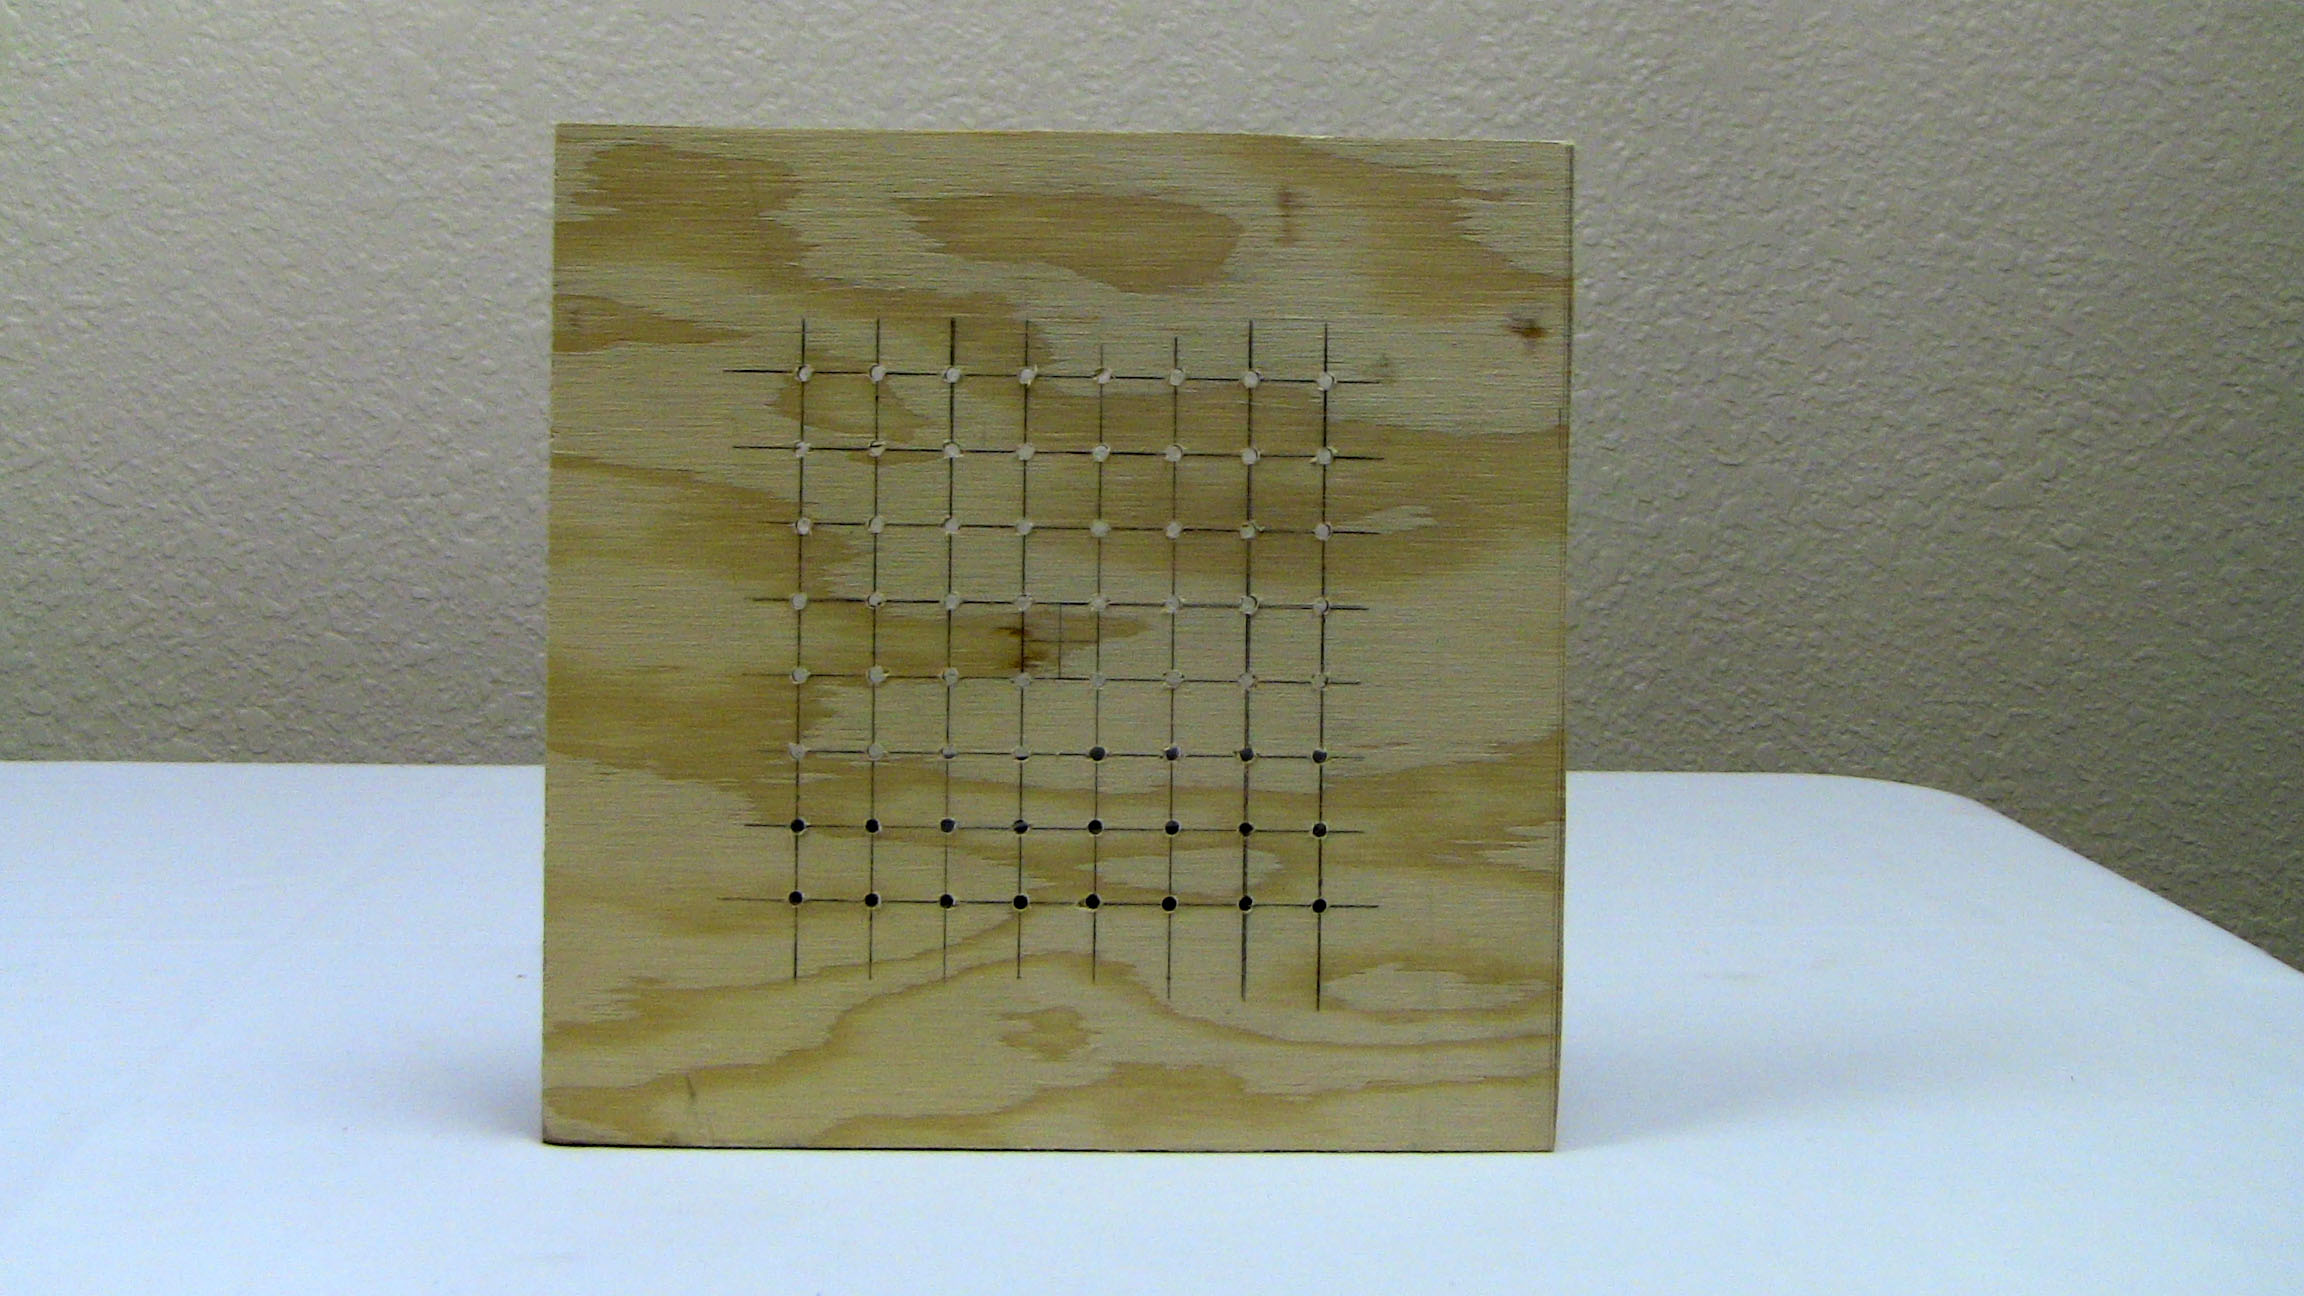
·After drawing out my grid of 16mm x 16mm squares, I used a center punch to mark the center of each 'cross-hair' on the grid.
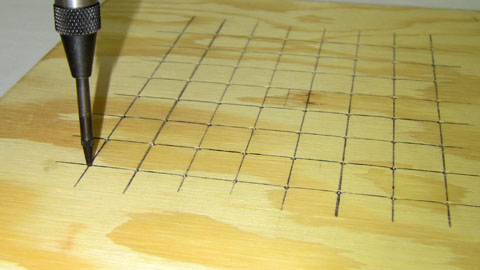
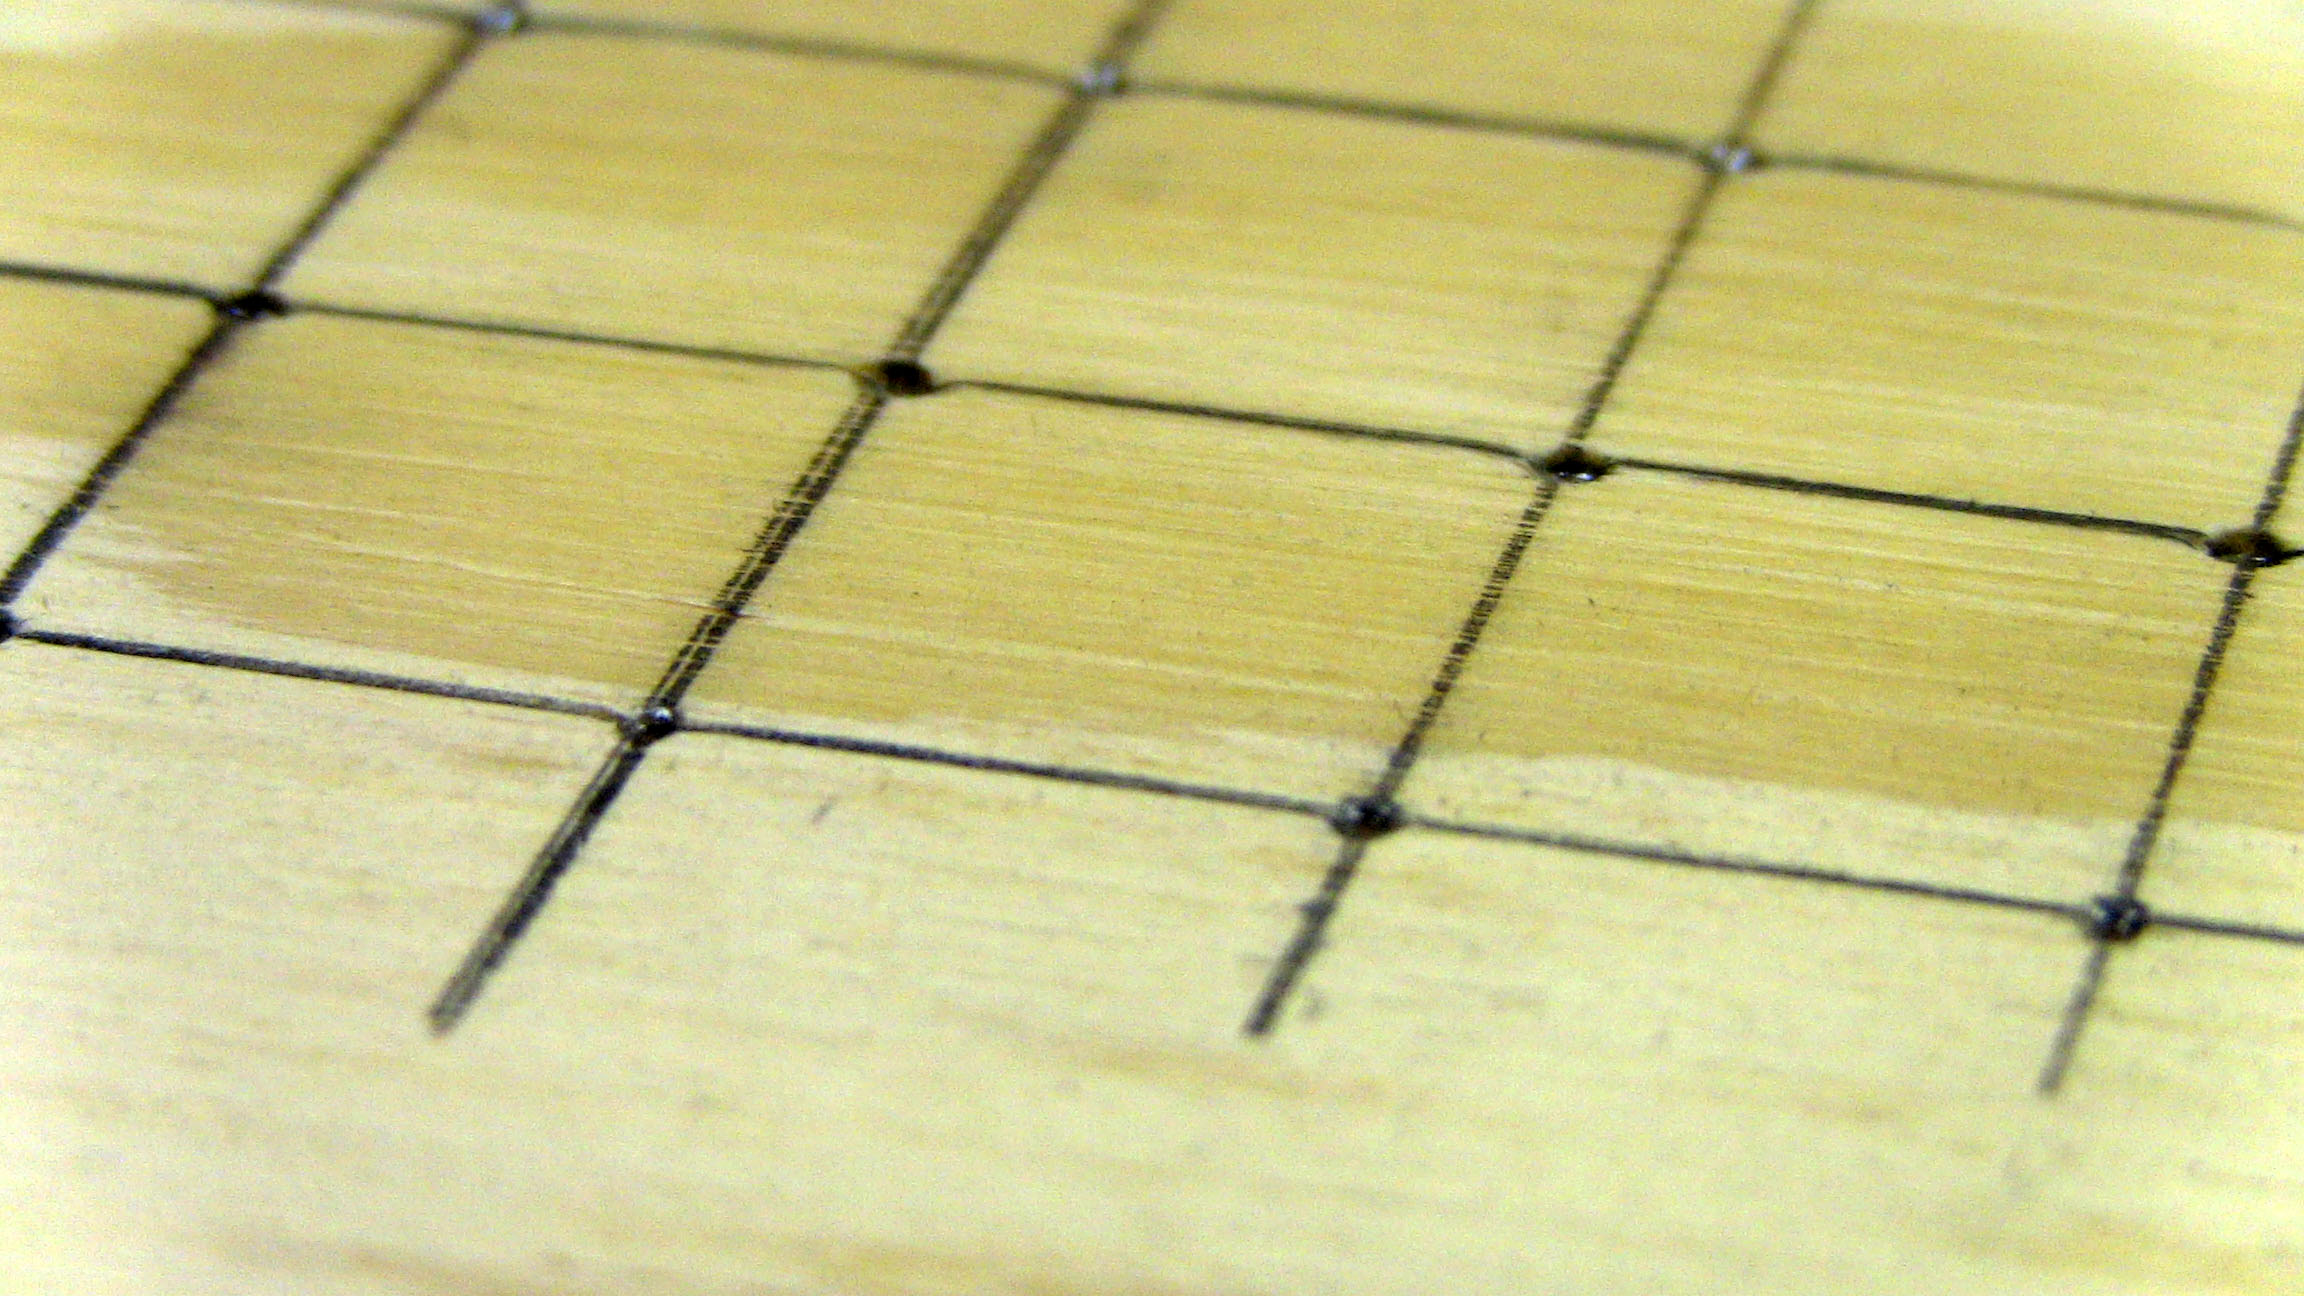
·You can see the mark the center punch makes on the grid intersections, this makes it much easier to make sure your holes are centered when you drill them out.

·Next, you want to drill holes at each spot just big enough so that the LED fits snuggly into them, not too tight, not too lose. Too tight and it'll be hard to take the LEDs out when the layer is complete, too loose and it will be hard to make consistently straight and equidistant LED layers.

·With the template finish, now it's time to get out your soldering iron and get the LEDs connected together!
In this hardware section we will show you how we built the 8x8x8 LED cube from start to finish. It consists of 8 pages split into the different portions of the project. I tried to include many, many photos beacuse I quickly learned from the instructions and resources on the web that the more photos for showing details, the better. Words just cannot convey what a single picture does. So with that in mind, take a deep breath and let's go!
Building The 8x8x8 LED Cube Template
The first thing we need to build is a template for each horizontal layer. The template will make it so that the LEDs in each of the 8 layers are equidistant and that things come out in a square, with the LEDs evenly distributed. So first we'll need a piece of plywood, a center punch, some rulers, a pencil and a power drill.

·The LEDs themselves will be used as the structure of the LED cube so we need to see what kind of distance we can get so that the cube comes out square. Measuring the cathode wire of the LED, it's about 17mm. The cathode wire will be connecting to the cube horizontally.
·The Anode wire is a little bit longer at about 19mm. The Anode will make all of the vertical connections, and it's great that is longer by so much because we'll later need to bend this pin.
·Now that we know the LED's wire lengths, we can get a big piece of plywood for our template. Here I have a 8.5" x 8.5" (inches) piece of plywood.
·Since the Anode pins will be connecting horizontally in each layer, I decided to use 16mm spacing between LEDs so that there would be a 1mm overlap, just enough to solder the LEDs together.

·Since the grid has 8 LEDs, and they're spaced apart by 16mm, the cube square will roughly be 12.8mm x 12.8mm.
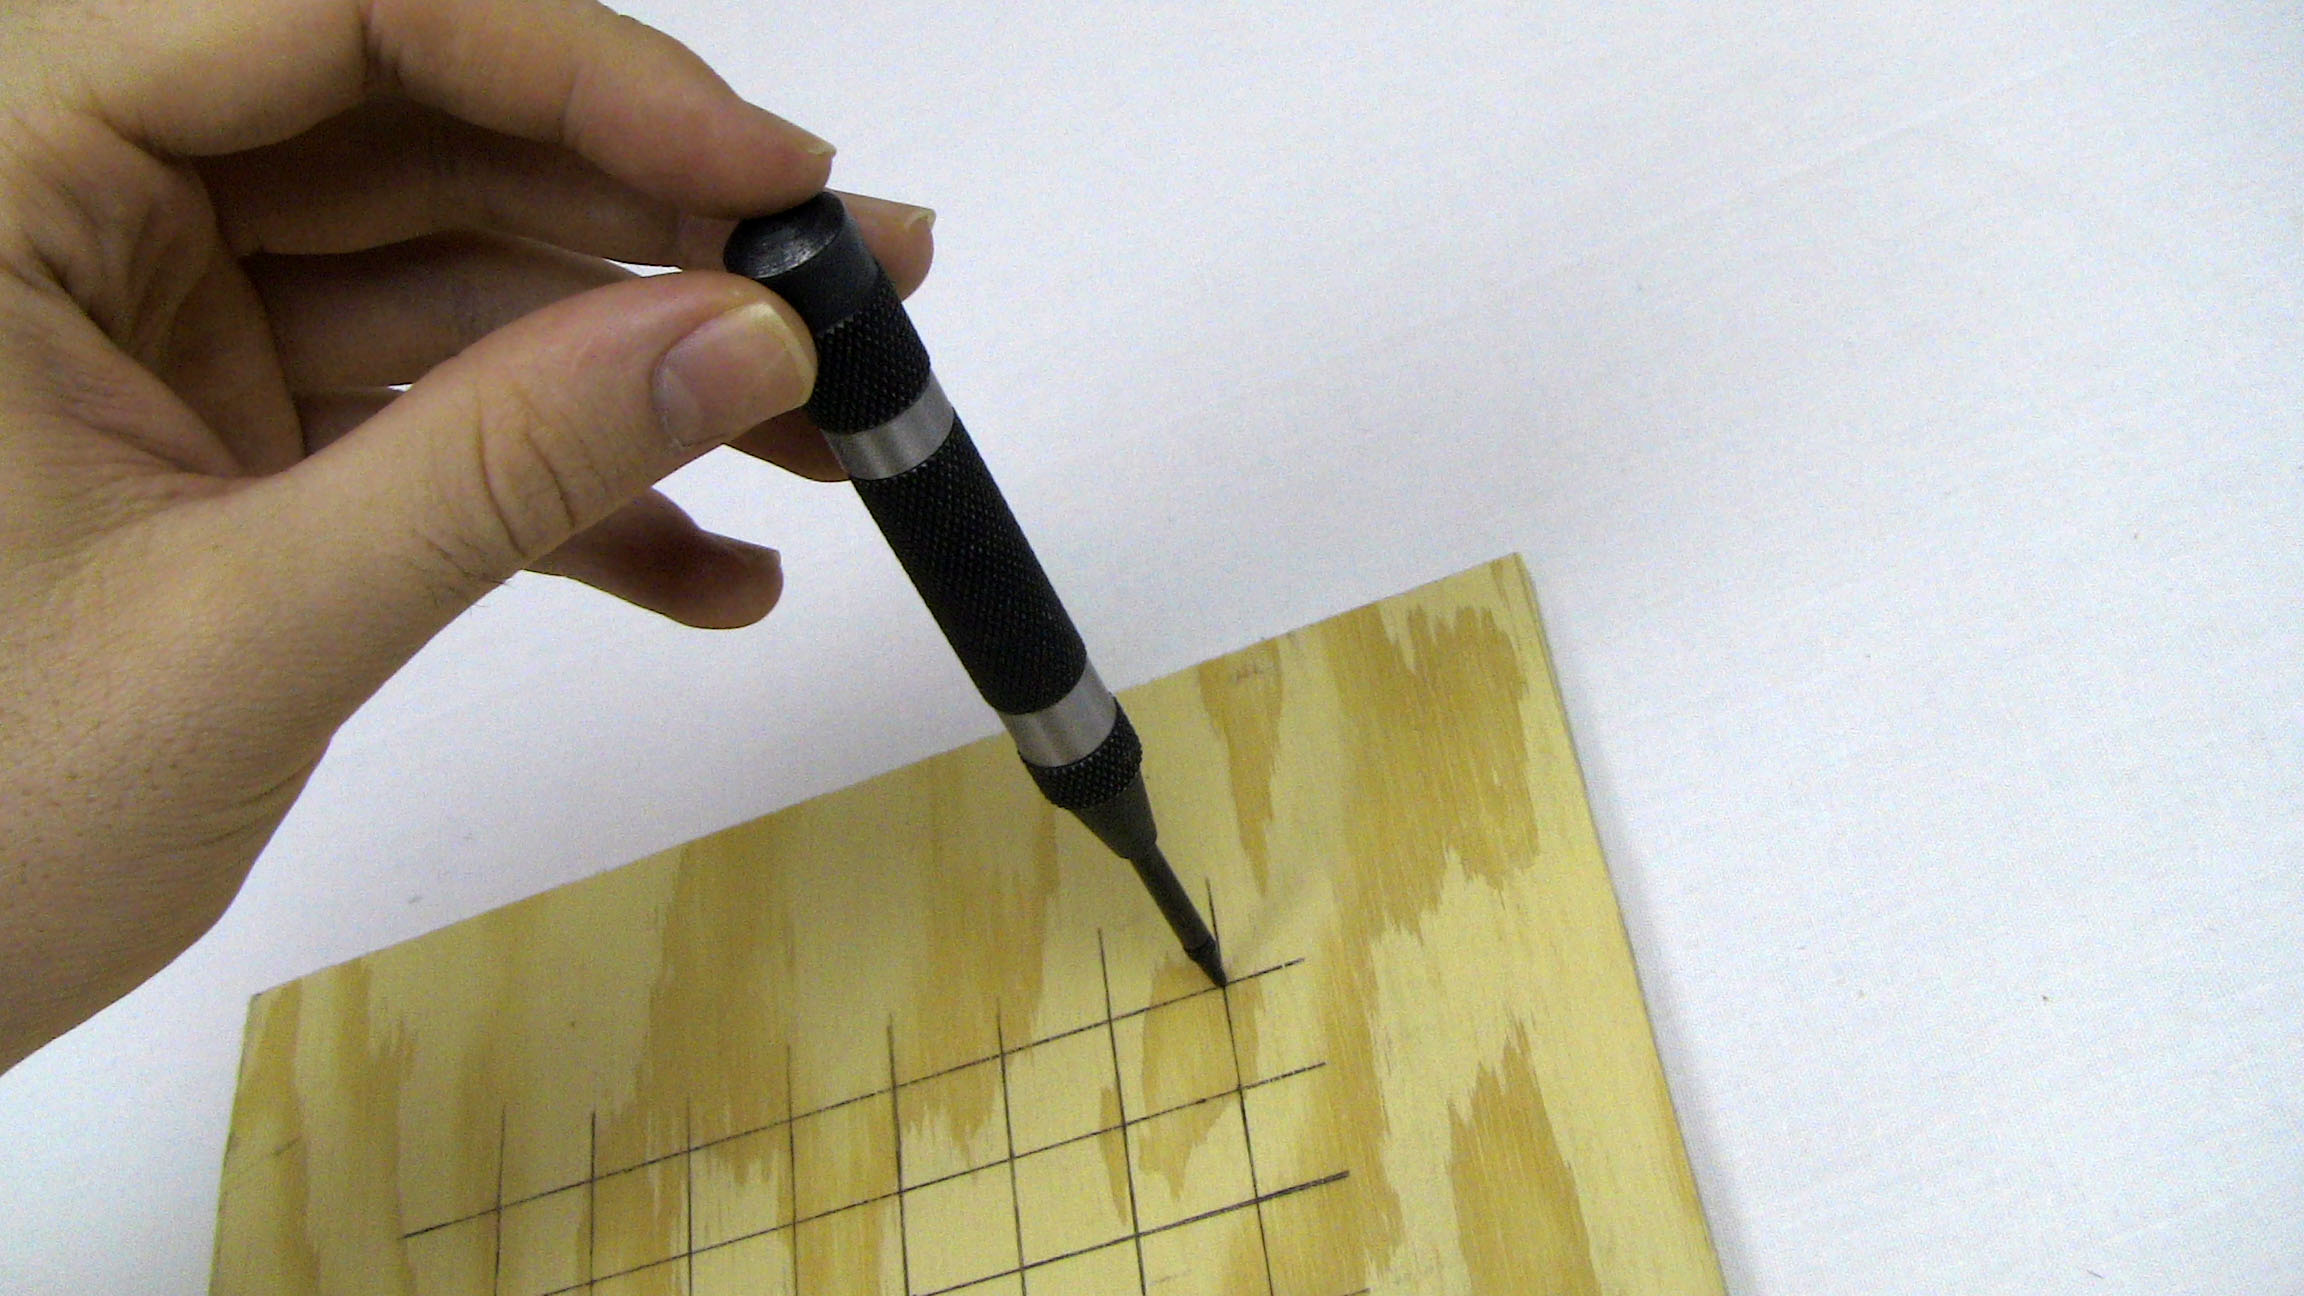
·After drawing out my grid of 16mm x 16mm squares, I used a center punch to mark the center of each 'cross-hair' on the grid.
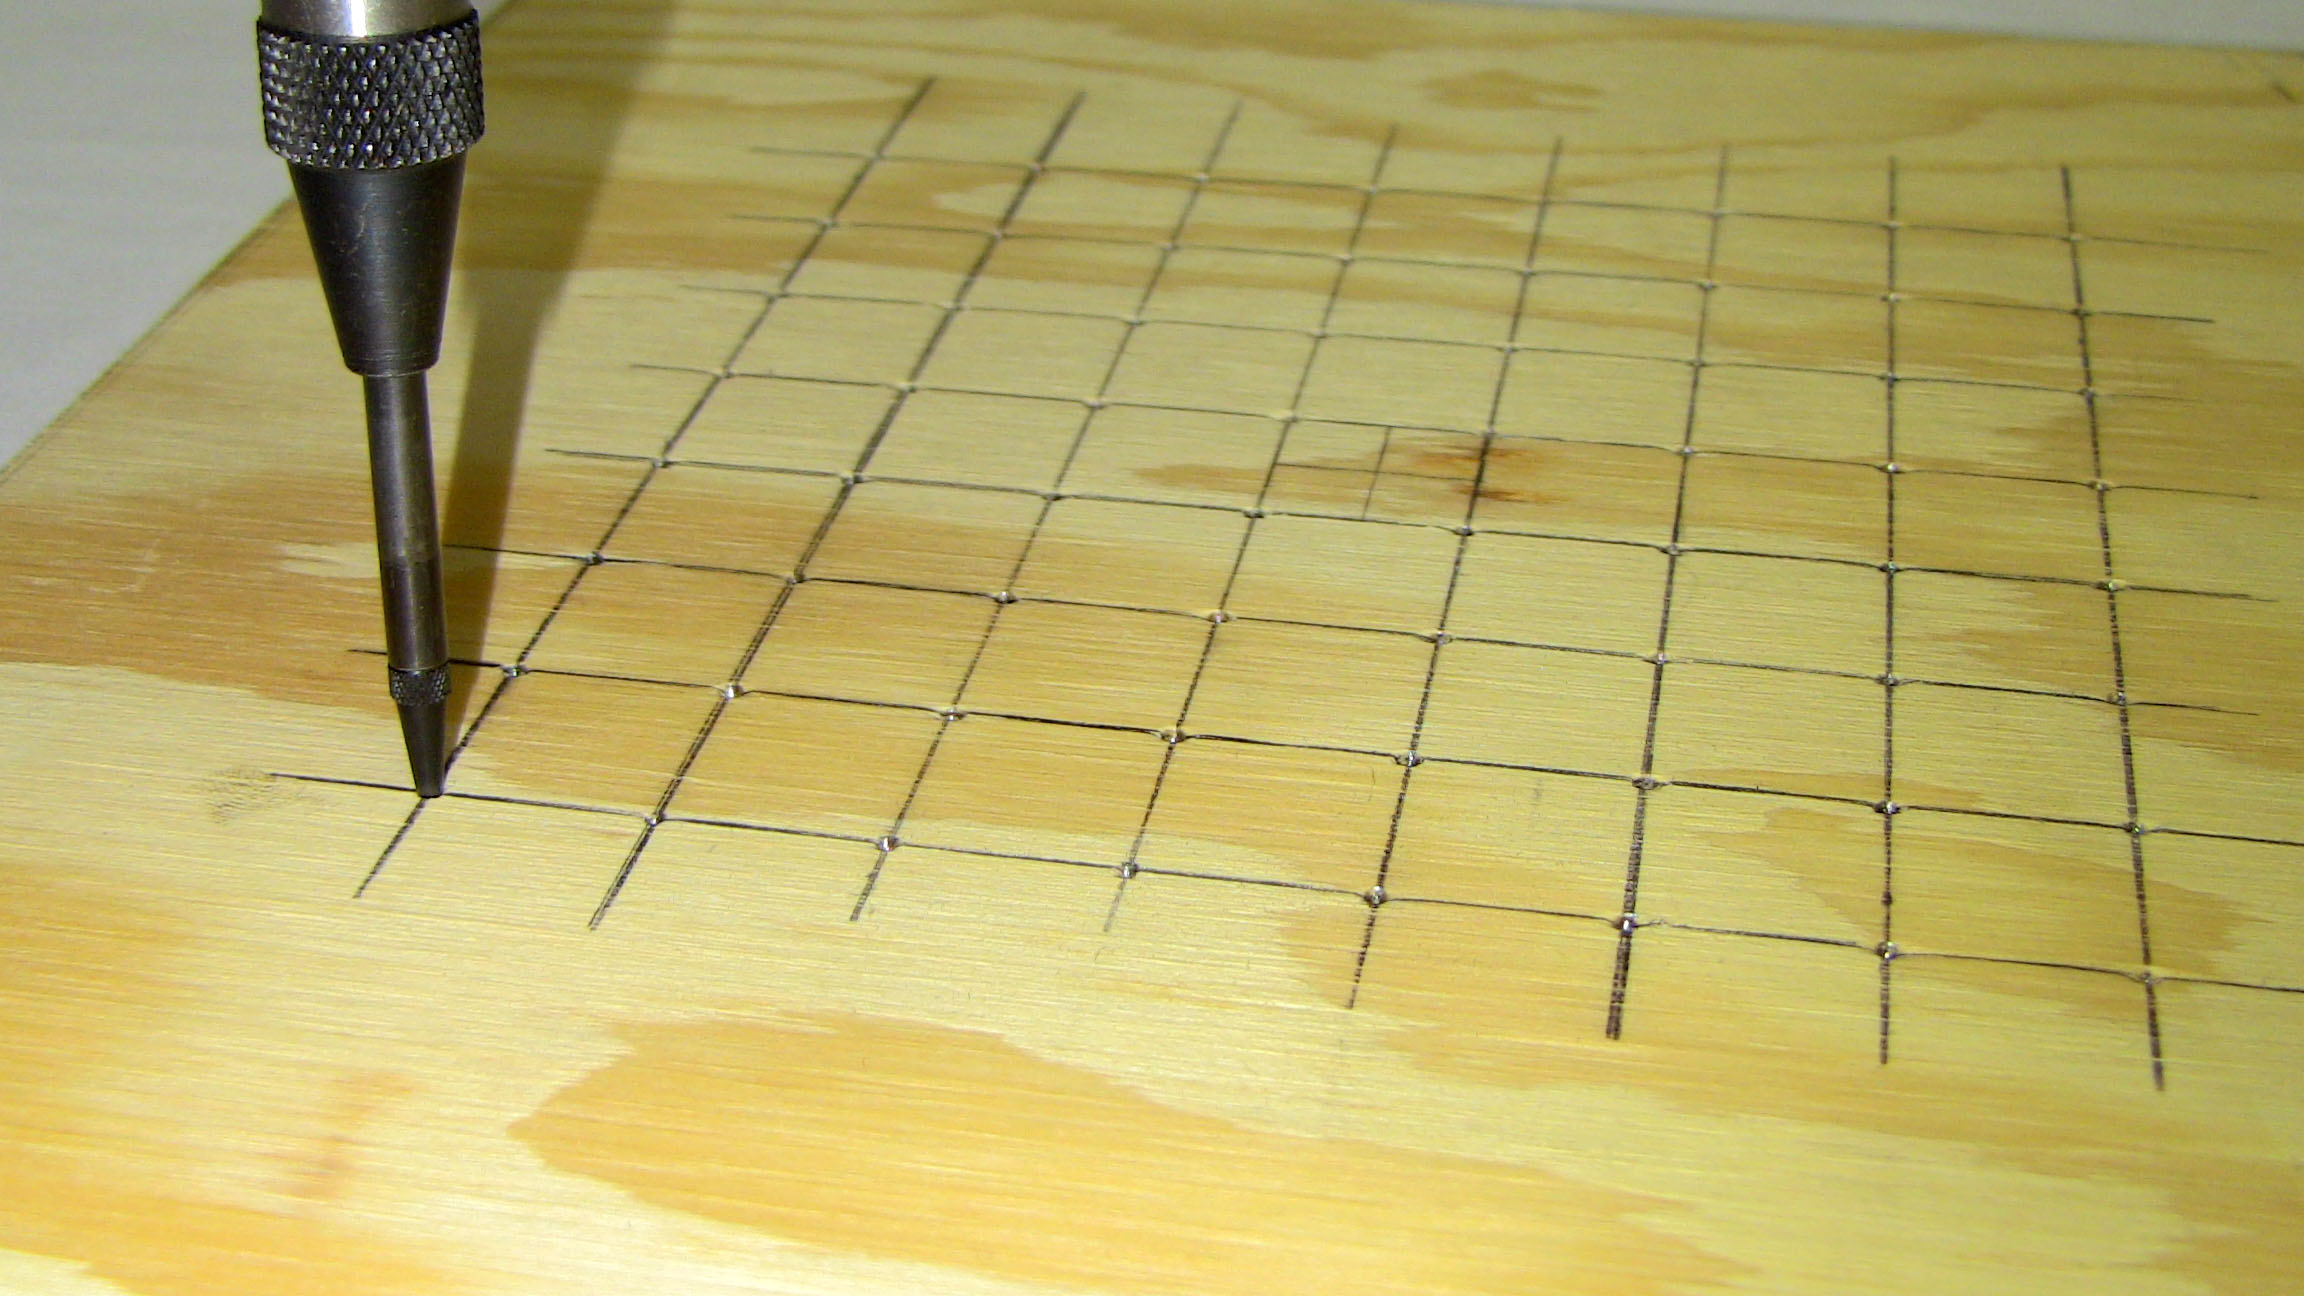
·You can see the mark the center punch makes on the grid intersections, this makes it much easier to make sure your holes are centered when you drill them out.
·Next, you want to drill holes at each spot just big enough so that the LED fits snuggly into them, not too tight, not too lose. Too tight and it'll be hard to take the LEDs out when the layer is complete, too loose and it will be hard to make consistently straight and equidistant LED layers.
·With the template finish, now it's time to get out your soldering iron and get the LEDs connected together!