Connect The Hardware
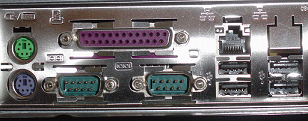
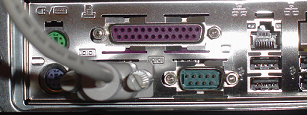
Now we get to connect the hardware together. This is a fairly simple step being that we only have 5 different parts. First plug the female end of the serial cable into the back of your computer. If you have a desktop it will look like this:
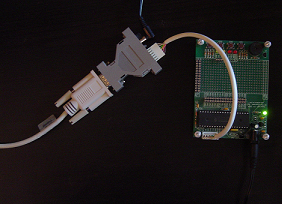
This connection is most likely the #1 serial port also known as COM1. Remember this for later on. Now connect the other end of the serial cable to the ICD2-Tiny PIC Progammer. The PIC Programmer also comes with an 'ICSP' connecter, this connects the programmer to the development board (it's the white cable seen below).
The 9 Volt Power Supply plugs into the development board and the 15 Volt Power Supply plugs into the ICD2-Tiny PIC Programmer. Depending on your version of the development board an LED may or may not light up when you plug in the power supply. Don't worry if one doesn't come on.


