Project Info
Author: Chris
Difficulty: Medium
Time Invested: 5 Hours
Prerequisites:
Take a look at the above
tutorials before continuing
to read this tutorial.
Author: Chris
Difficulty: Medium
Time Invested: 5 Hours
Prerequisites:
Take a look at the above
tutorials before continuing
to read this tutorial.
IR sensors used to detect the distance between the sensor and an object are a perfect fit for a DIY Theremin because they are low cost and they are reliable enough to get the project working. The idea here is that instead of using antennas, we'll use infrared proximity and be able to play an instrument, the IR Theremin!
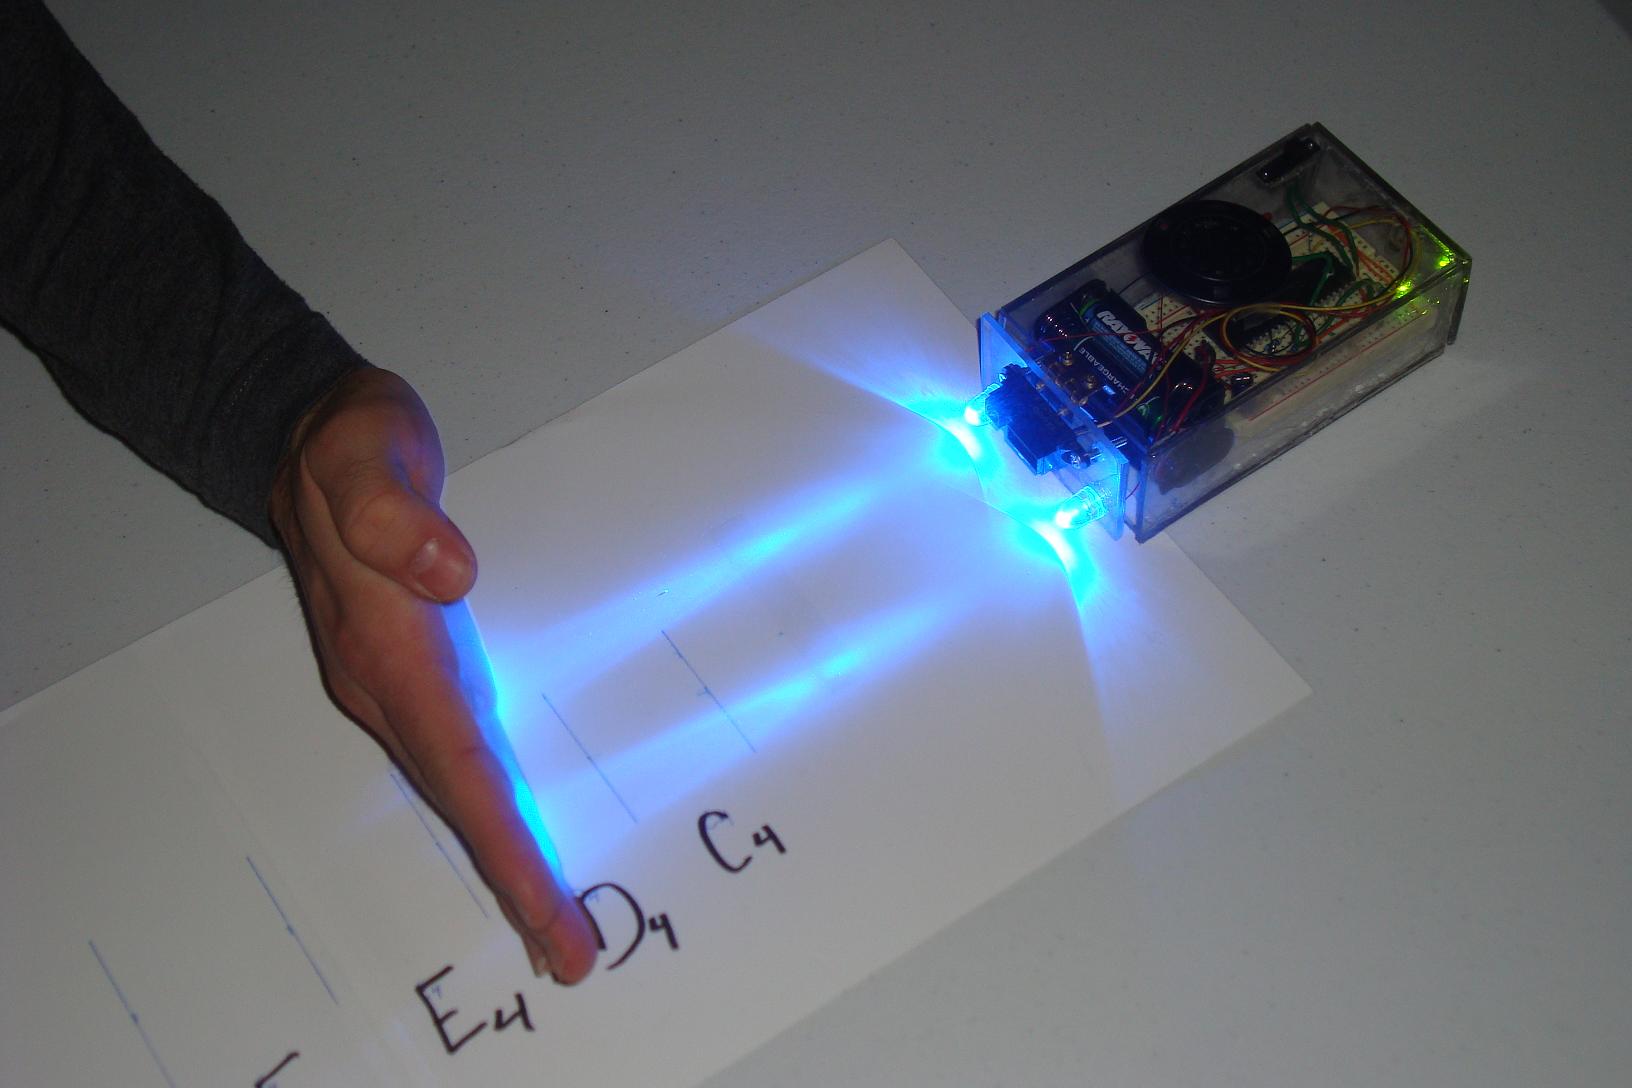
Purpose & Overview of this project
The purpose of this project is to build a simple but working theremin that can play the base notes (no sharps or flats) from one octave to another, specifically C4 to C5. The IR proximity sensor will detect how far away your hand or an object is from it and produce a specifc pitch for that distance.
The PIC's internal Analog-to-Digital converter will be in charge of translating the IR proximity sensor feedback data which the PIC will translate into a usable distance number. A fast timer interrupt circuit will be created inside the PIC to constantly be playing the tone for the last distance detected. If nothing is within the 'playing field' of this IR theremin, no note should be played.