Project Info
Author: Chris
Difficulty: Easy-Medium
Time Invested: 4 Hours
Prerequisites:
Take a look at the above
tutorials before continuing
to read this tutorial.
Author: Chris
Difficulty: Easy-Medium
Time Invested: 4 Hours
Prerequisites:
Take a look at the above
tutorials before continuing
to read this tutorial.
An amplitude based equalizer isn't terribly useful however it still looks cool =D and you'll learn how to use the A/D converters on the pic. The audio signal we'll use will be generated from a laptop then converted and understood by the pic.
Purpose & Overview of this project
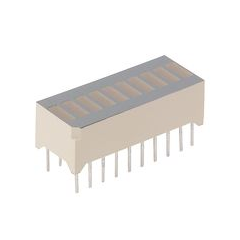
The goal of this tutorial is to create a device that takes a standard headphone audio signal (from a laptop), interprets it and outputs the voltage amplitude onto an LED bar. The LED Bar should change rapidly with the flow of the music beat & rhythm.
The PIC will use its internal analog to digital converters to accomplish the above task. The completed circuit will be all done on a small breadboard.