Project Info
Author: Chris
Difficulty: Medium
Time Invested: 2 Hours
Prerequisites:
Take a look at the above
tutorials before continuing
to read this tutorial.
Author: Chris
Difficulty: Medium
Time Invested: 2 Hours
Prerequisites:
Take a look at the above
tutorials before continuing
to read this tutorial.
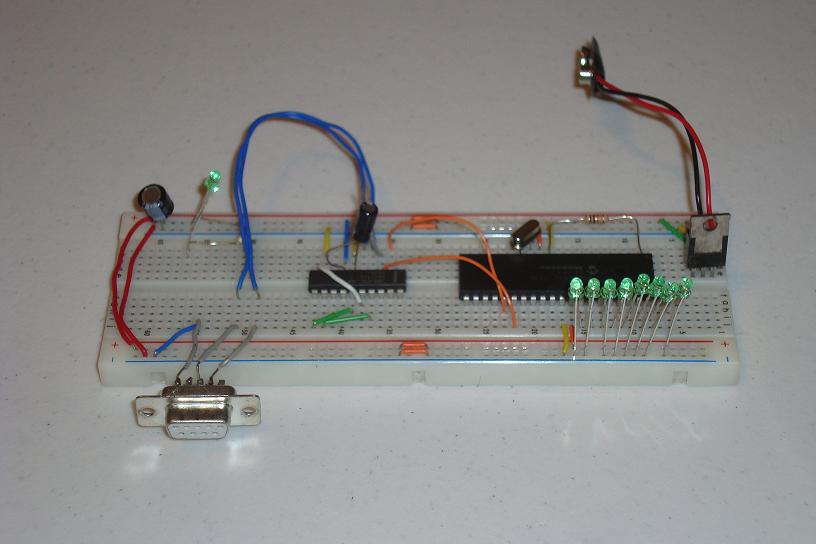
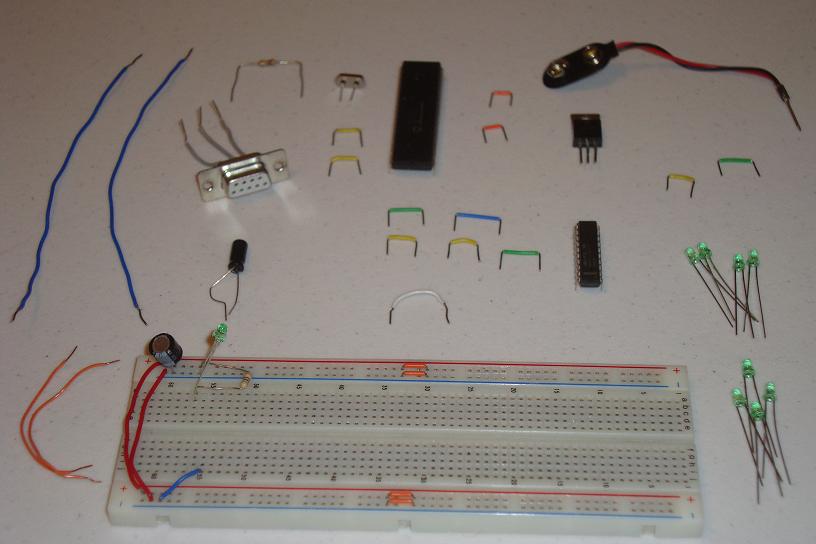
The RS232 standard that exists today has changed dramatically, in a good way. It has been simplified down many times so that only 3 pins are needed; Transmit, Receive and Ground. The error checking functionality is not as necessary as it once was, due to better quality and more advanced electronics.
Purpose & Overview of this project
The goal of this project is to build a communications interface that both sends and receives information or commands over RS232. Standard baud rates should be used (9600 bps). The PIC will be interfaced to a standard Laptop via RS232 Serial communication. The PIC should light up specific LEDs when commands are sent to it over RS232, then the PIC should send the same command back to the computer after execution. If this process for sending and receiving works as described, it means we have a valid RS232 interface.
The specific baud rate of 9600 Bits Per Second (BPS) means we will have to do some calculations when setting up the PIC microcontroller. Since we are following the RS232 standard we will need to translate the serial signal of 0's and 1's into RS232 level signals, to do this we will use a MAX233A chip. The command structure will be simple, press the number '1' and 1 led lights up, press '7' and 7 leds light up.