Project Info
Author: Chris
Difficulty: Easy
Time Invested: 1 Hours
Prerequisites:
Take a look at the above
tutorials before continuing
to read this project.
Author: Chris
Difficulty: Easy
Time Invested: 1 Hours
Prerequisites:
Take a look at the above
tutorials before continuing
to read this project.
This tutorial will cover:
1. PIC Breadboarding.
2. A Basic Power Circuit.
3. A Basic Programming Circuit.
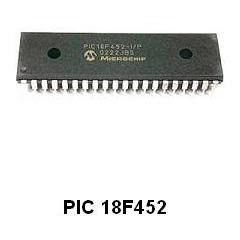
It is highly recommended that you understand how to program a PIC before continuing with this tutorial. I have a tutorial written that explains this process. Take a quick look through it if you're not familiar with the PIC Microcontroller.
The TINY ICD2 Programmer
Purpose of this project
The purpose of this project is to explain how to layout a PIC on a breadboard so that it works and how you can add additional programming circuitry so that you can program the PIC in-circuit.
The advantage to making our own breadboard or wirewrap designs is that we can make the layout exactly as we want it with no extra or unnecessary components. Development boards often have a clutter of devices or components that we don't need and don't use.