The PIC Prototyping Schematic
We've just seen the 3 components necessary to build our own 'development board' in the previous three sections (A Breadboard, Power Circuit & Programming Circuit). Now let's look at all three of those components put together:
Click to Enlarge:
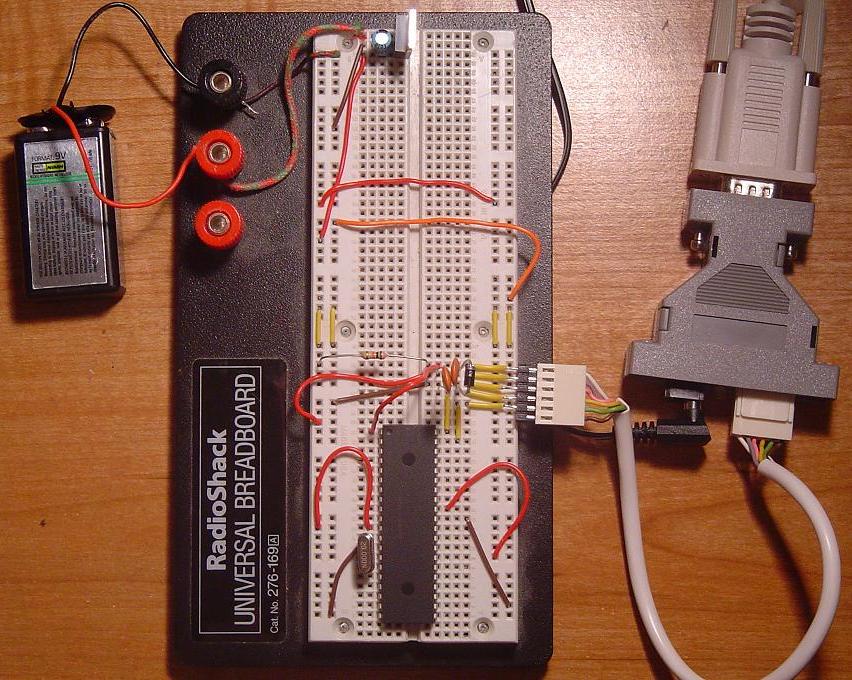
The schematic is straight forward and can easily be assembled on a breadboard in a matter of minutes.
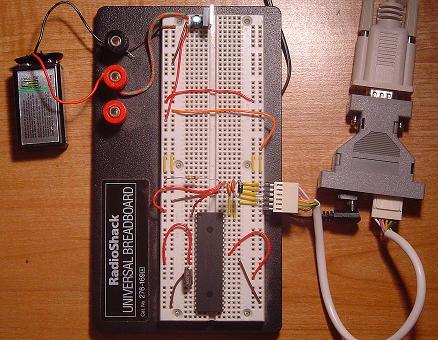
It uses all the parts specified although I added on some sips that connect easier to the ICSP connecter (The white cable) that the ICD2 Tiny uses. Here is what your breadboard setup should look
like when its done:
Click to Enlarge:
We've just seen the 3 components necessary to build our own 'development board' in the previous three sections (A Breadboard, Power Circuit & Programming Circuit). Now let's look at all three of those components put together:
Click to Enlarge:
Click to Enlarge: