The final size of the board is 18cm by 5.5cm (7.1" by 2.15") and this is pretty darn big if its your first time attempting to make a 2 layer pcb. The main issue that we have to worry about is that the top and bottom layers match up, and are not shifted to the left or to the right.
The bigger the board, the more likely some part of the design is going to be misaligned which means that the PADs on the PCB won't line up creating a potential problem. Being a positive bloke, I'm going to hope for the best and see how it comes out on the other side.

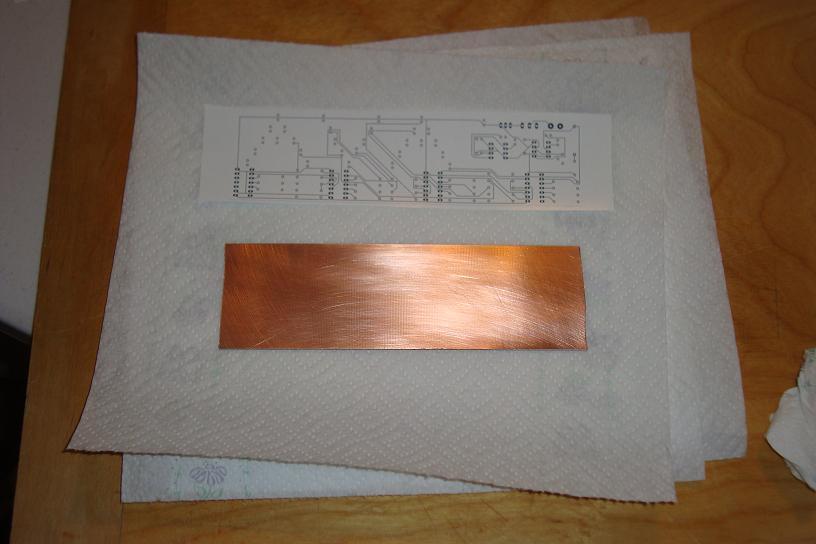
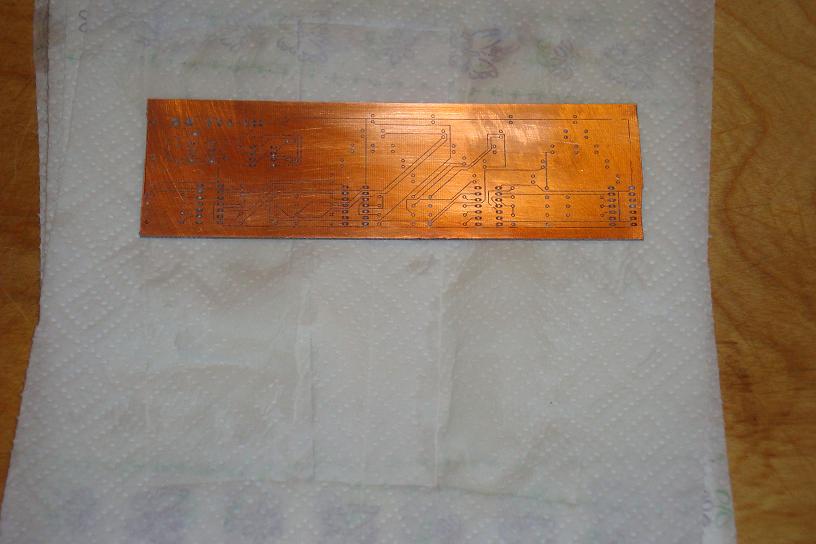
First we print out the design on some glossy paper. A lot of people have praised using magazine paper for the toner transfer process, that works just as fine too. Above you can see the picture of the top and bottom layers of the board on one paper.
Next I cut away one of the layers and got the area prepared for the first toner transfer. After the Iron becomes hot, align the first layer as best and straight as you can and start transferring the toner by moving the iron slowly over all of the paper.
I like to use the point edge of the iron while holding the board down with a paper towel. This way every milimeter of the toner gets heated up hot enough to transfer over.
After transferring the toner, let the board cool down and then throw it into some cool water and start pulling the glossy paper off of the board. The toner should have transferred onto the board, if not you have to start all over.
Once you have the first layer done, it's time to do the exact same thing with the second layer. As long as you put the finished side of the board ontop of some paper towels, it will not get ruined or bleed off while you transfer toner to the other side of the board. This step is cruicial as you must line up the design to match the other side of the board. If there is a mismatch it will create headaches later on.
Again, the toner is transferred as you press the heated iron all over the back side of the board. After a thorough heating of all parts of the design, let the board cool.
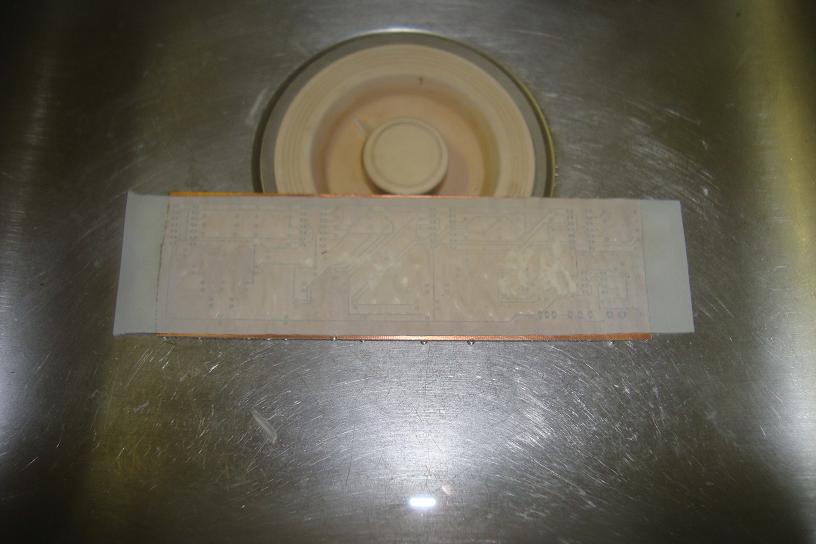
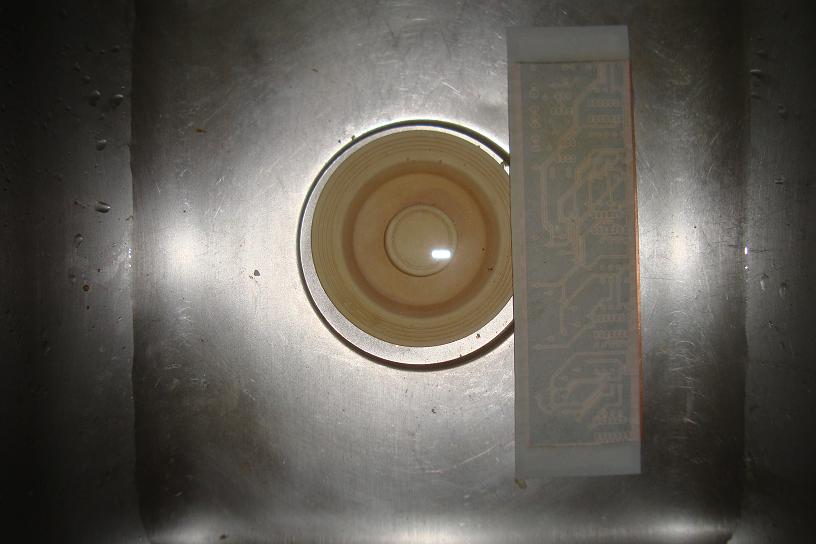
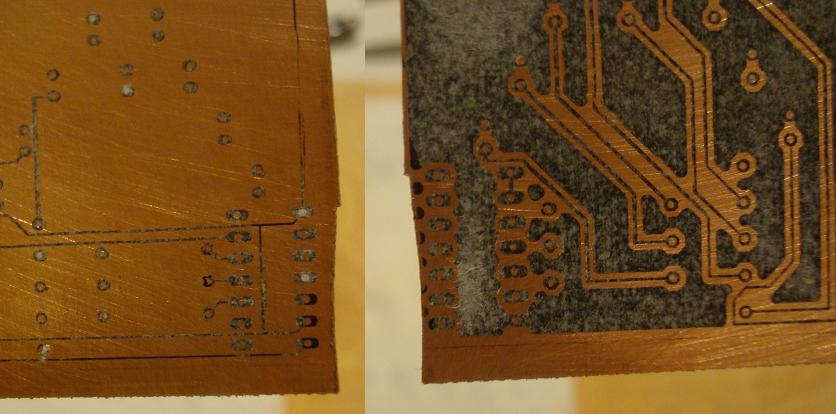
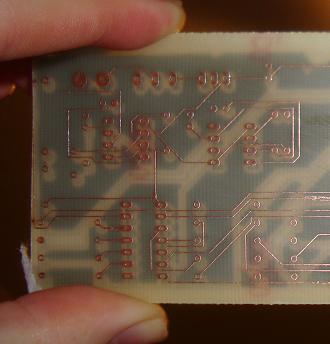
Place the board in some cool water again and remove the glossy paper. Once the paper is removed you can get a good idea for how well or poorly you aligned the designs up.
Using a plastic container not a metal one like I did -_- place the board into a mixture of ferric chloride and hot water. Shake it gently to accelerate the etching process.
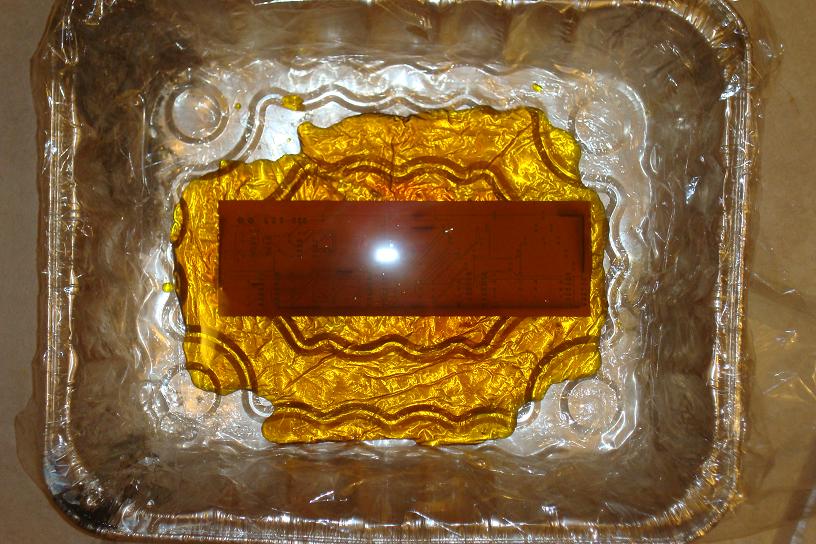
Since a lot of copper will be eaten away by the ferric chloride it will take quite a few minutes until completely done.
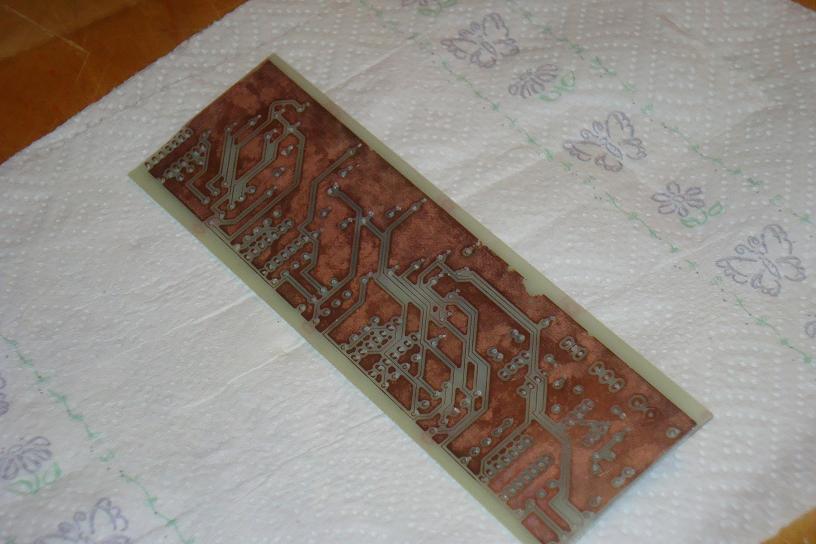
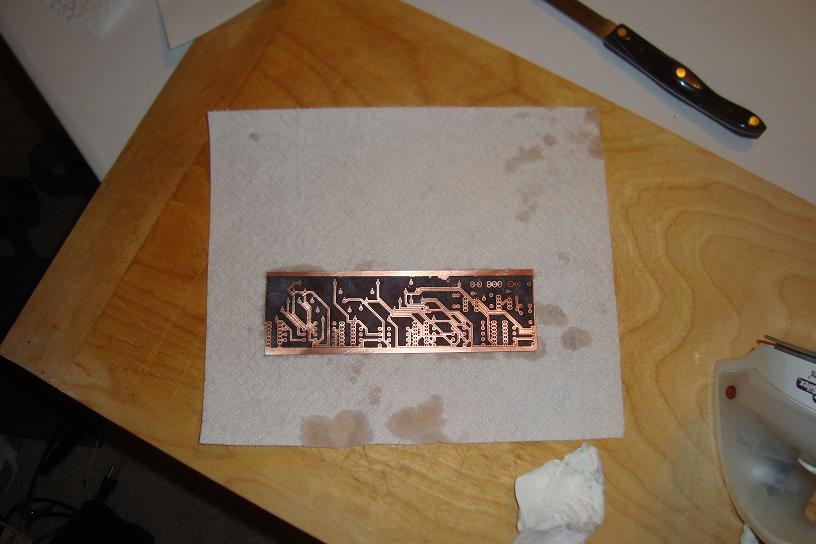
A close inspection shows that the top and bottom layer alignment is pretty darn close but is actually off by about 2-4mm. This will make things slightly annoying later on but it's still work able.
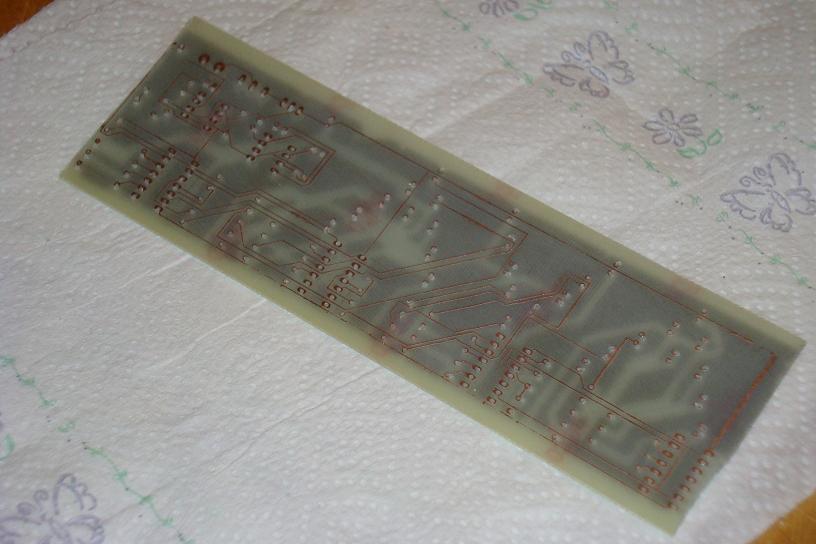
After the board is finished, drill the holes pad holes out for all the parts and marvel at the beauty you're about to build.