Project Info
Author: Chris
Difficulty: Medium-Difficult
Time Invested: 4 Hours
Prerequisites:
Take a look at the above
tutorials before continuing
to read this tutorial.
Author: Chris
Difficulty: Medium-Difficult
Time Invested: 4 Hours
Prerequisites:
Take a look at the above
tutorials before continuing
to read this tutorial.
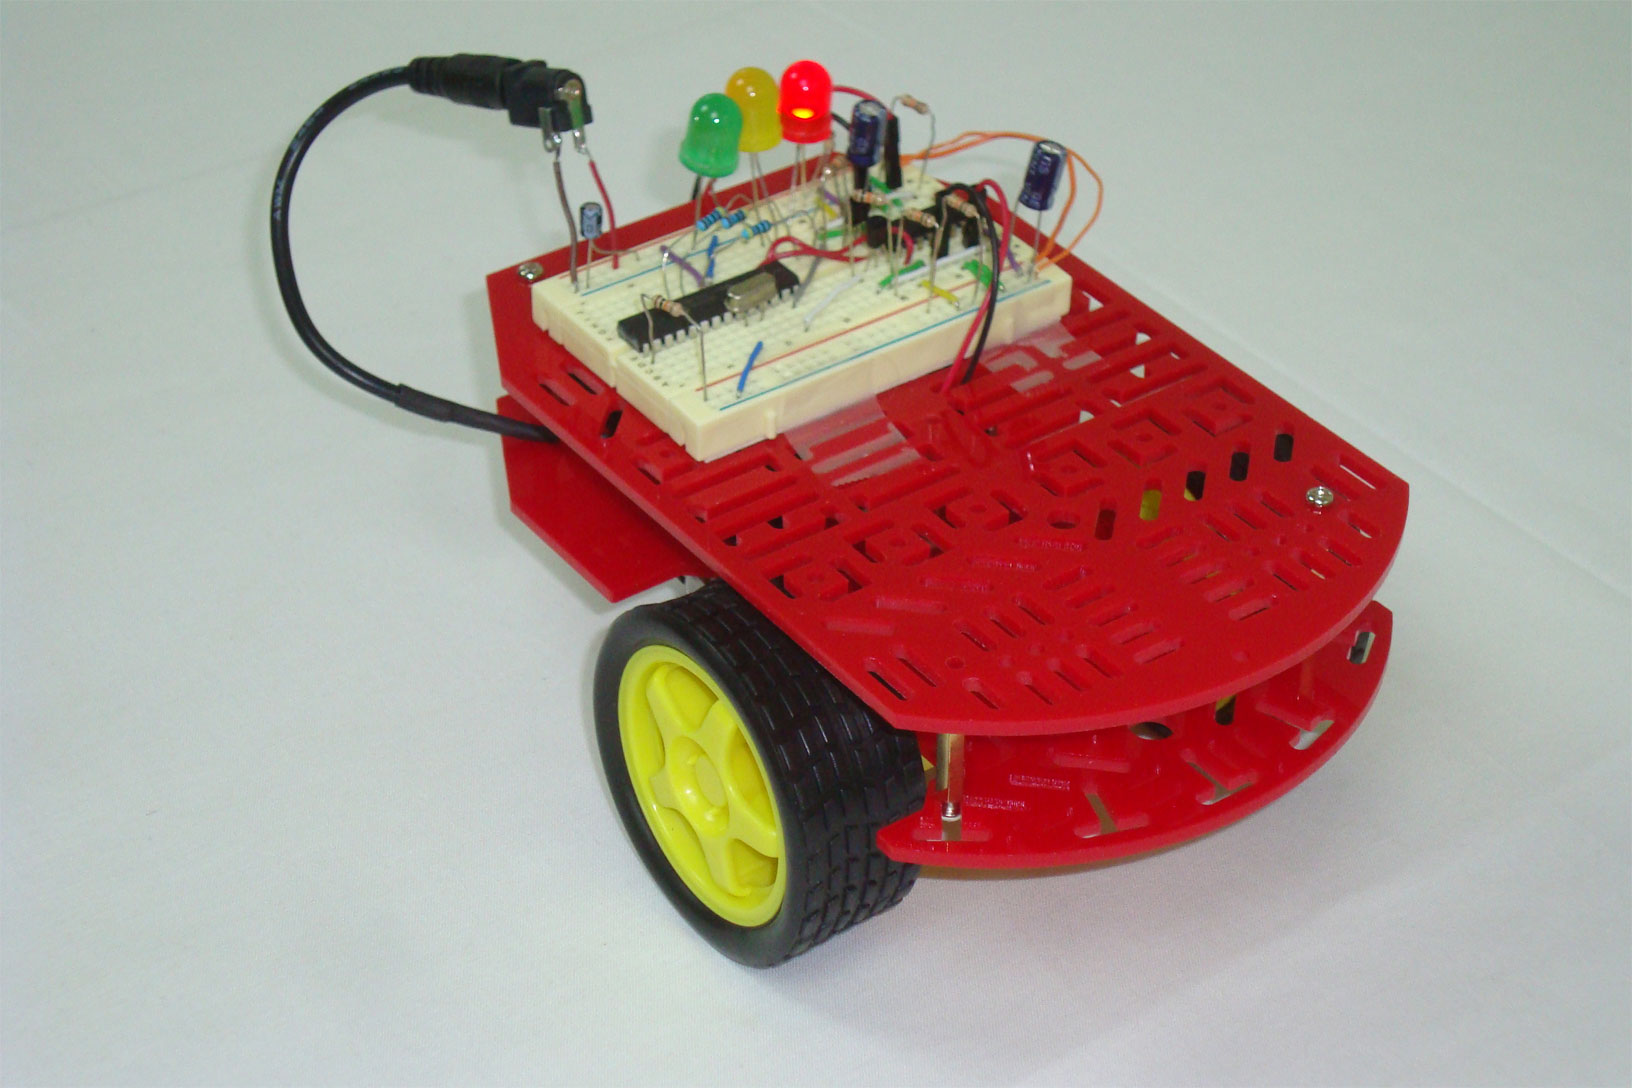
In this article we will move forward with the Building A Robot series by adding the electronics necessary to control the speed and direction of both motors on the robotic chassis, which we developed in the previous article, Part 1: The Chassis. The two main additions in this portion of the project are a microcontroller and a motor controller IC.
Purpose & Overview of this tutorial
The goal of this part of the project is to build up firmware for a microcontroller that can tell a motor controller IC to move the motors at specific speeds and directions. To verify that we have good control over the system, our core goal for this part is to make the robot be able to move forward, turn around and then continue back, then turn around and move forward...over and over. If we can build a program for the microcontroller that makes the robotics platform do that, our goal will be reached for this part.
The microcontroller that we will use for this part of the Building A Robot series is the PIC 18F252 8-bit microcontroller. It is manufactured by microchip, and most of my tutorials/projects on this website use the PIC. The motor controller IC that we will use is the same as some other tutorials, the SN754410NE Quadruple Half-H Driver.