Project Info
Author: Chris
Difficulty: Medium
Time Invested: 4 Hours
Prerequisites:
Take a look at the above
articles before continuing
to read this article.
Author: Chris
Difficulty: Medium
Time Invested: 4 Hours
Prerequisites:
Take a look at the above
articles before continuing
to read this article.
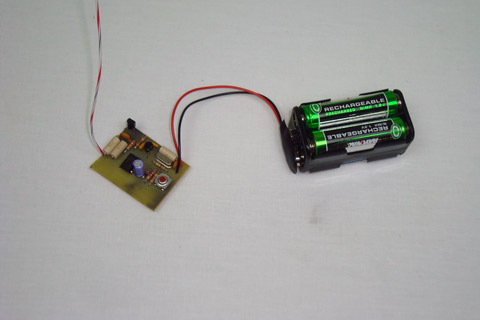
In this article we'll explore what it takes to build a simple rf transmitter at 27 mhz, the different stages that go into the transmitter, how those stages interact and we'll test it out with some measurement equipment. The ultimate goal will be to pair this transmitter with a receiver, so that when we transmit, the receiver turns on an LED. Simple as that.

Purpose & Overview Of This Project
The purpose of this project is to create an RF transmitter that can send on/off pulses out of its antenna to some receiver. The transmitter should be small and fit into the palm of my hand and should operate within government regulations for power output and frequency ranges. We will build this transmitter with the goal in mind that we want to build a receiver that will turn an LED on when we transmit. A simple idea but not a simple implementation.
The transmitter should output an on/off digital signal at 350 Hz and use a 27.145 MHz carrier frequency. This should be a continuous wave RF transmitter so no modulation is really used, the signal is simply either on or off.