Hardware Design
The hardware design of this project requires a PCB to be made and then PCB assembly. So the hardware section will be split up into these two parts. Below, we'll first go through how I made the PCB.
PCB Construction via Toner-Transfer Process
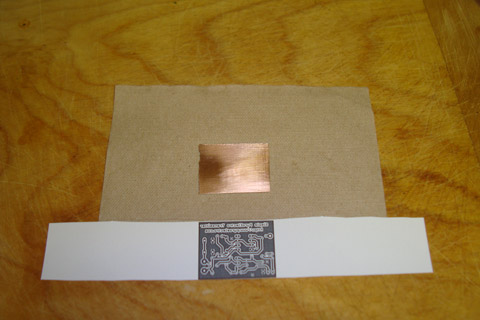
If you've never made your own PCB before, you'll want to go through my DIY PCB tutorial before continuing here. First I printed out the PCB Artwork Layout Design On Some Glossy Paper:
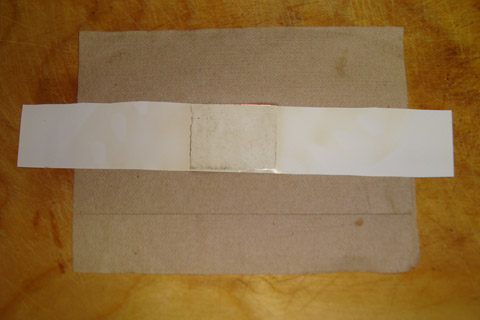
·Using a standard clothing iron, I heated the glossy paper, transferring the black printer toner to the PCB.
·Then the PCB was soaked in water and the glossy paper removed.
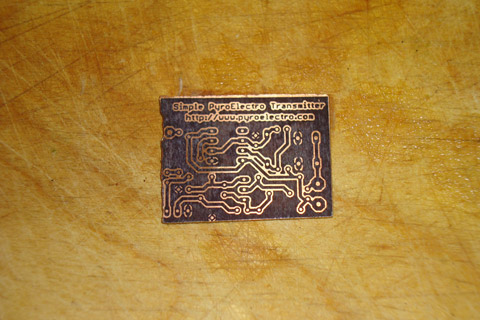
·Next, the PCB was soaked in a bucked of ferric chloride, removing the excess copper.
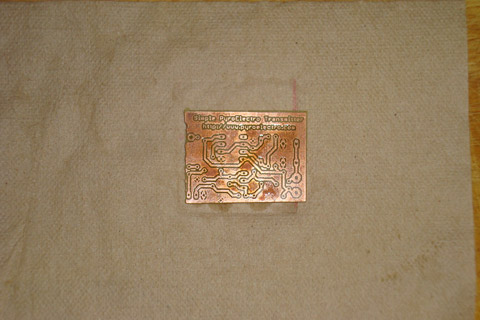
·Finally, the holes were drilled for all the through-hole parts that will be used.
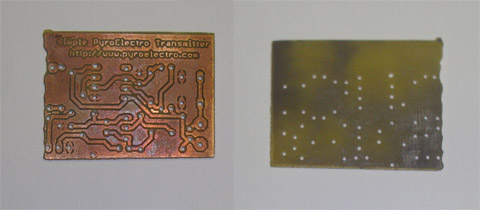
·Our PCB has been constructed! Now let's get all the parts into it.
The hardware design of this project requires a PCB to be made and then PCB assembly. So the hardware section will be split up into these two parts. Below, we'll first go through how I made the PCB.
PCB Construction via Toner-Transfer Process
If you've never made your own PCB before, you'll want to go through my DIY PCB tutorial before continuing here. First I printed out the PCB Artwork Layout Design On Some Glossy Paper:
·Using a standard clothing iron, I heated the glossy paper, transferring the black printer toner to the PCB.
·Then the PCB was soaked in water and the glossy paper removed.
·Next, the PCB was soaked in a bucked of ferric chloride, removing the excess copper.
·Finally, the holes were drilled for all the through-hole parts that will be used.
·Our PCB has been constructed! Now let's get all the parts into it.