Schematic Overview
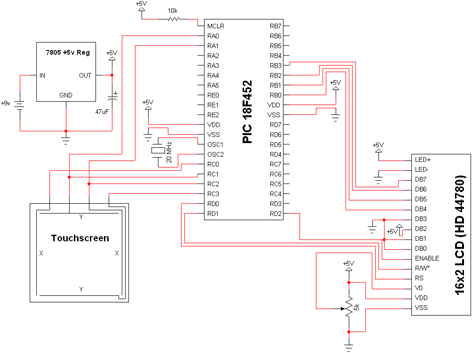
The schematic for this tutorial was kept as simple as possible so that the focus could remain on how the touch screen works and how we interface to it. You can see the completed schematic for this project below. The main parts in the schematic are the 16x2 LCD, 18F452 and Touch Screen.
View Full Schematic
Schematic Specifics
Power Regulator
If you follow my projects and tutorials you'll recognize this circuit. It's an extremely simple and straight forward +5v regulator circuit with bypass capacitor.
Touch Screen Connections
6 connections are made to the 4 touch screen wires. 2 go to the Analog to Digital converter on the PIC and 4 go to PORTD pins RD0 - RD3. The PORTD pins will be used for providing a power and a ground to the 4-wire connections to the touch screen.
16x2 LCD Display
The LCD display circuit will use a 4-bit interface with 2 line configuration enabled. PORTB will send the data bits to the LCD module and PORTD will send the command signals.
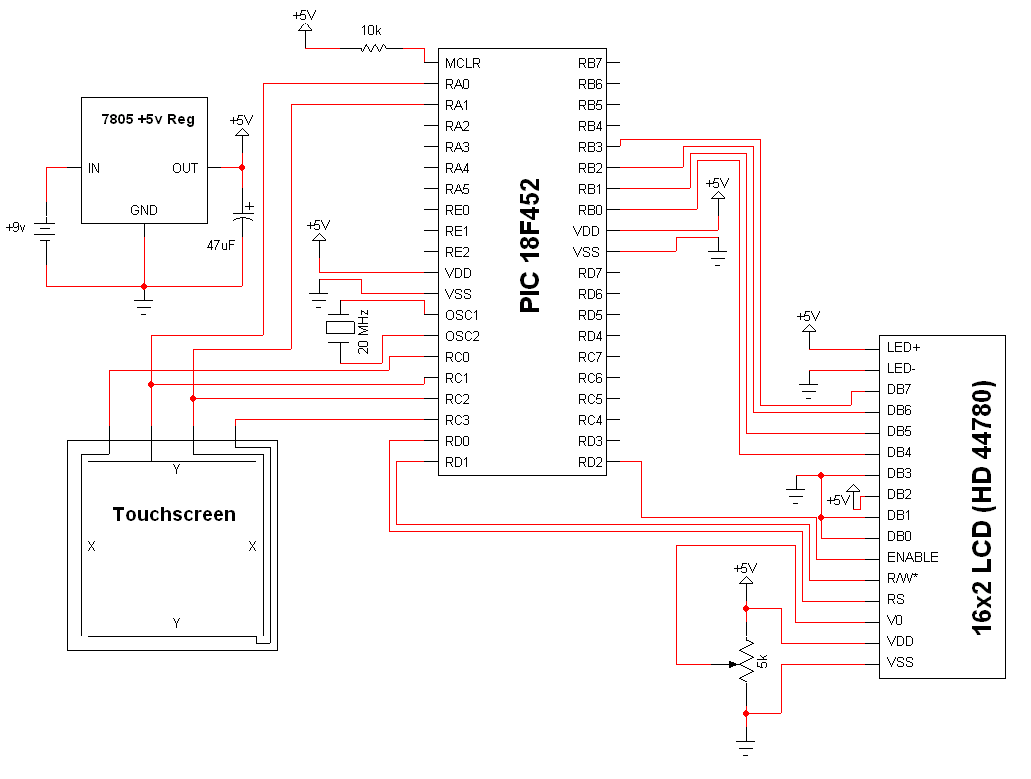