Hardware Design
So with all that theory and design under our belts it's time to actually build this system. This section will show you how I built the system on the breadboard.
Building The Circuit
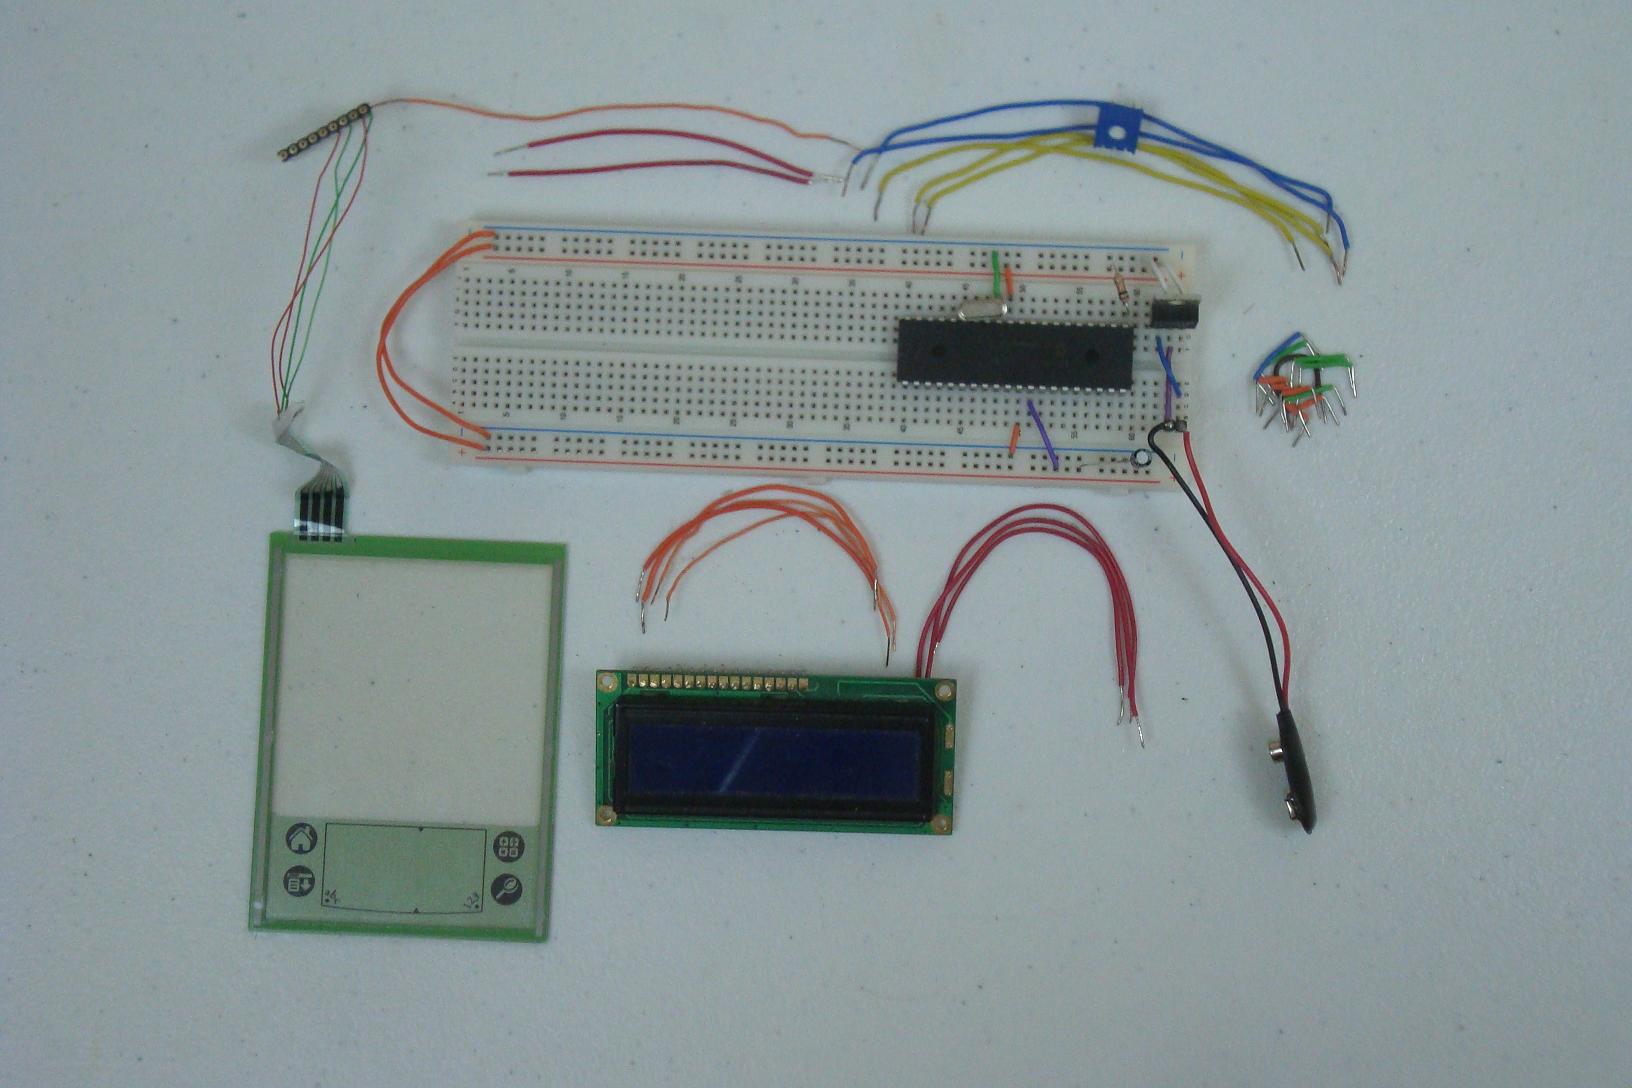
Get your parts together and follow the schematic. I built mine and in stages as you can see below...
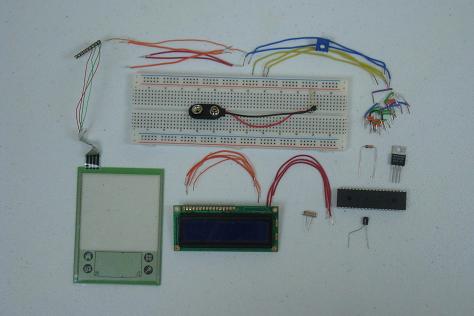
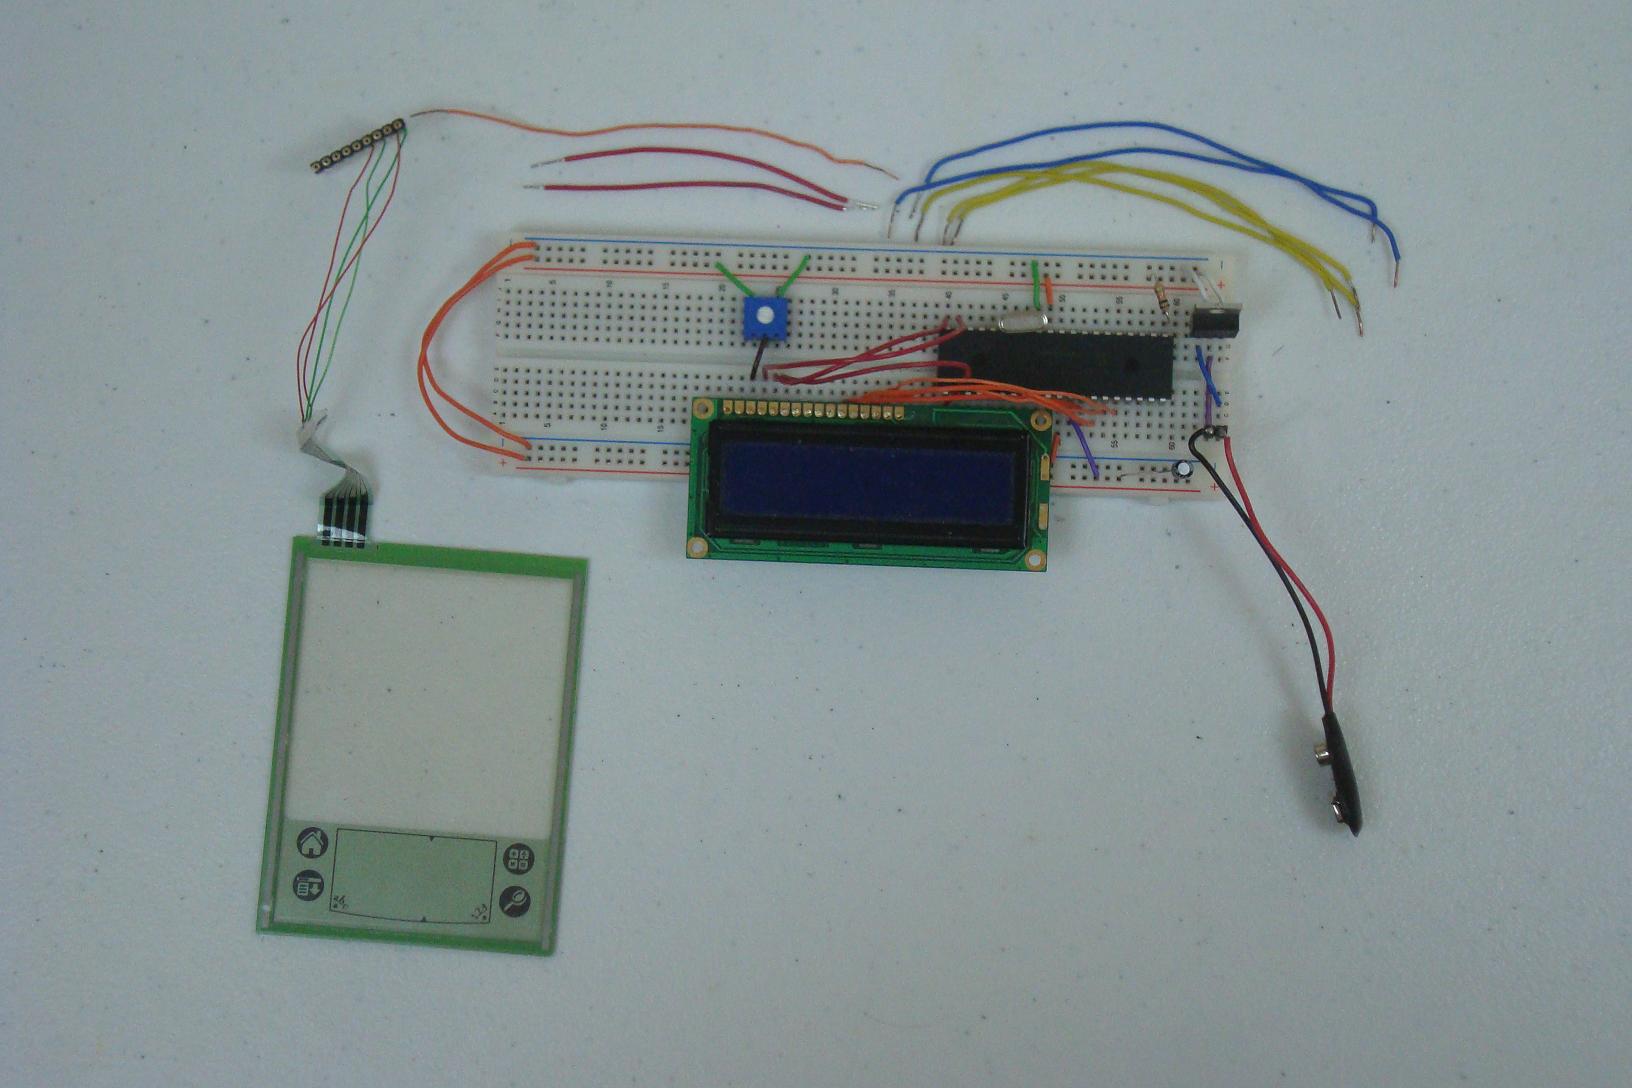
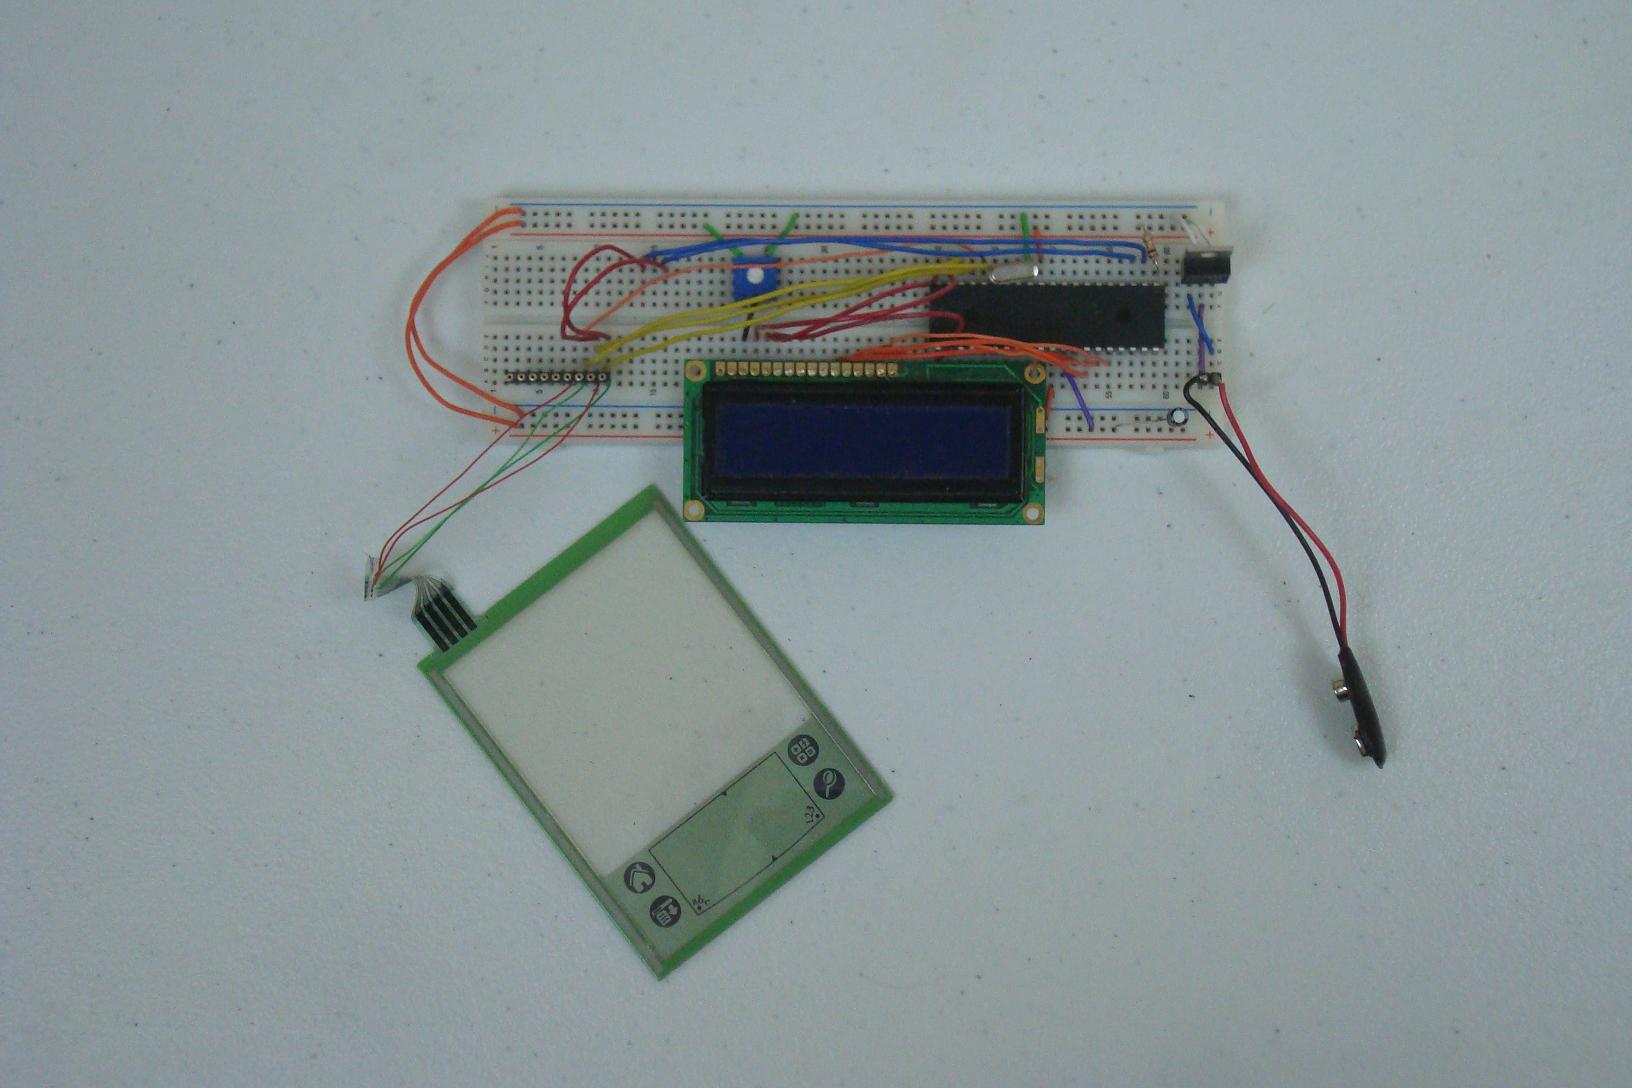
·First the power regulator circuit and the PIC circuits are connected.
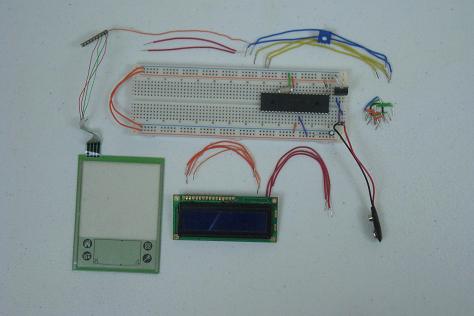
·Next the LCD circuit is wired up on the breadboard.
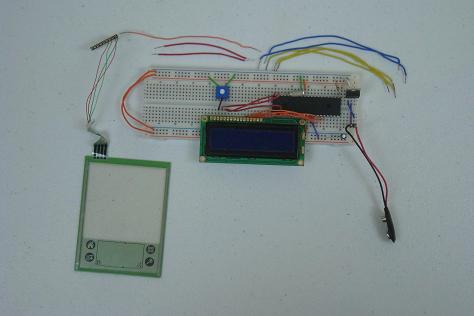
·Lastly, the touch screen is connected.
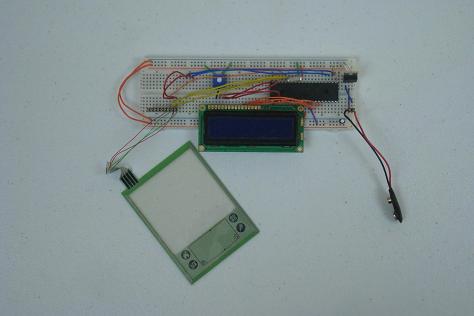
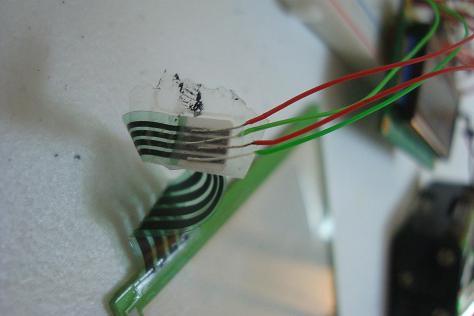
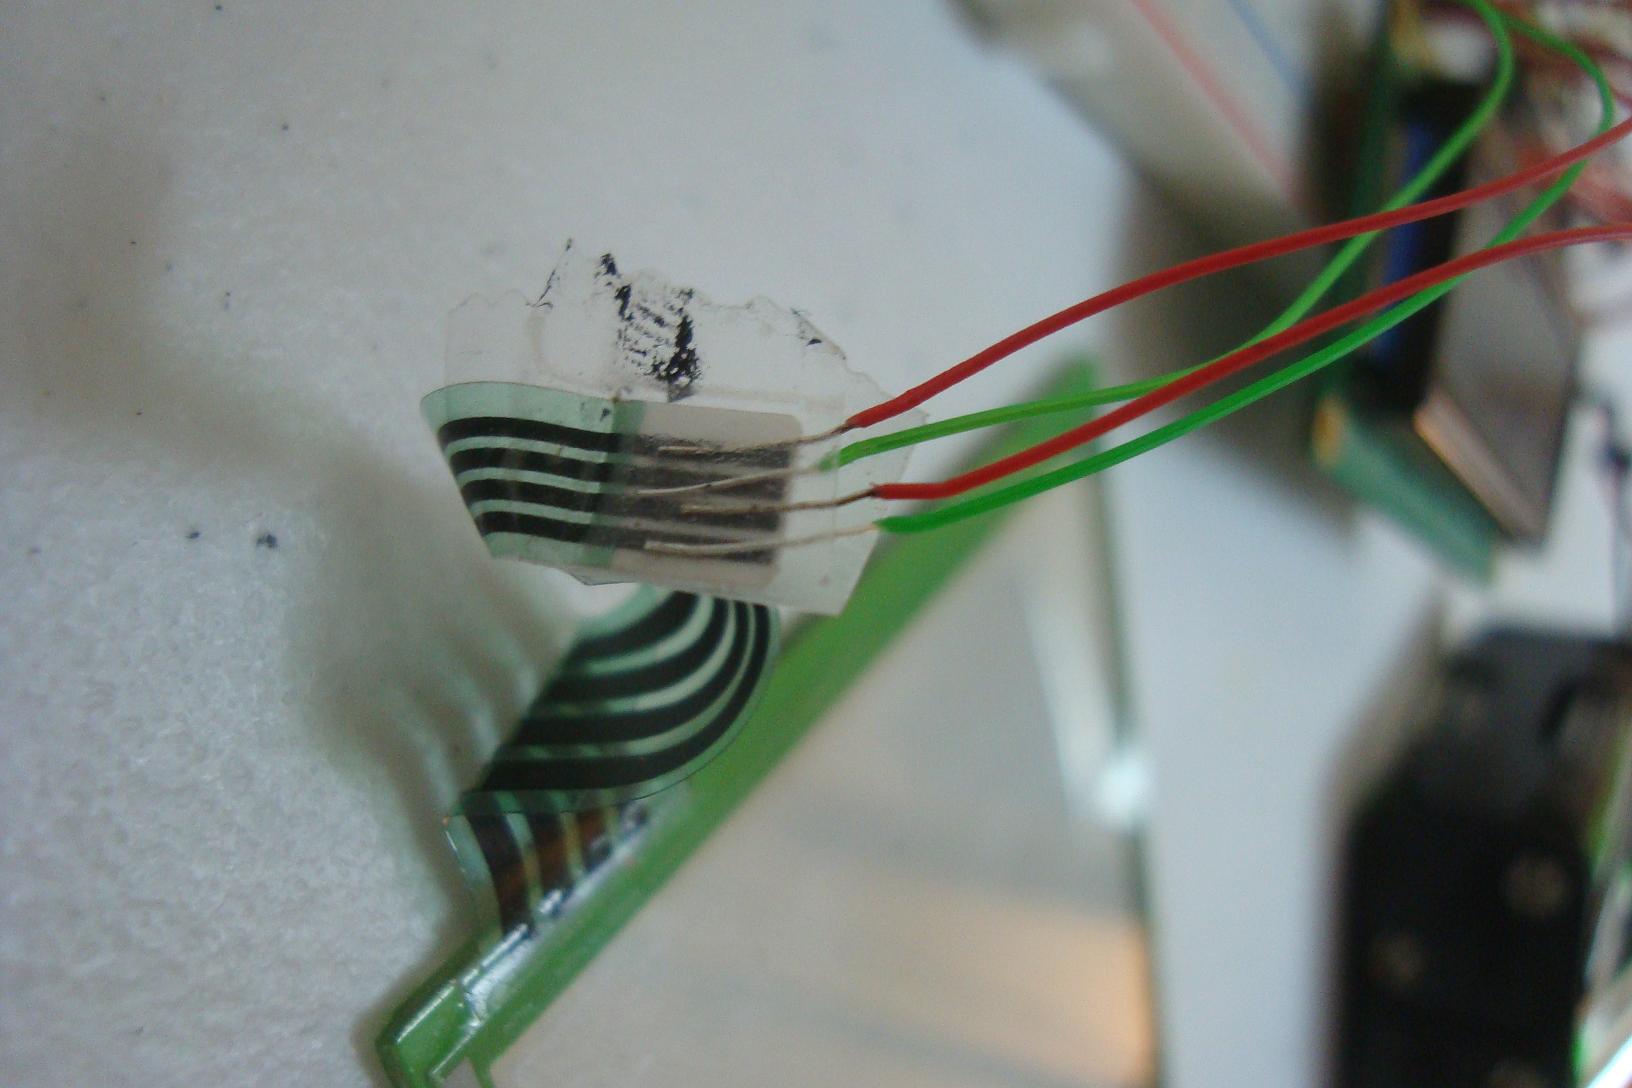
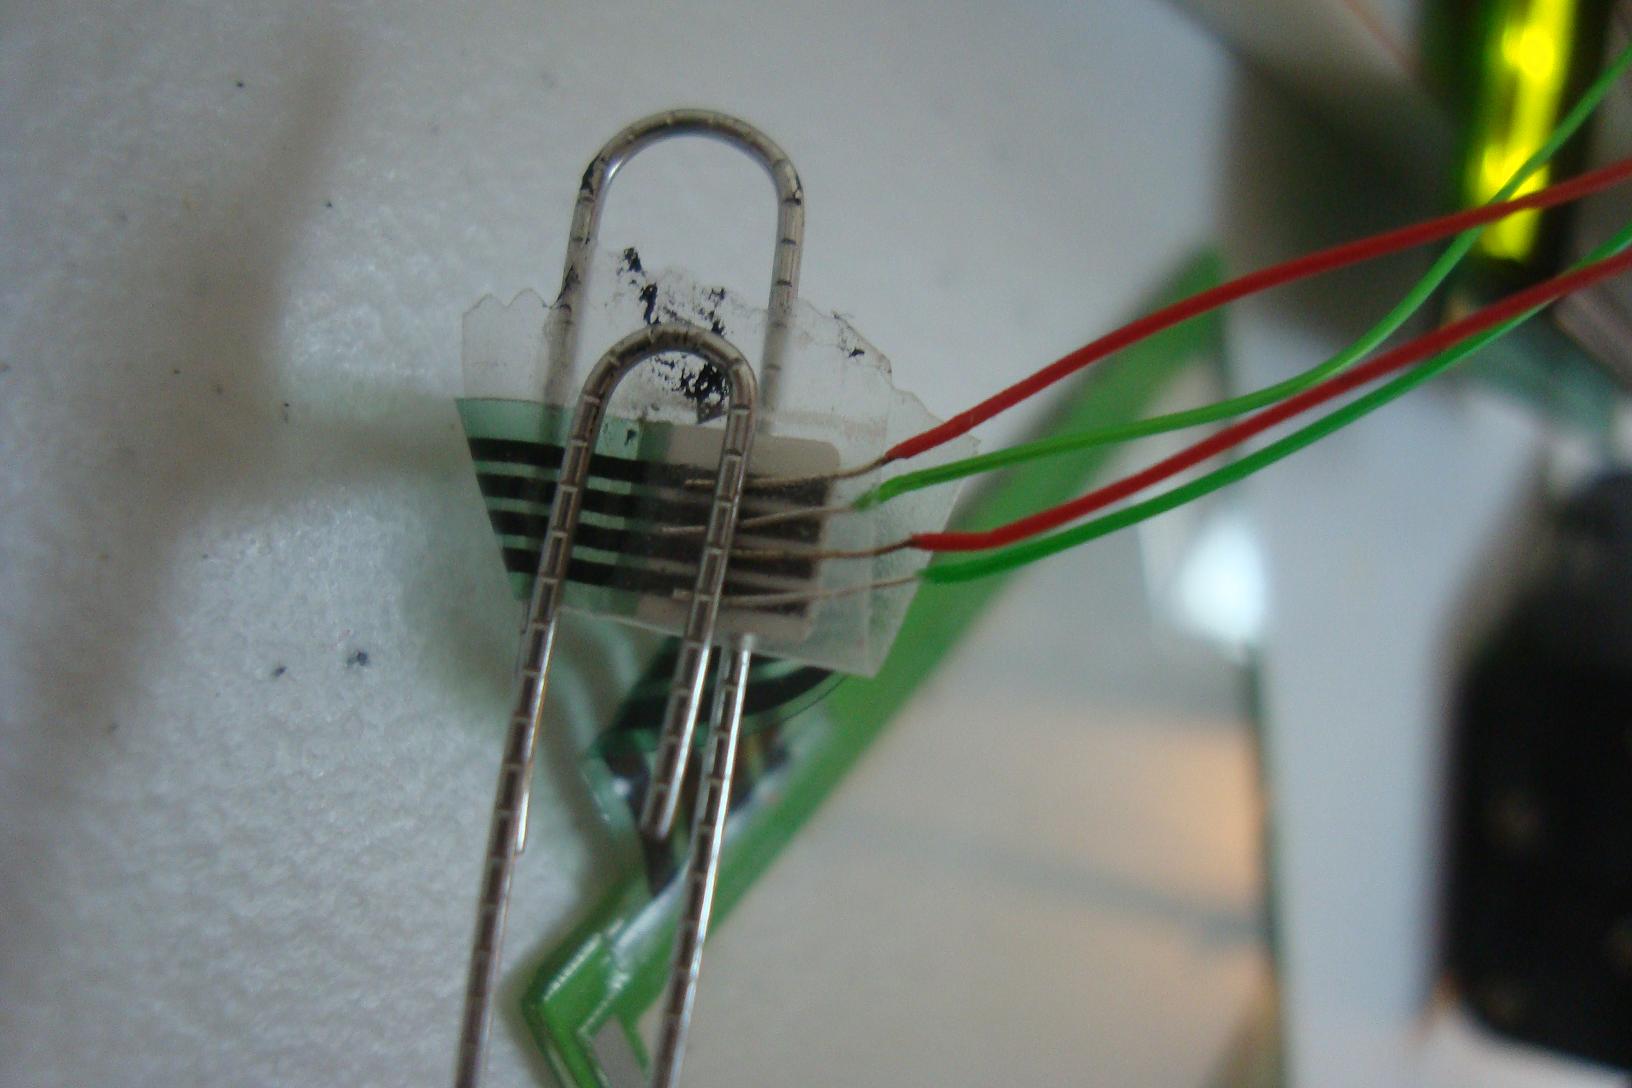
·The touch screen connector is a tricky 'tape' type connector. I got 4 wire-wrap wires and taped them in place to connect to the 4-wire touch screen.
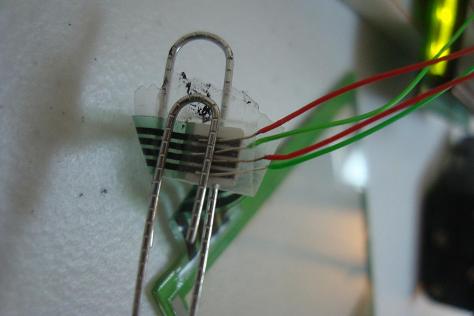
·To press the wires down to the connector, I used a paper-clip. A useful make-shift solution =D.
·The system is connected together and ready to be programmed.
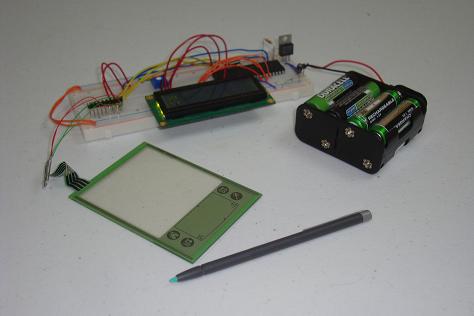
·Let's take a look at the software in the next section for how the PIC interacts with the I/O devices.
So with all that theory and design under our belts it's time to actually build this system. This section will show you how I built the system on the breadboard.
Building The Circuit
Get your parts together and follow the schematic. I built mine and in stages as you can see below...

·First the power regulator circuit and the PIC circuits are connected.
·Next the LCD circuit is wired up on the breadboard.
·Lastly, the touch screen is connected.
·The touch screen connector is a tricky 'tape' type connector. I got 4 wire-wrap wires and taped them in place to connect to the 4-wire touch screen.
·To press the wires down to the connector, I used a paper-clip. A useful make-shift solution =D.
·The system is connected together and ready to be programmed.

·Let's take a look at the software in the next section for how the PIC interacts with the I/O devices.