An Overview Of The SPI Master / SPI Slave via PIC
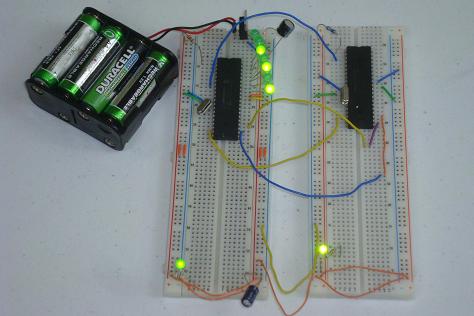
The SPI Master - SPI Slave relationship was detailed out in this tutorial using theoretical timing diagrams, a long with an example design using the PIC microcontroller. SPI offers many different ways to communicate, no matter if you want to send commands, addresses or just raw data. The example design built in this tutorial only sent data to an SPI slave that output that data to and LED display port for visual confirmation. It's simple but once you can do this, you're ready to move on and interface with real devices.
What To Do Now
If you successfully completed this tutorial, you're ready to go get a sensor, motor controller or LCD and interface with it. Many sensors like the newer accelemoters, gyroscopes and magnetometers use SPI to output their digital values and to set internal registers. Many new A/D and D/A devices also use SPI to work. The next step from here is getting out there and interfacing with a real device, or creating your own sub-system of microcontroller slaves.
Conclusion
SPI can be a difficult protocol to understand if you're just starting out in electronics so this tutorial kept things simple all the way through. As a guide I feel this tutorial was successful at presenting how the SPI protocol works and the different modes in which it can operate. I hope you enjoyed reading this tutorial and learned something from it!
If you have any further questions, I implore you...don't be shy, take a look at the forums or ask a question there. I check them out regularly and love getting comments & questions.