PICKit3 Programming With MPLABX
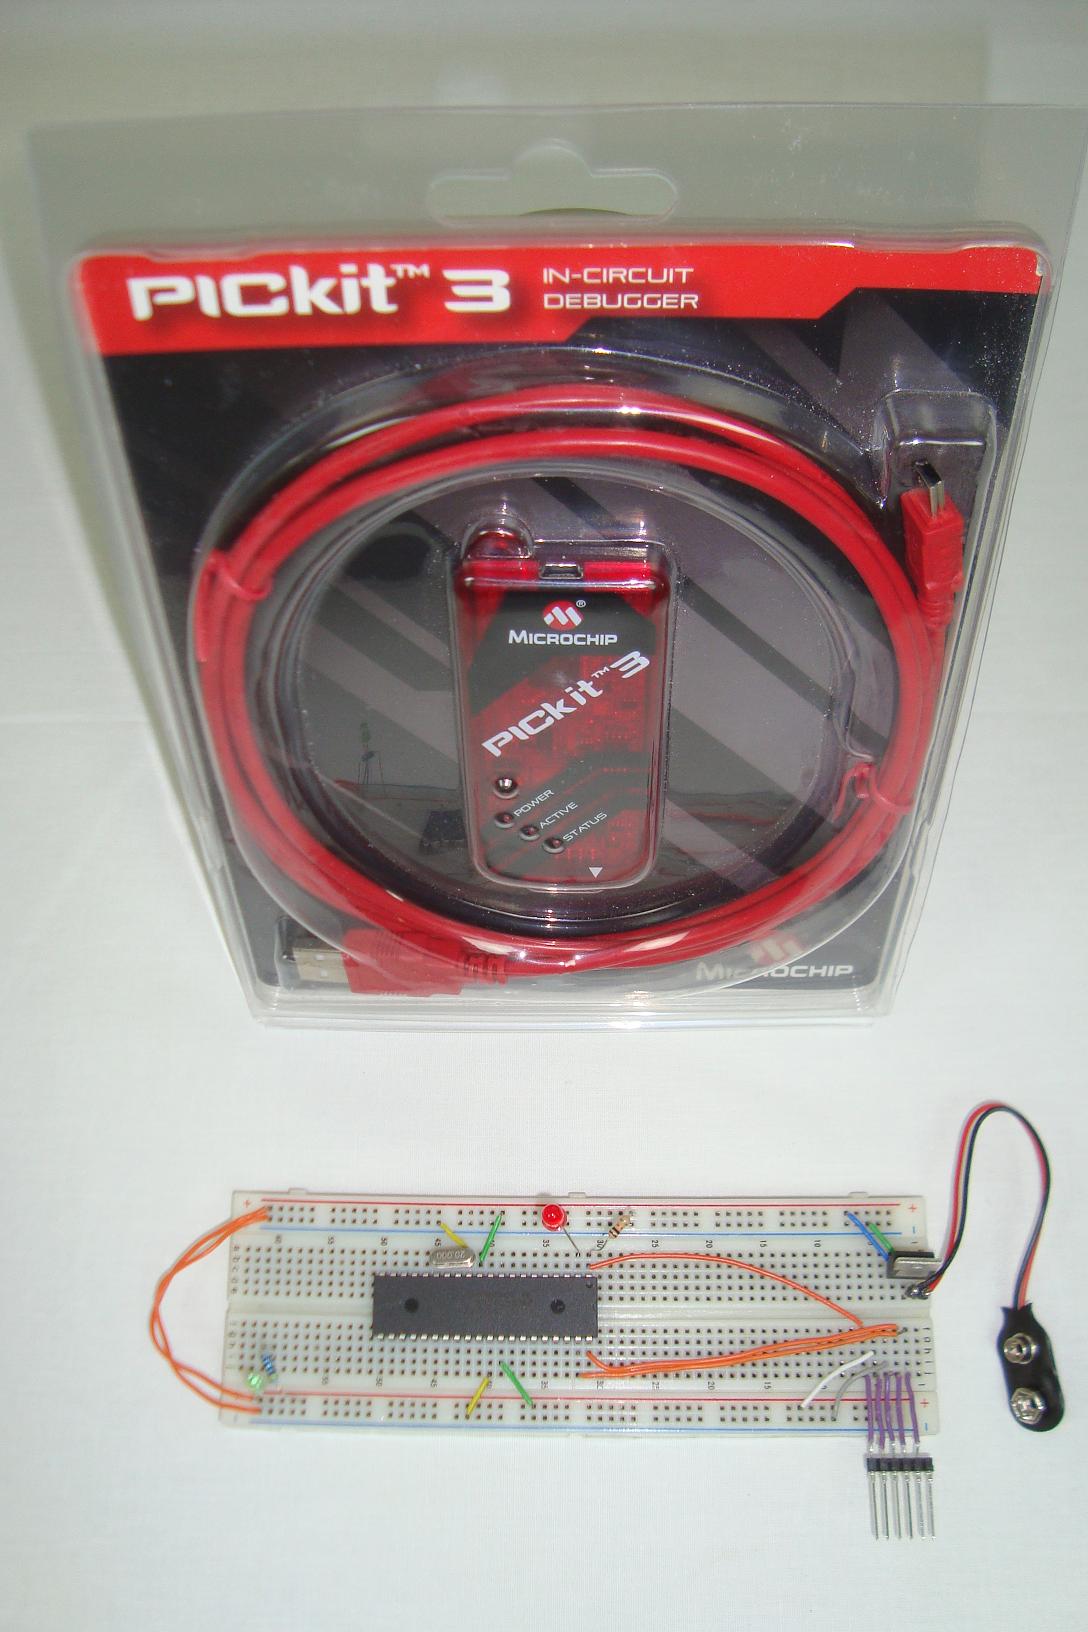
The PICKit3 offers a whole lot more than just programming PICs, however for the scope of this article I chose to focus on the simple goal of building a project using MPLABX, compiling it and loading it onto a PIC 18F452. This process must be mastered before you can dream of moving forward to using advanced features of the PICKit3 like the debugger.

What To Do Now
The real goal is to be comfortable using the basic elements of the MPLABX IDE program. Once you feel that it's not problem, you can move over to the debugger side of MPLABX and use the PICKit3 to view register values in real-time and to know what A/D value was converted. These advanced functions are invaluable when building larger, complex projects, but you can't move on to learn about them until you've mastered the basics outlined in this article.
Conclusion
The goals of programming a PIC using the MPLABX enviornment with the PICKit3 were all reached with not too much sweat. I hope that you all were able to reproduce the results seen in this article as it was written to be very 'beginner' friendly. The PICKit3 can program almost any version of the PIC so if you have another version of the PIC, try building a project for it and see if you can achieve the same successful results. I think you can do it, no problem!
If you have any further questions, I implore you...don't be shy, take a look at the forums or ask a question there. I check them out regularly and love getting comments & questions.
The PICKit3 offers a whole lot more than just programming PICs, however for the scope of this article I chose to focus on the simple goal of building a project using MPLABX, compiling it and loading it onto a PIC 18F452. This process must be mastered before you can dream of moving forward to using advanced features of the PICKit3 like the debugger.
What To Do Now
The real goal is to be comfortable using the basic elements of the MPLABX IDE program. Once you feel that it's not problem, you can move over to the debugger side of MPLABX and use the PICKit3 to view register values in real-time and to know what A/D value was converted. These advanced functions are invaluable when building larger, complex projects, but you can't move on to learn about them until you've mastered the basics outlined in this article.
Conclusion
The goals of programming a PIC using the MPLABX enviornment with the PICKit3 were all reached with not too much sweat. I hope that you all were able to reproduce the results seen in this article as it was written to be very 'beginner' friendly. The PICKit3 can program almost any version of the PIC so if you have another version of the PIC, try building a project for it and see if you can achieve the same successful results. I think you can do it, no problem!
If you have any further questions, I implore you...don't be shy, take a look at the forums or ask a question there. I check them out regularly and love getting comments & questions.