Hardware Design
The hardware design section will show you how I went through the process of building the PCB and then assembling the parts into the PCB.
Building The Circuit
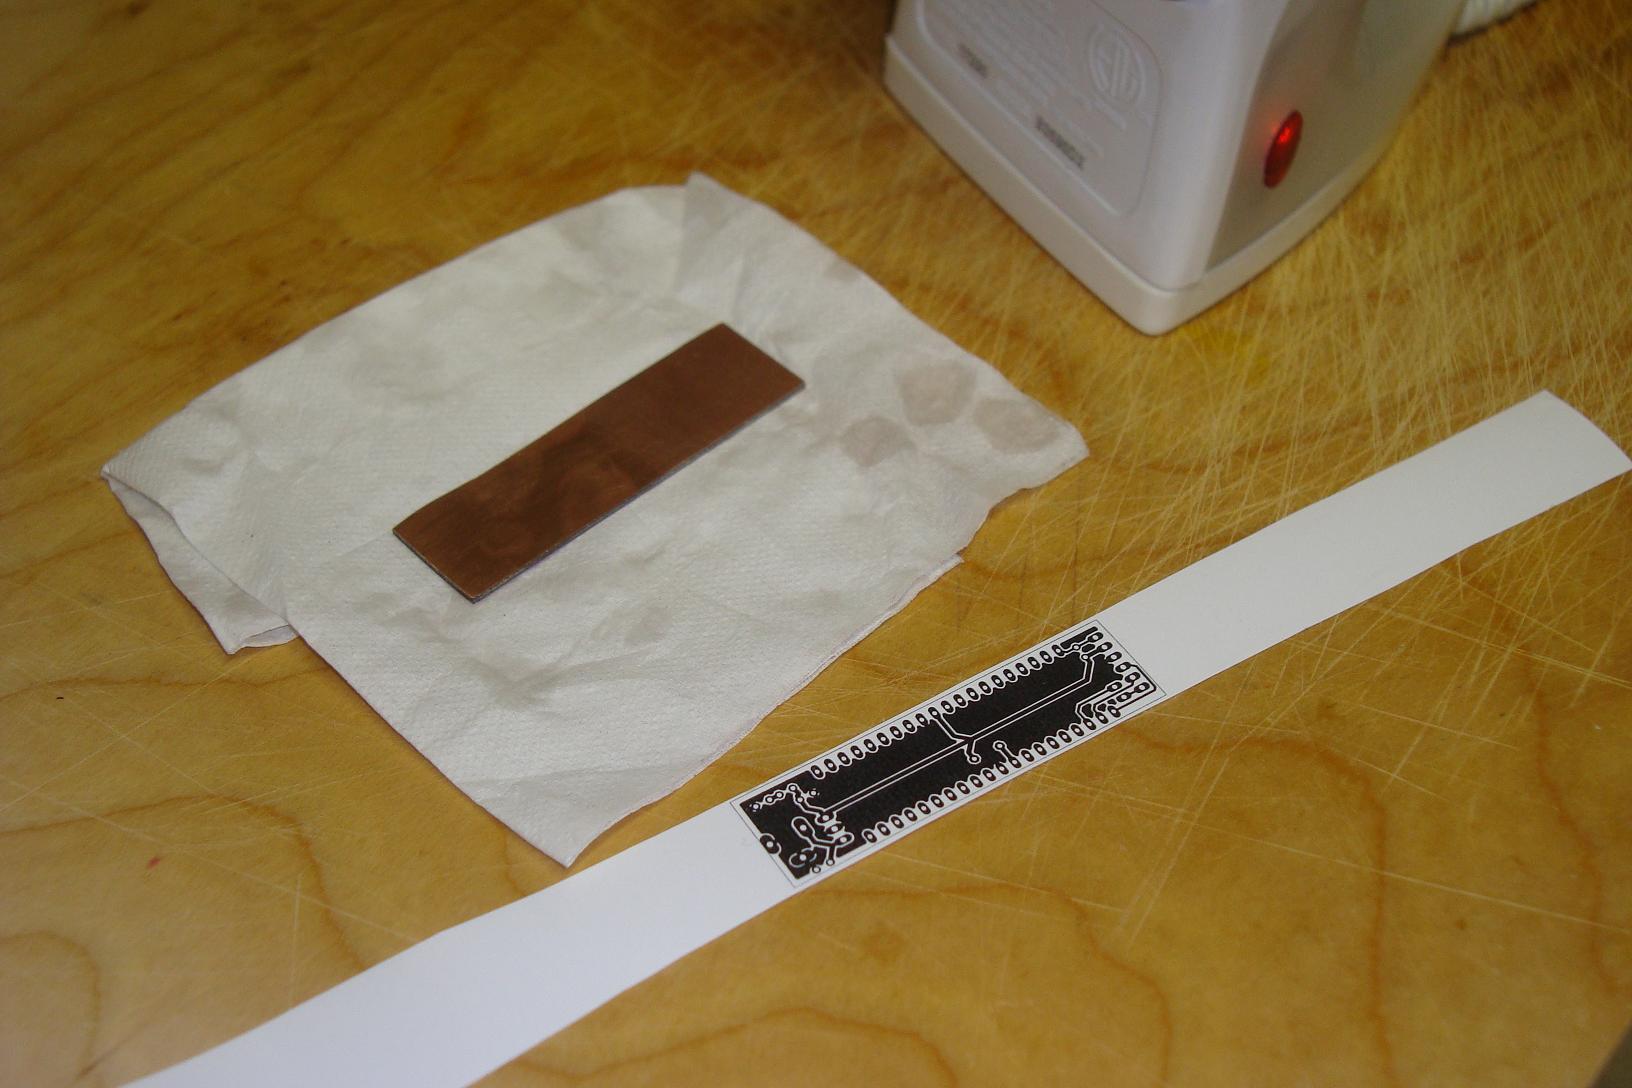
First we'll start out with the essentials, the circuit printed on some glossy paper, a standard clothes iron and a copper clad pc board.

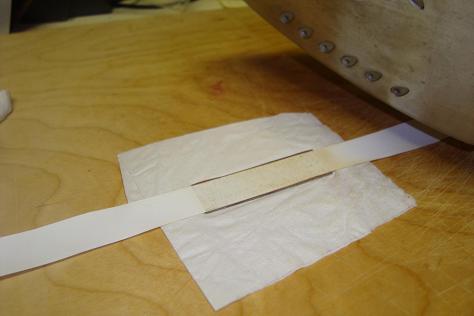
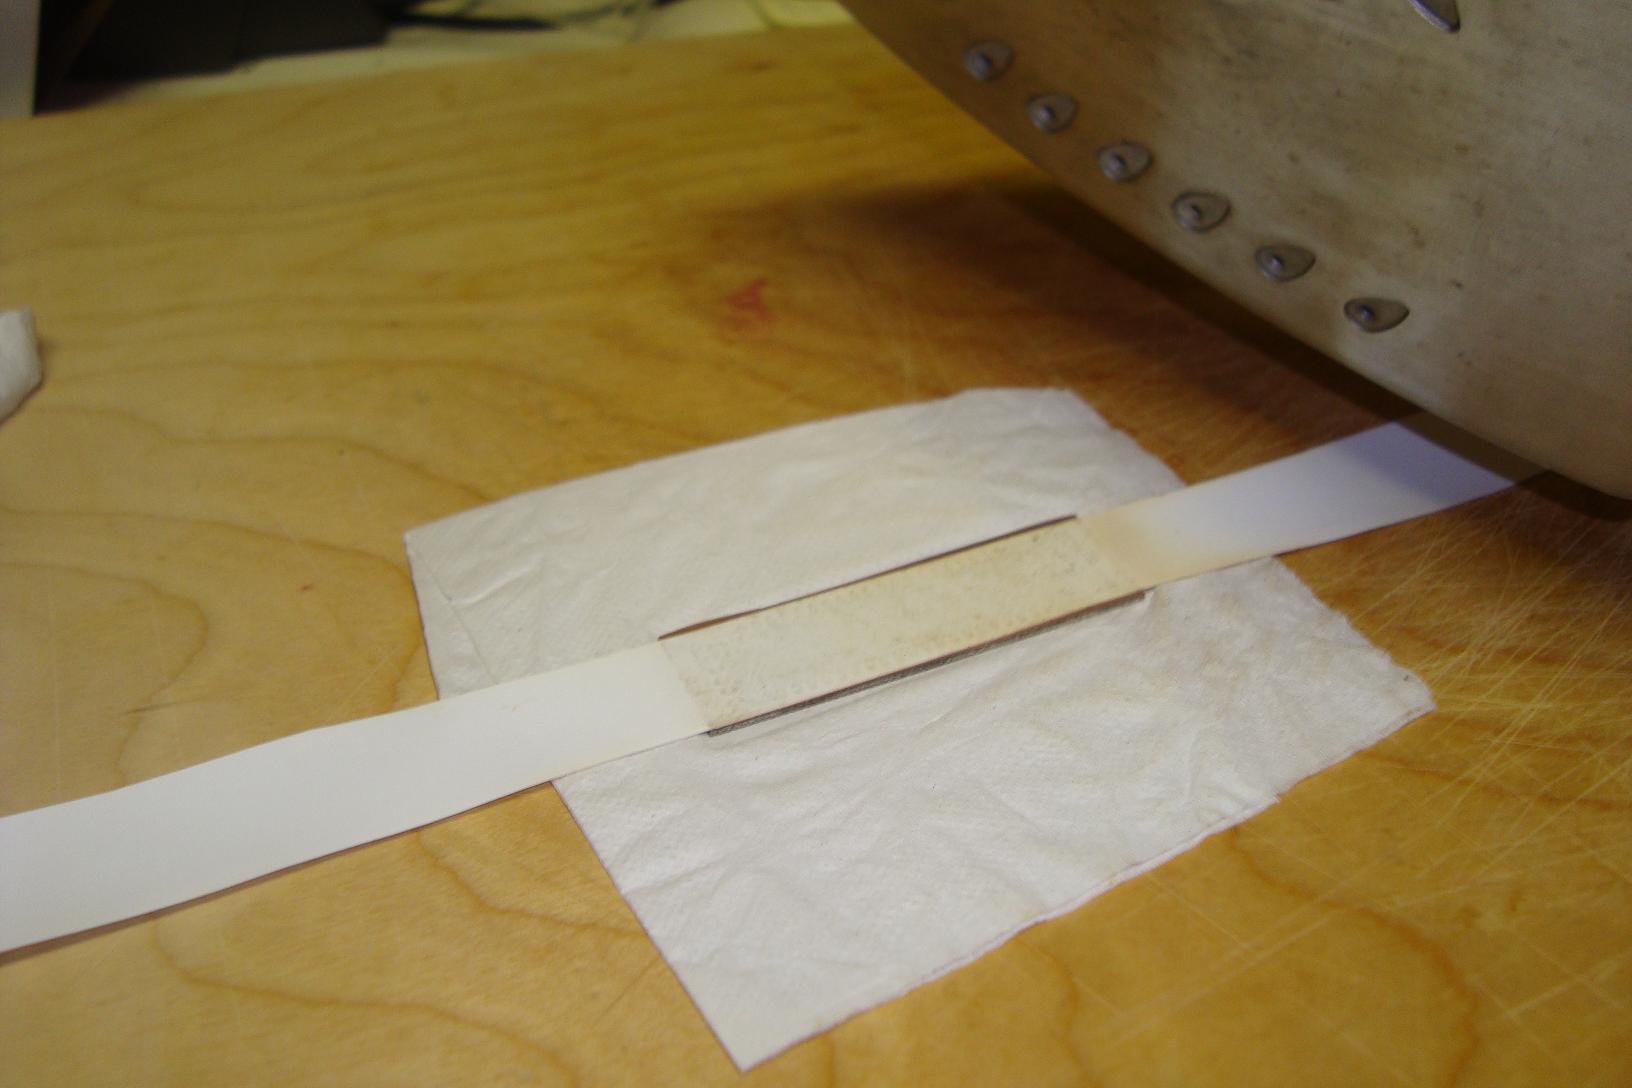
·The toner from the glossy paper is transferred onto the PCB by heating the paper with the iron.
·After the glossy paper is removed, the toner remains on the board. Time to etch!

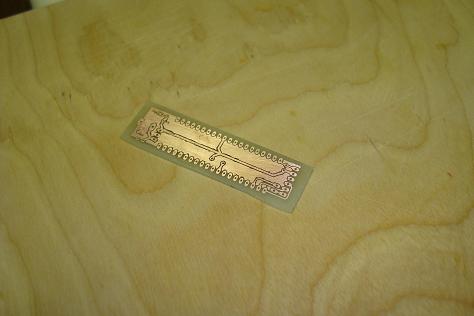
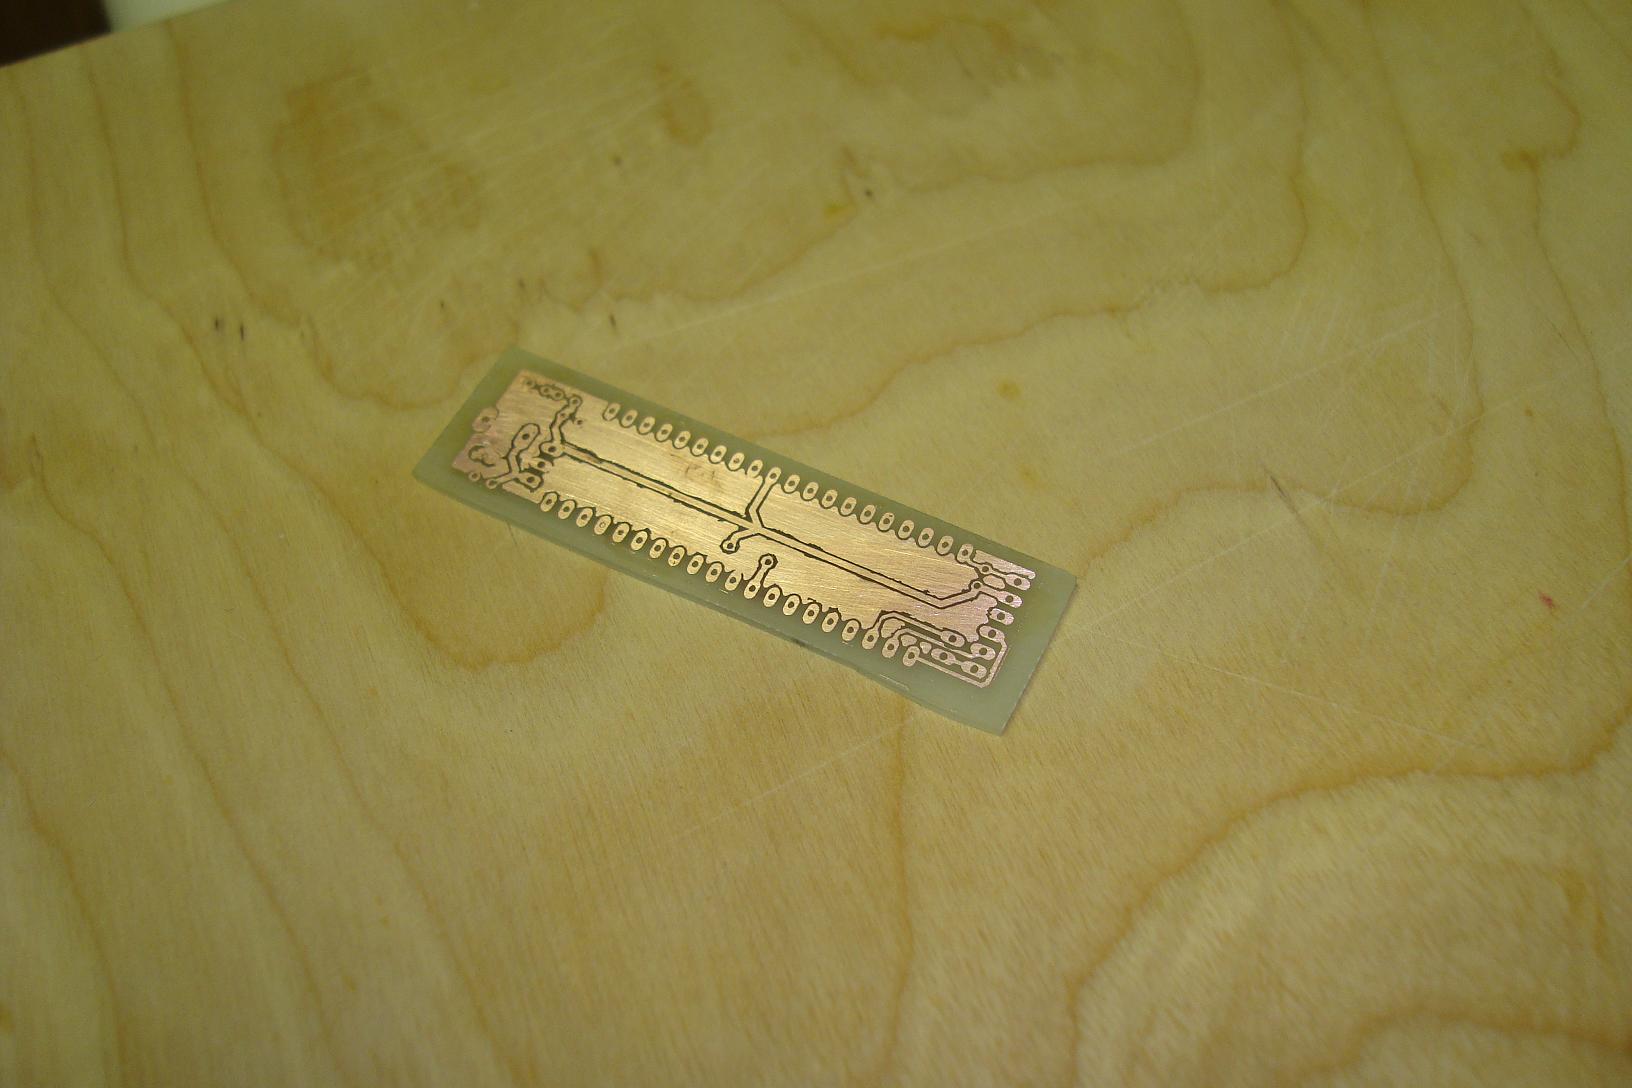
·After using some ferric chloride to etch the copper, only our circuit traces remain.
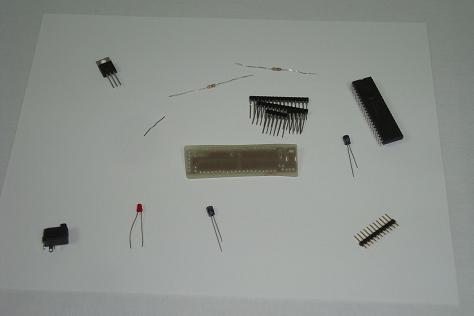
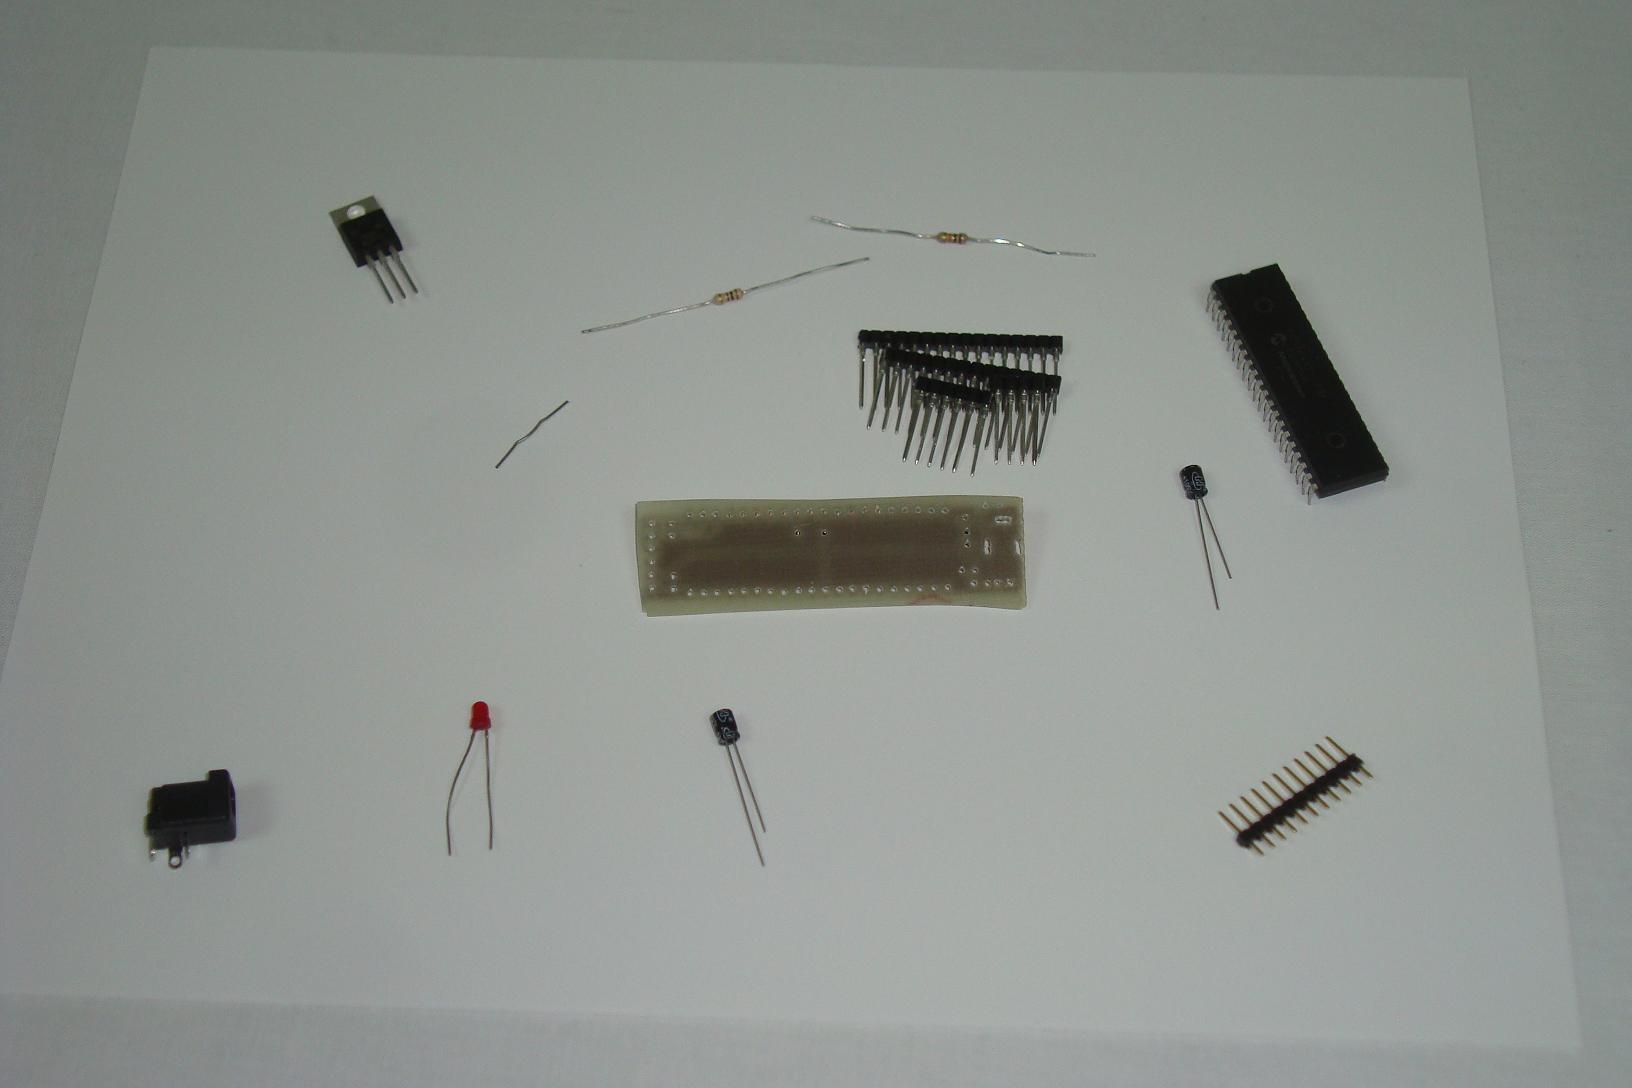
·Here I drilled out the holes in the PCB and laid out all the parts needed.
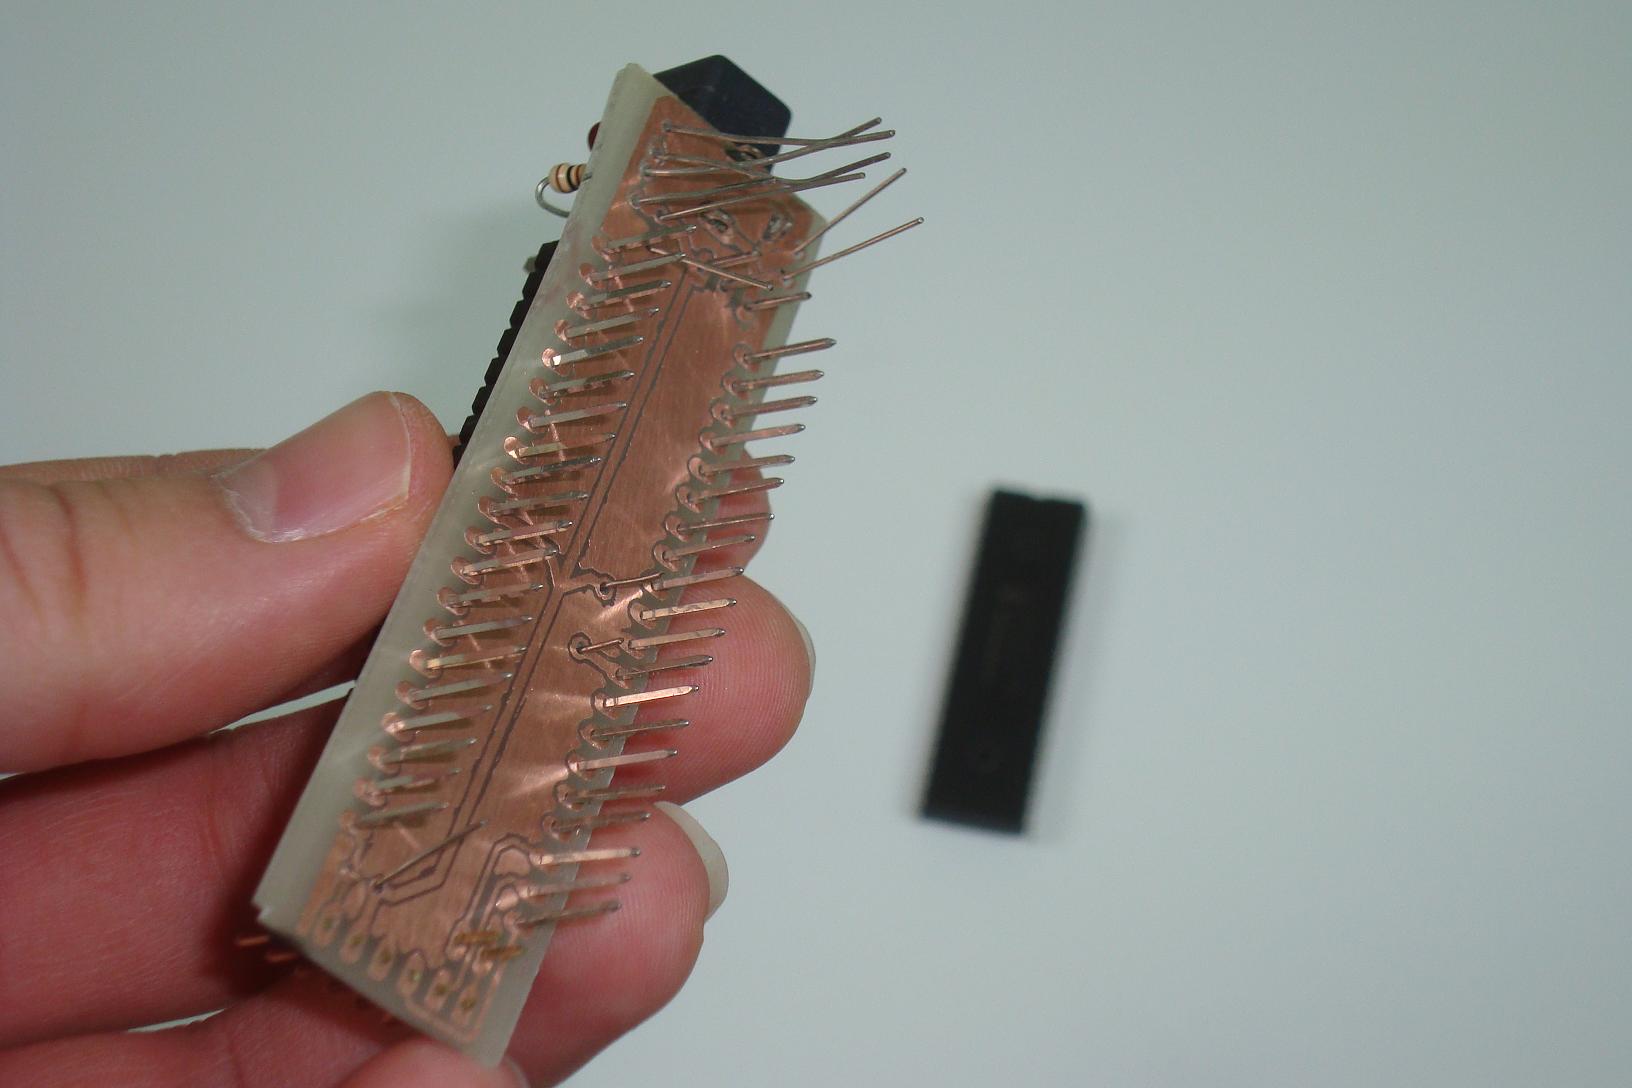
·Next, I placed all the parts where they need to go and soldered them in place.
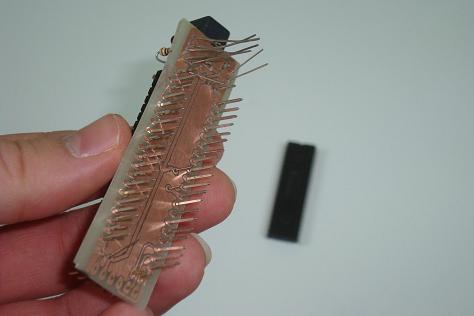
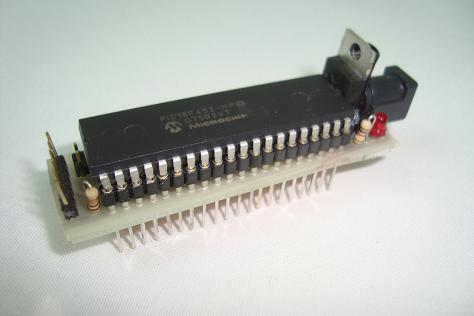
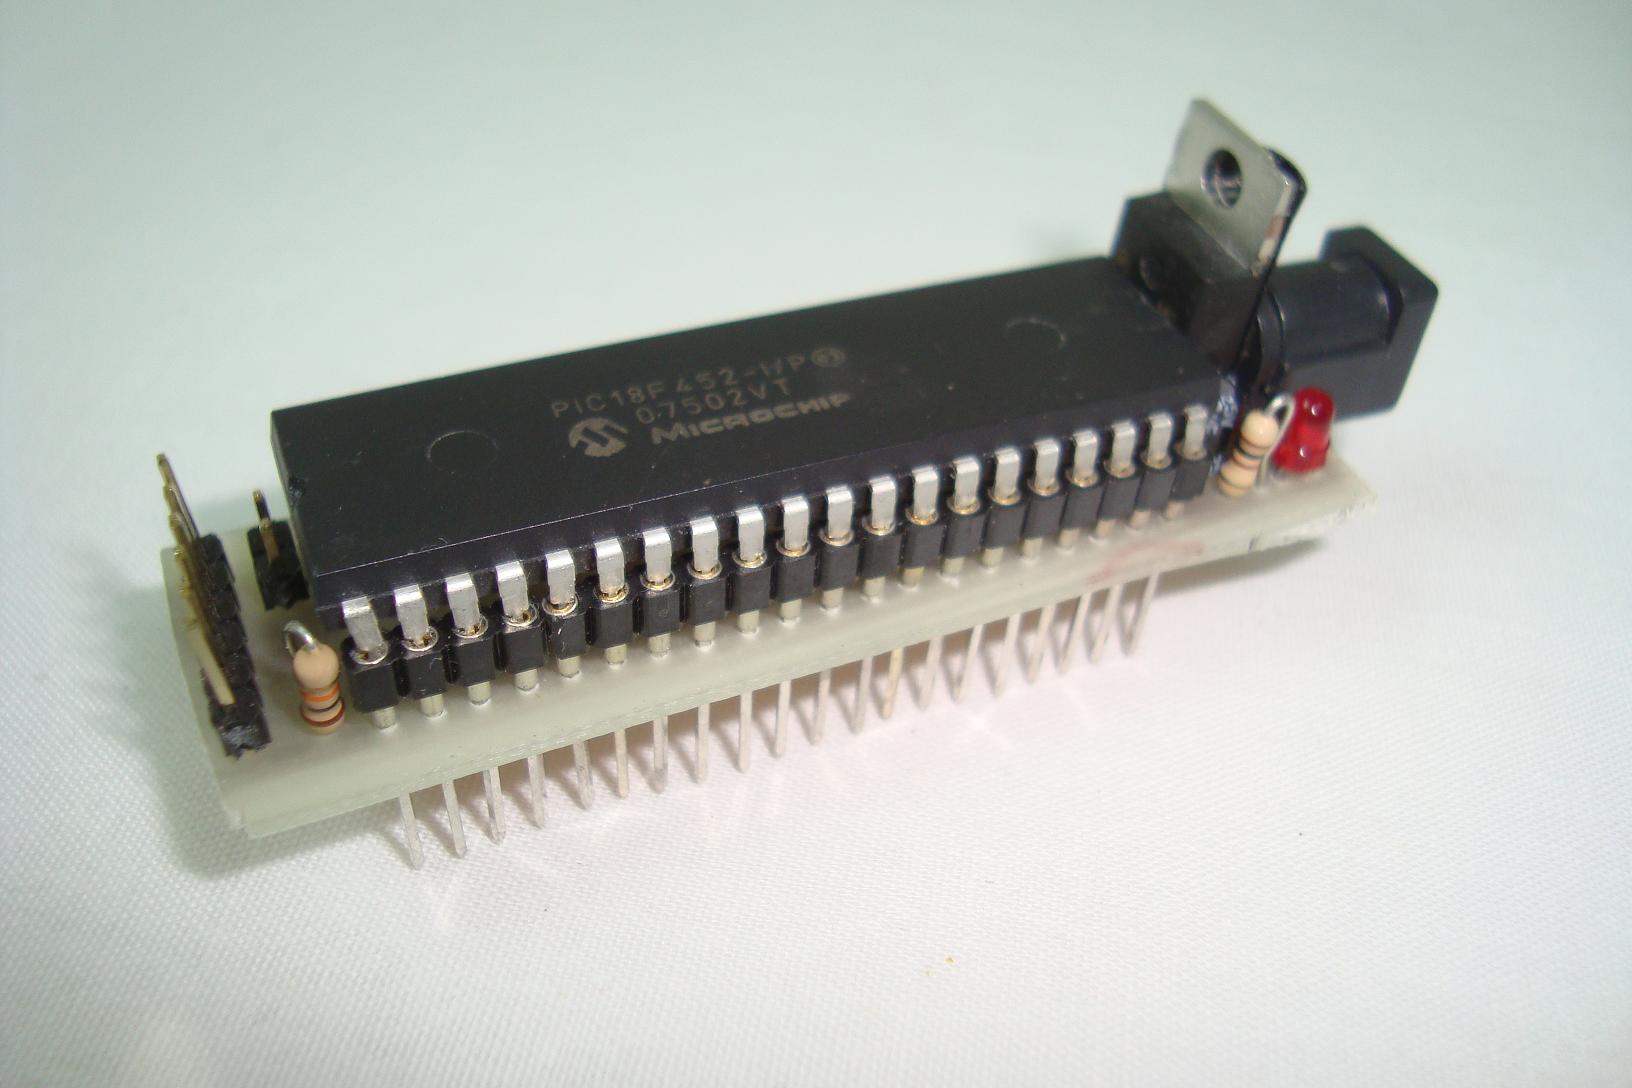
·The final product with the PIC put into place.
·That's it! Let's take a look at the software and get this thing working.
The hardware design section will show you how I went through the process of building the PCB and then assembling the parts into the PCB.
Building The Circuit
First we'll start out with the essentials, the circuit printed on some glossy paper, a standard clothes iron and a copper clad pc board.
·The toner from the glossy paper is transferred onto the PCB by heating the paper with the iron.
·After the glossy paper is removed, the toner remains on the board. Time to etch!
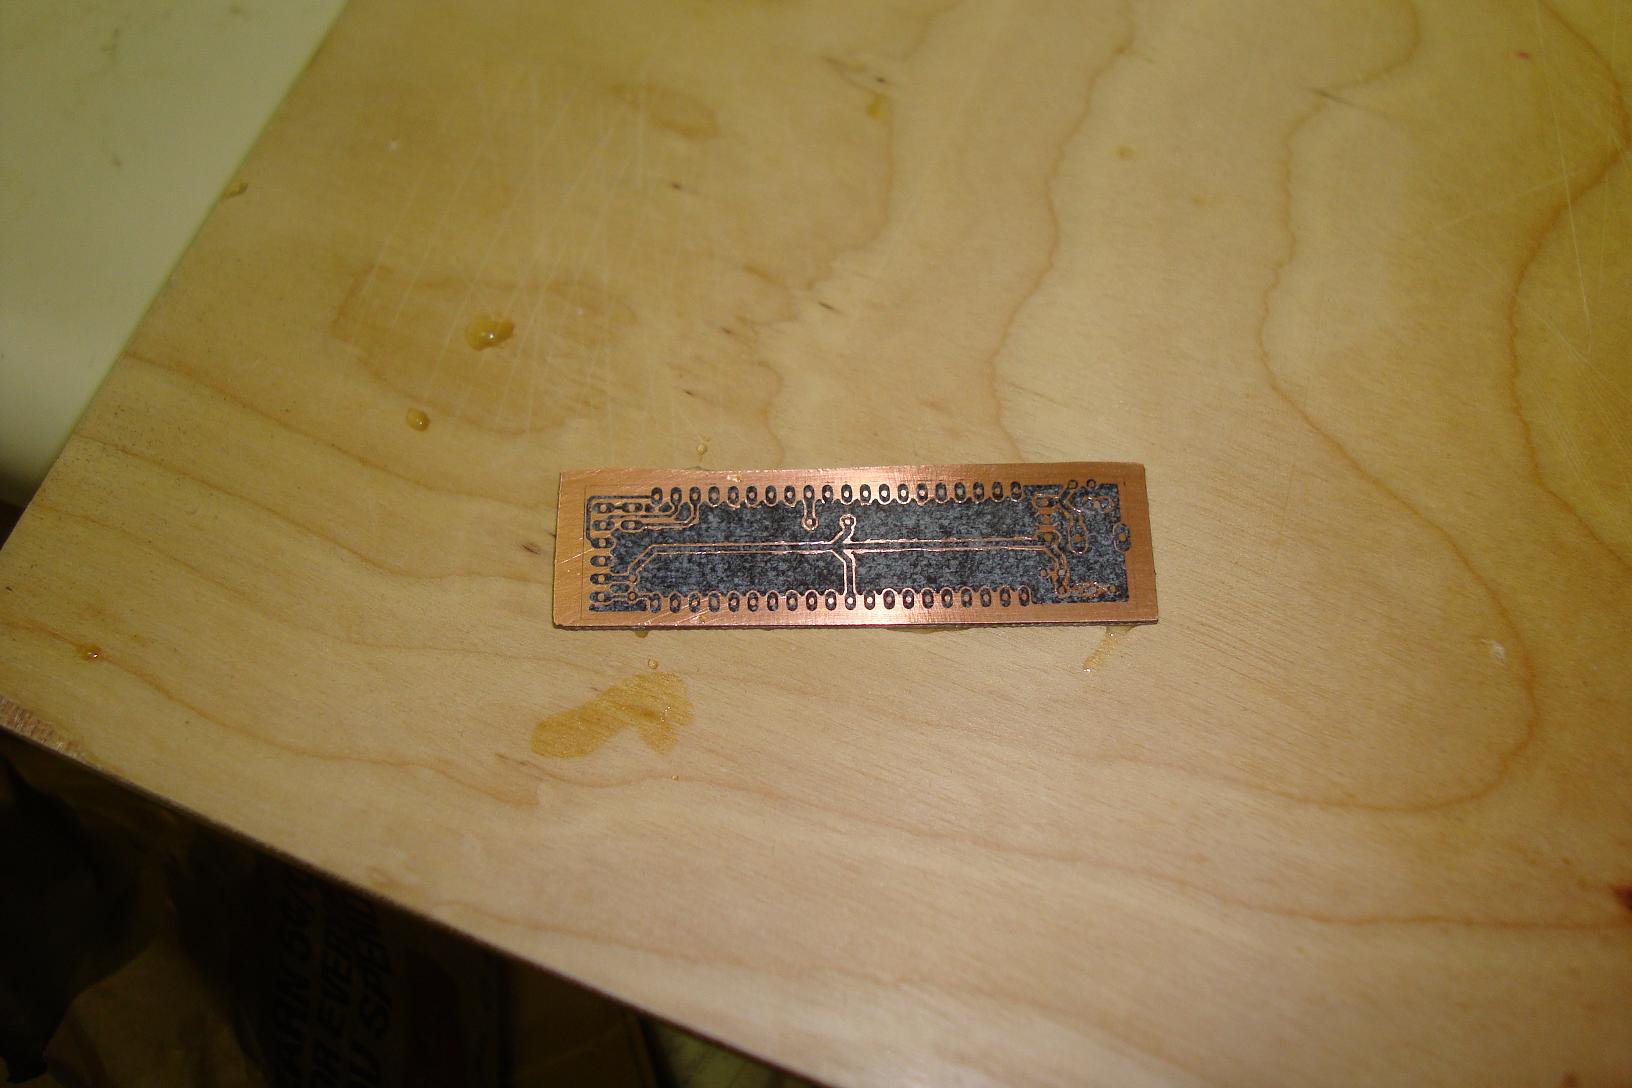
·After using some ferric chloride to etch the copper, only our circuit traces remain.
·Here I drilled out the holes in the PCB and laid out all the parts needed.
·Next, I placed all the parts where they need to go and soldered them in place.
·The final product with the PIC put into place.
·That's it! Let's take a look at the software and get this thing working.