Hardware Design
This hardware design section will be split into two parts. The first part will explain how we built the artwork side of the LED Christmas tree and the second part will show how the digital control side was built. So first let's start with building the actual LED Christmas tree!
Building An LED Christmas Tree
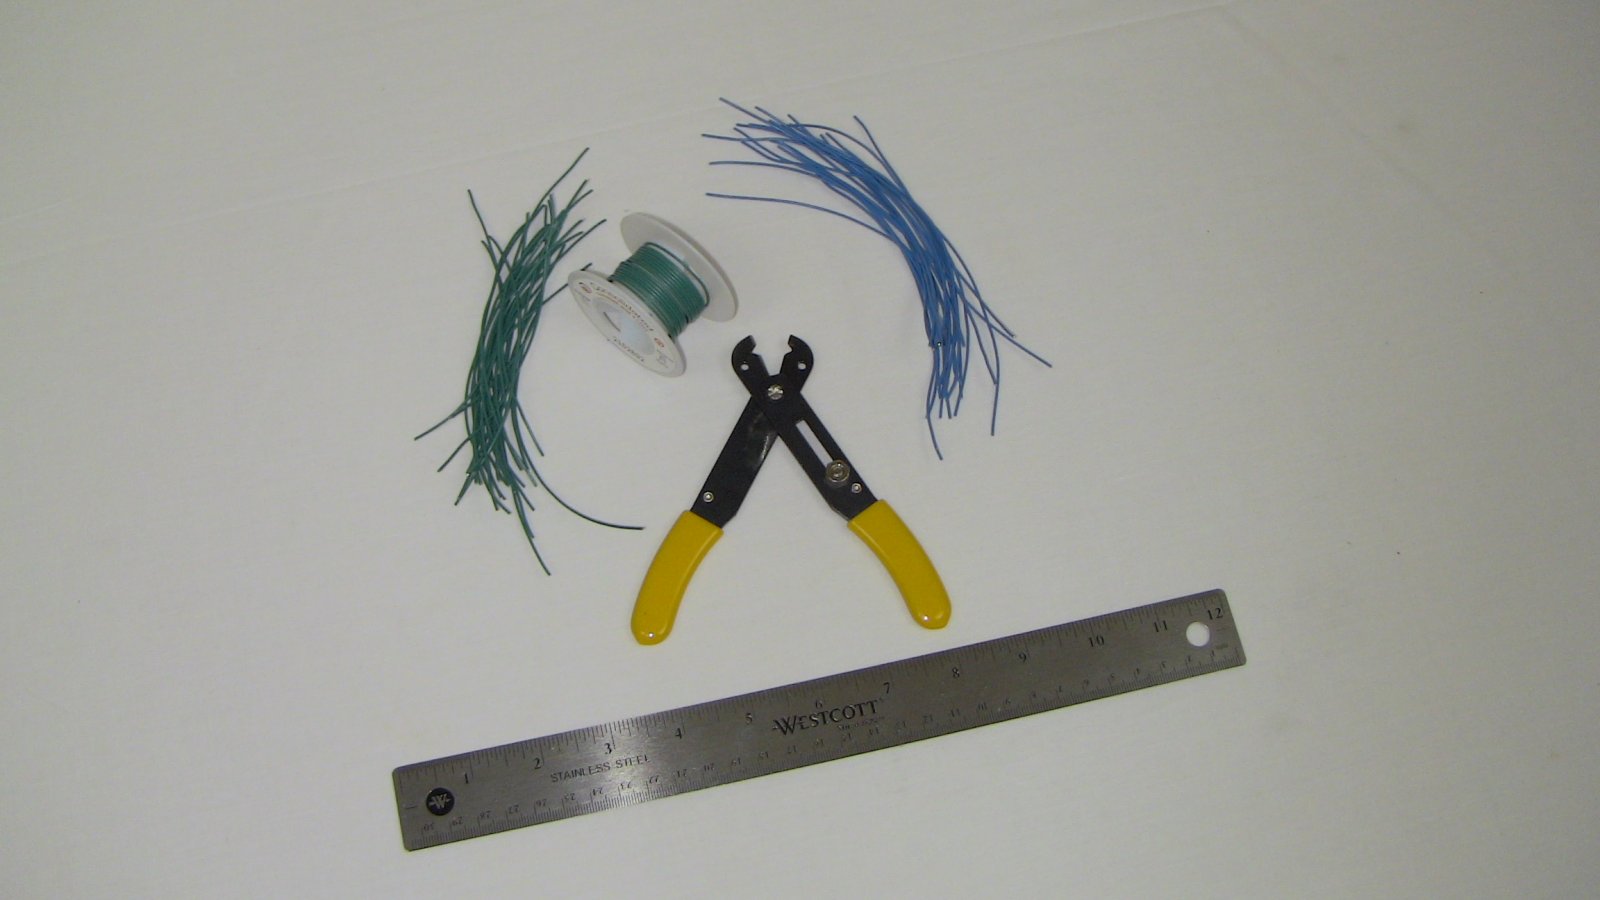
Before we can start work on the tree, we need to remember that what we're building should look like a cone with the LEDs spiraling around it. To do that, the LEDs will need some stilts to lift them up much higher off the board. To build those 'stilts' we'll use standard wire and straighten it.


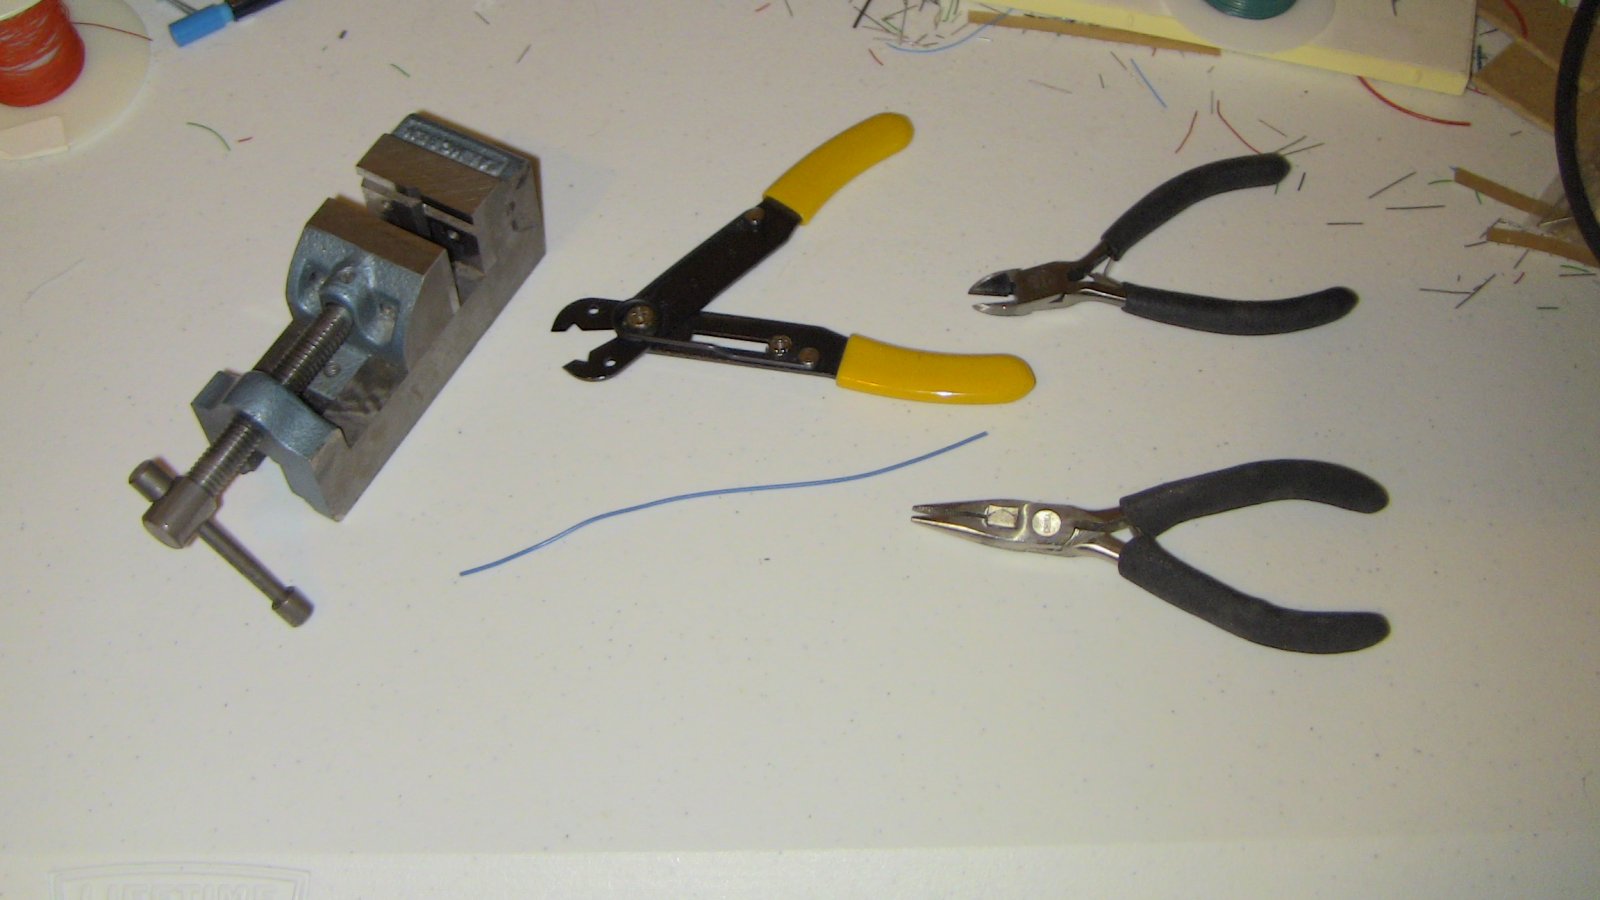
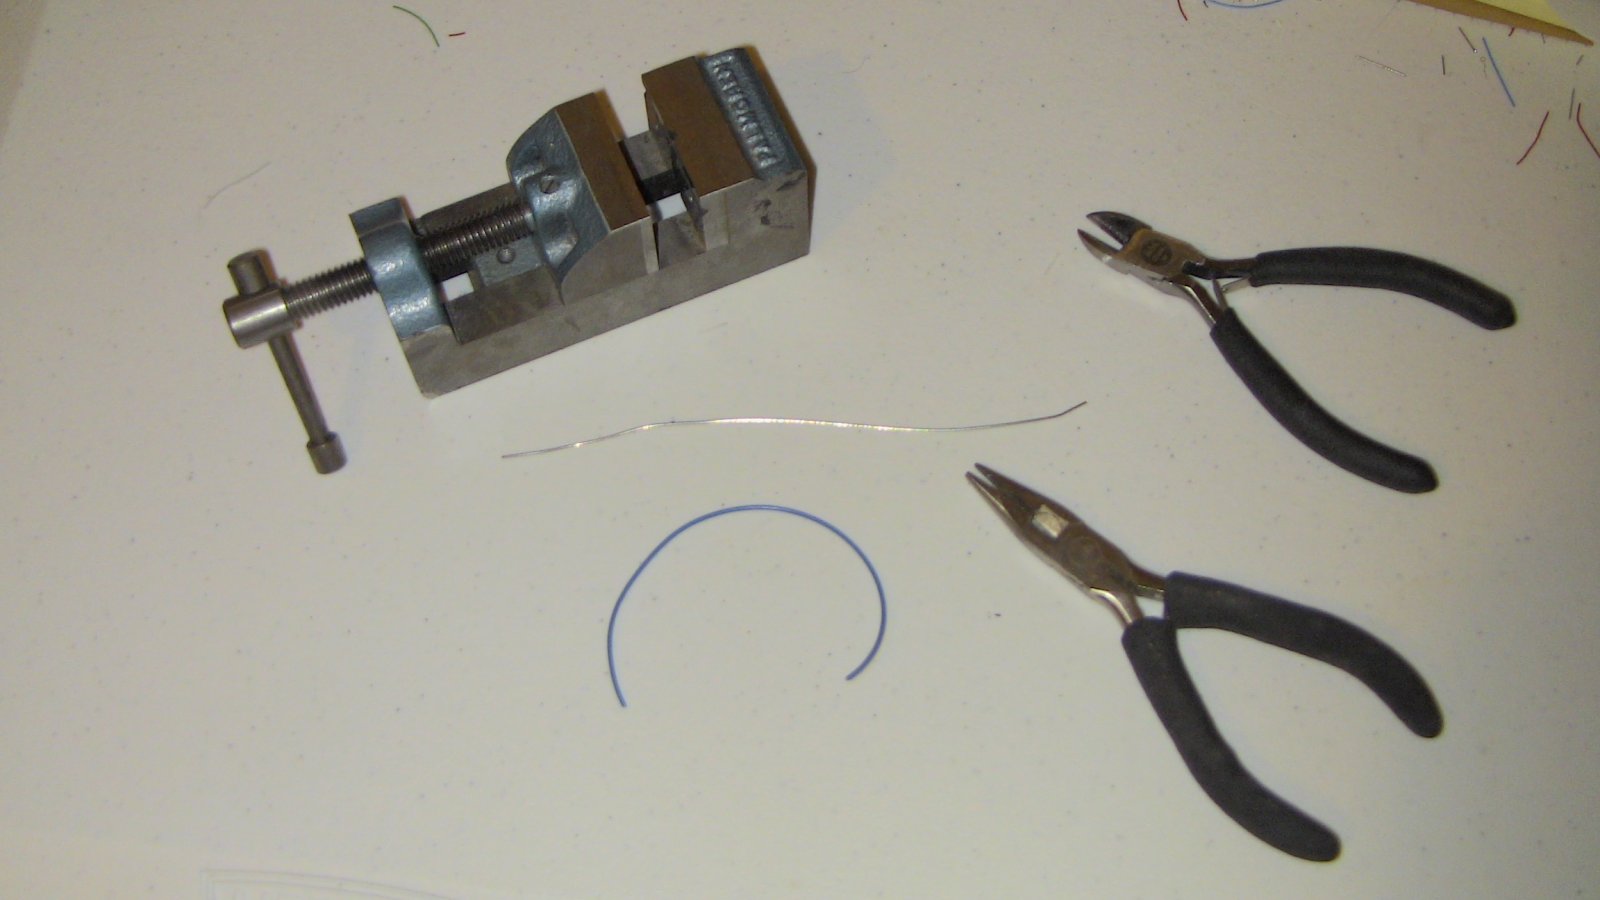
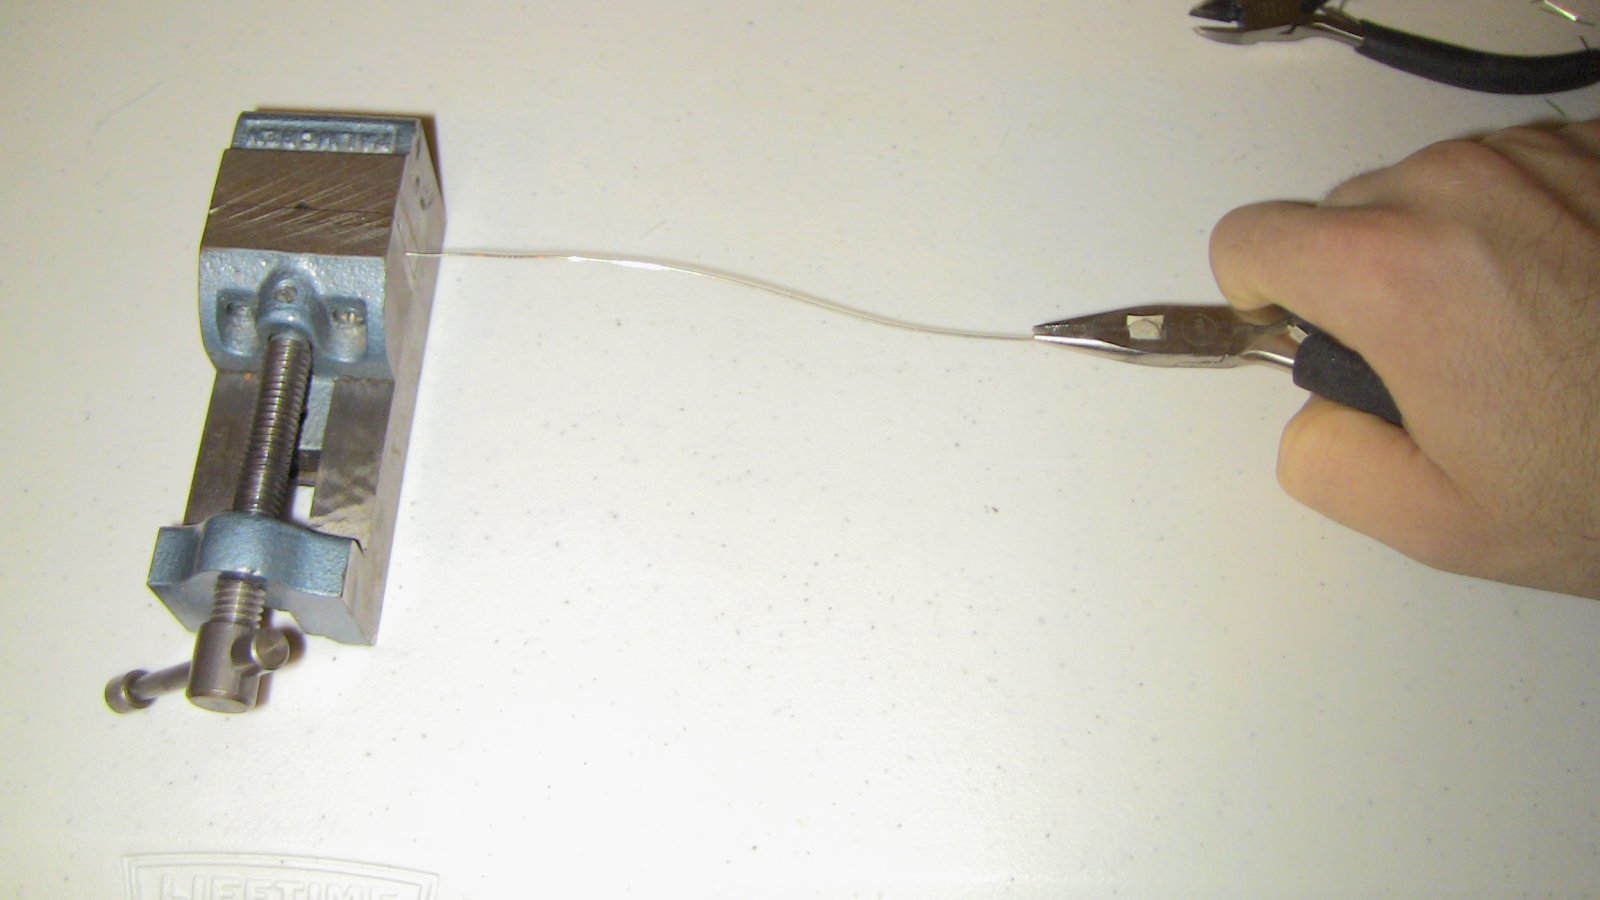
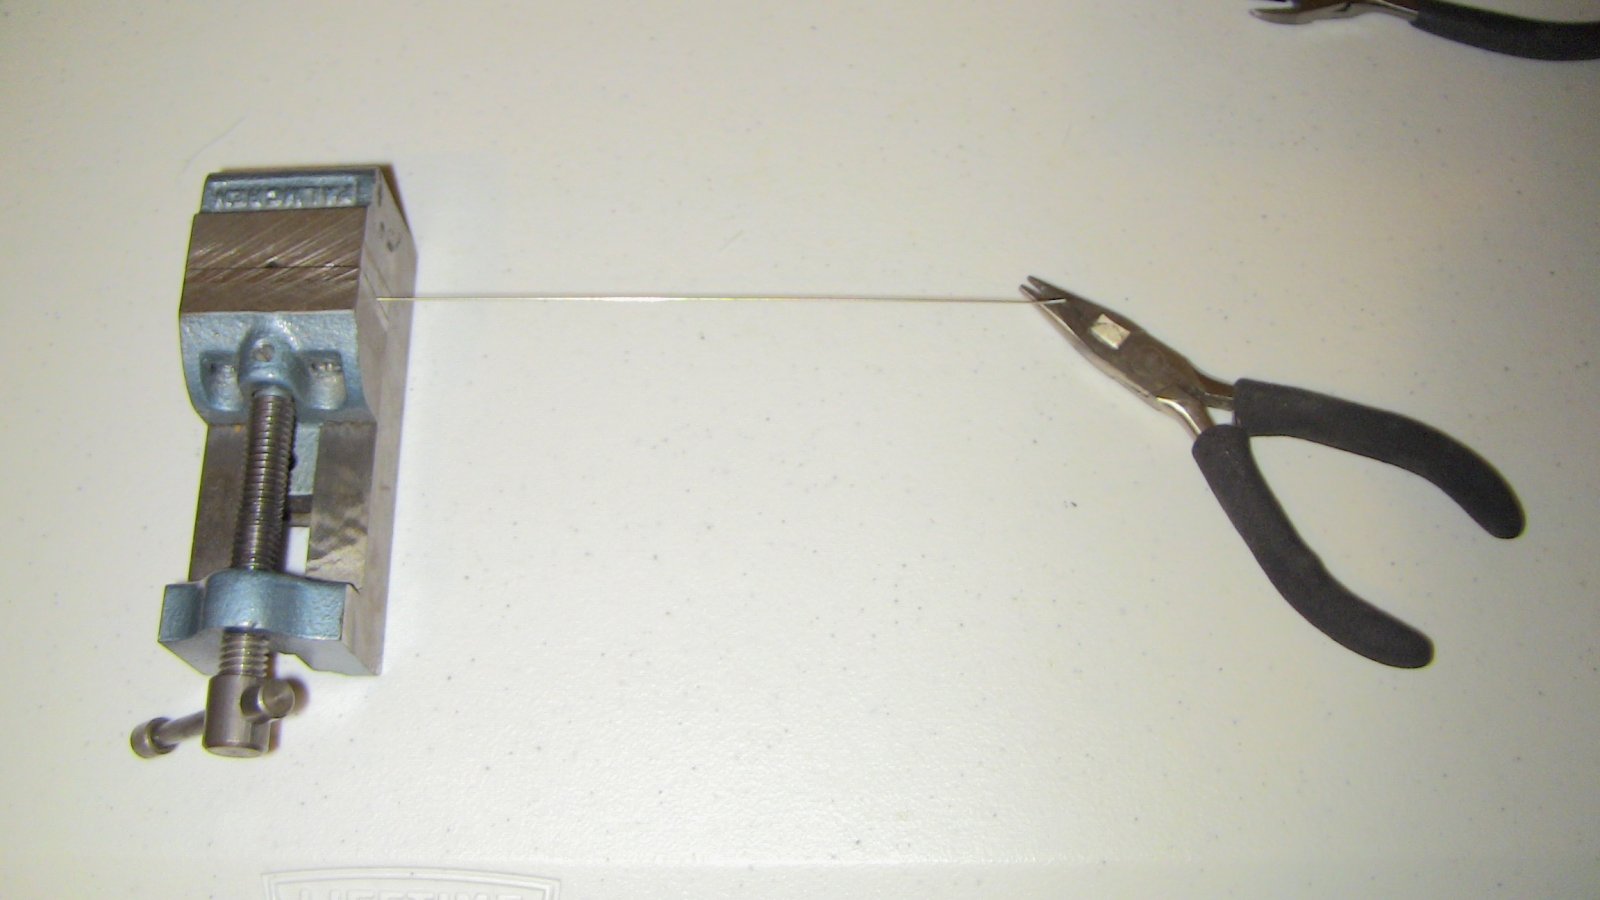
The easiest way to straighten wire is to get a vice and some pliers, clamp the wire in the vise, and pull on the wire with the pliers. The wire stretches a little bit and then becomes straight. We made 50 of these, from 12.5cm long to 0.25cm.


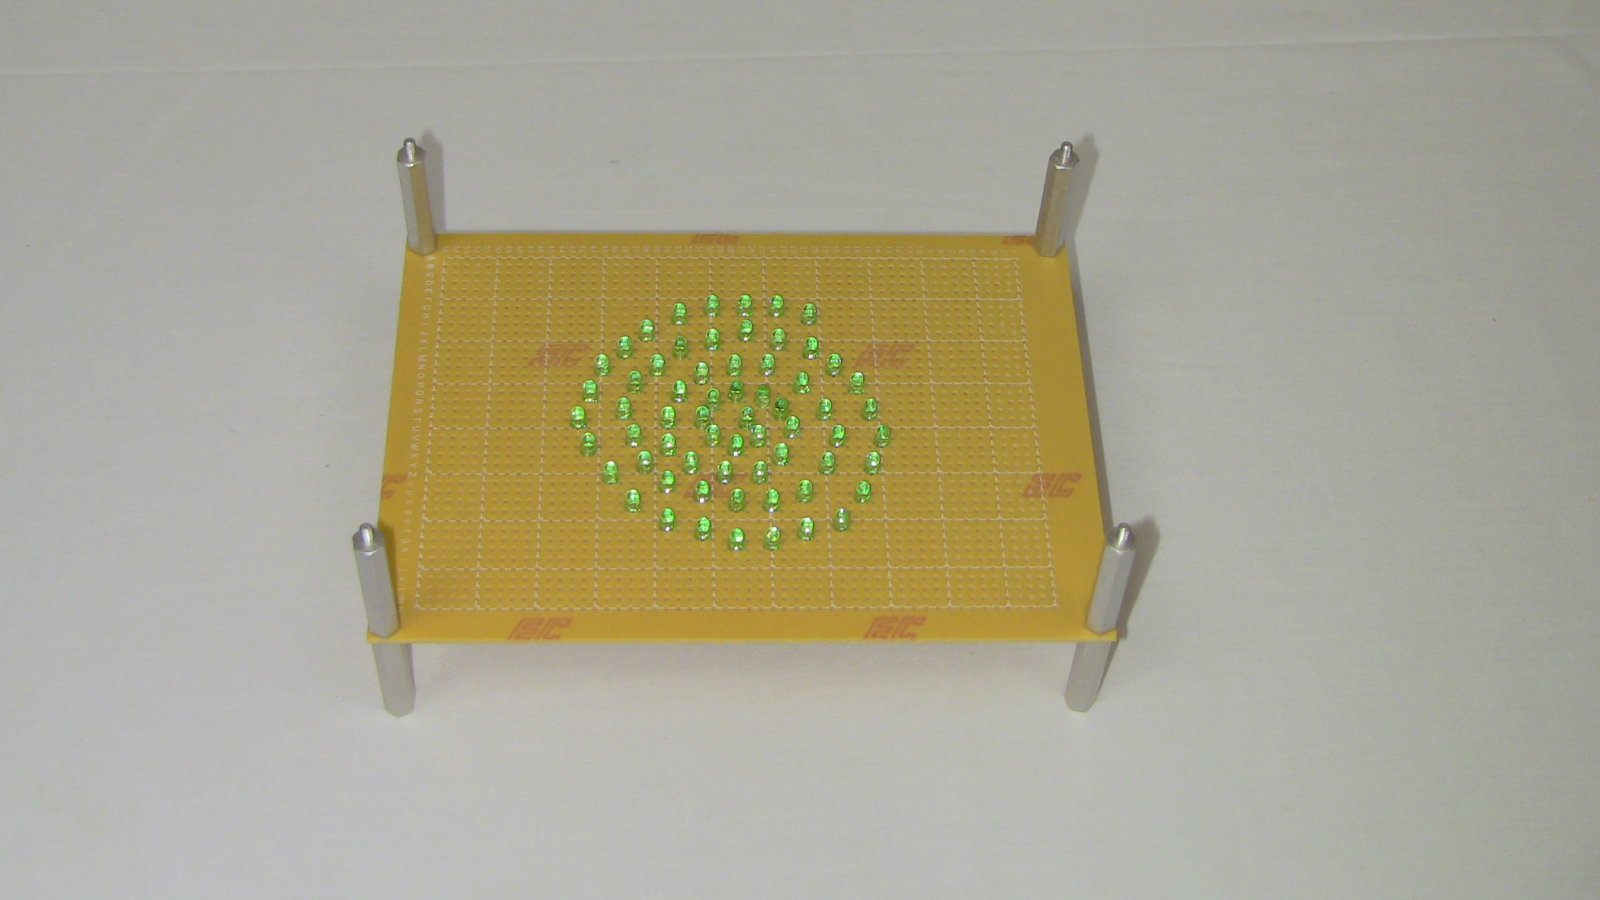
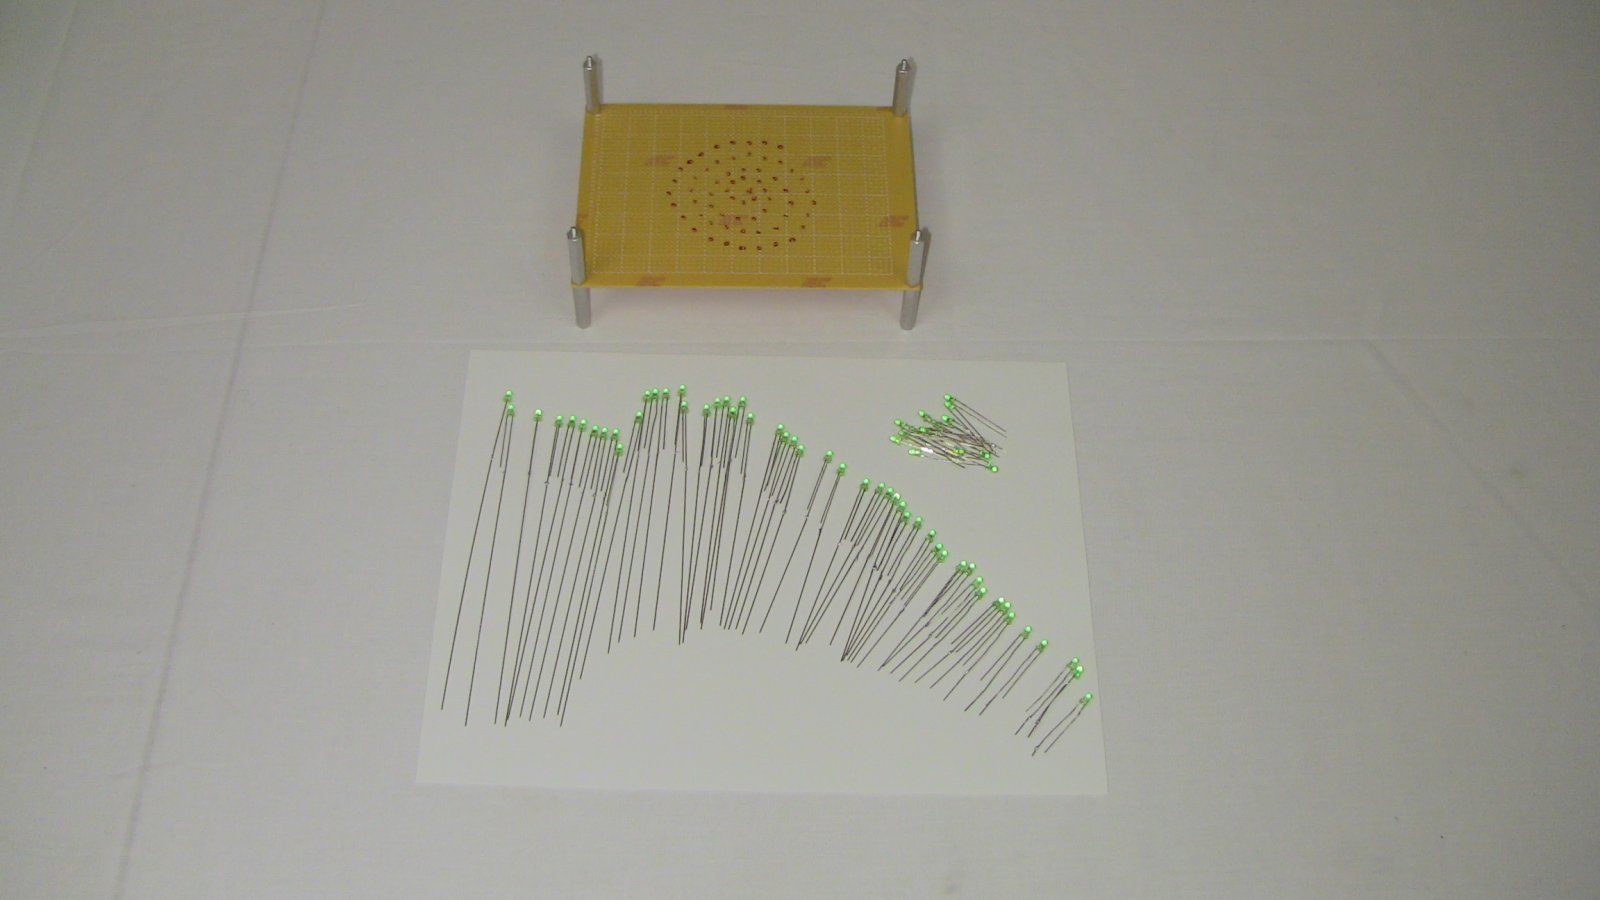
Here you can see all 50 of the individual wire pieces that we made. Next to them is the spiral shape that the LEDs should form on a 2-d plane. Next step, solder each of the wires to an LED's anode!


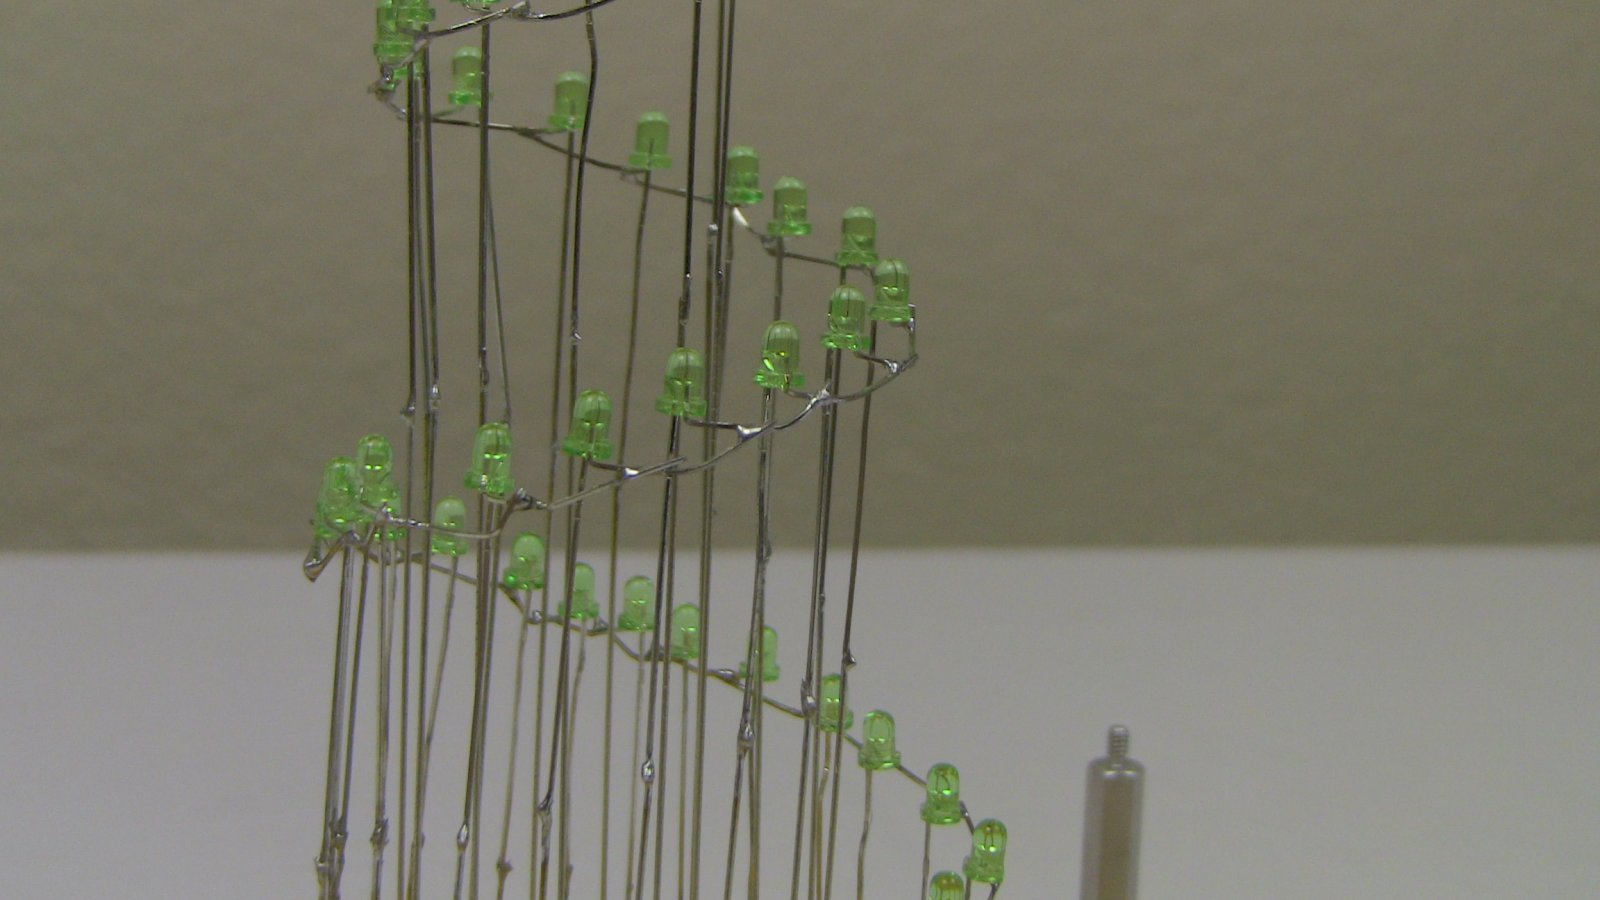
Here you can see the LEDs are much longer now and are ready to be soldered to the protoboard to form the tree. Start soldering from the bottom and work your way up. Each LED's cathode is soldered to the next LED in line. Make sure to do this because it keeps the tree stable as it gets taller and taller. The first 5 LEDs are solered directly to the board and then each LED afterward is 0.25cm higher.


Build up, up and up! Take your time. The more time you put into it, the better it will look when you finish.


We ended up using a red LED for the very top of the LED Christmas tree. Up to you what to do! Now let's get started on building the control hardware.
This hardware design section will be split into two parts. The first part will explain how we built the artwork side of the LED Christmas tree and the second part will show how the digital control side was built. So first let's start with building the actual LED Christmas tree!
Building An LED Christmas Tree
Before we can start work on the tree, we need to remember that what we're building should look like a cone with the LEDs spiraling around it. To do that, the LEDs will need some stilts to lift them up much higher off the board. To build those 'stilts' we'll use standard wire and straighten it.
The easiest way to straighten wire is to get a vice and some pliers, clamp the wire in the vise, and pull on the wire with the pliers. The wire stretches a little bit and then becomes straight. We made 50 of these, from 12.5cm long to 0.25cm.
Here you can see all 50 of the individual wire pieces that we made. Next to them is the spiral shape that the LEDs should form on a 2-d plane. Next step, solder each of the wires to an LED's anode!

Here you can see the LEDs are much longer now and are ready to be soldered to the protoboard to form the tree. Start soldering from the bottom and work your way up. Each LED's cathode is soldered to the next LED in line. Make sure to do this because it keeps the tree stable as it gets taller and taller. The first 5 LEDs are solered directly to the board and then each LED afterward is 0.25cm higher.

Build up, up and up! Take your time. The more time you put into it, the better it will look when you finish.

We ended up using a red LED for the very top of the LED Christmas tree. Up to you what to do! Now let's get started on building the control hardware.