Assembling The AV Test Box
With a working PCB (feel free to test it out to make sure) we can proceed to actually putting it into the mint box can and finishing the hardware process.
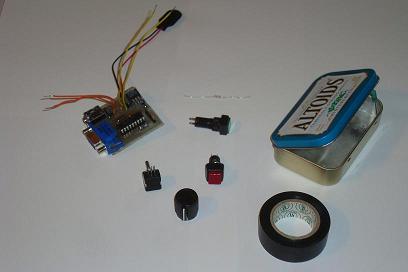
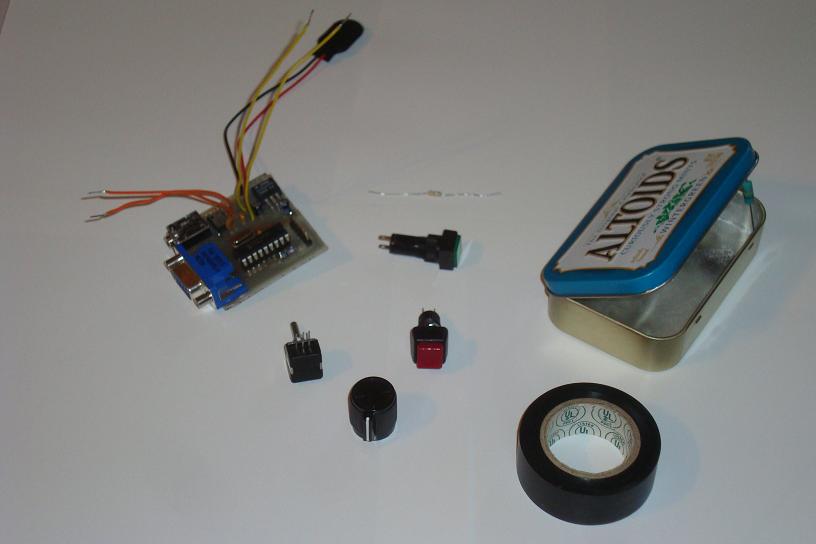
·So gather the remaining parts: 560 Resistor, mint box, buttons, led, knob and electrical tape.
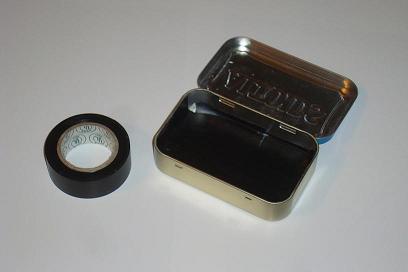
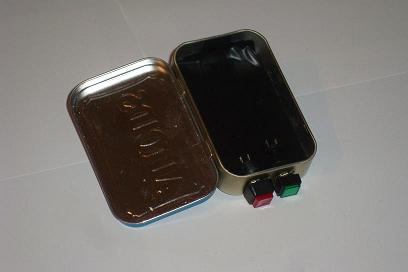
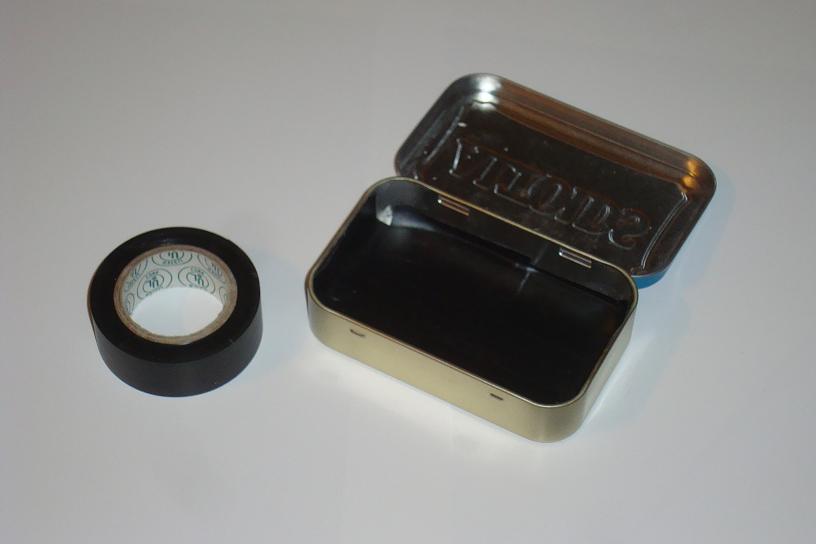
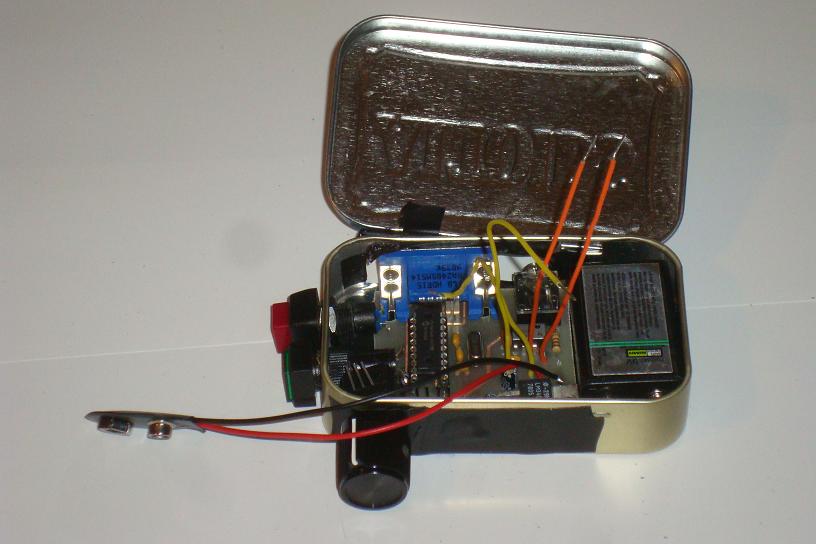
·Cover the floor of the container with electrical tape. This will prevent any short circuits that might occur from the PCB touching the tin case.
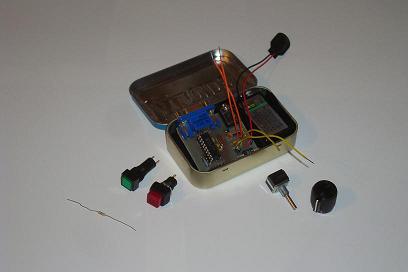
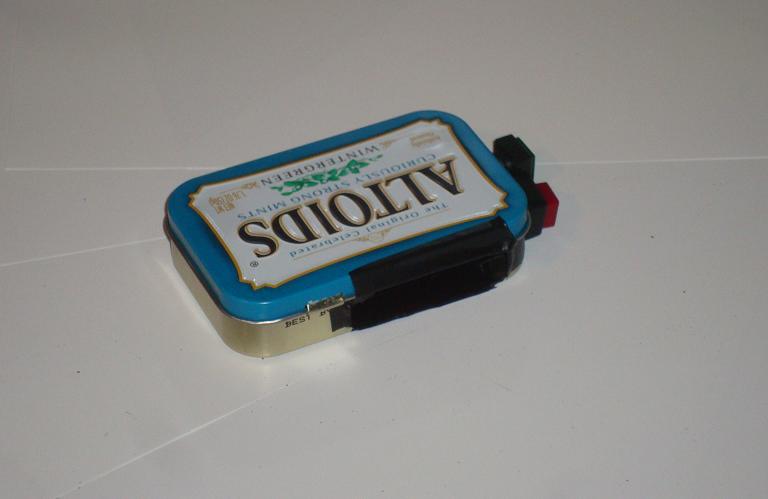
·Here is a mock up of how the parts will fit into the mint box. First lets drill holes for the on/off button and LED.
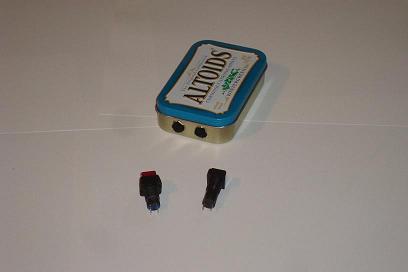
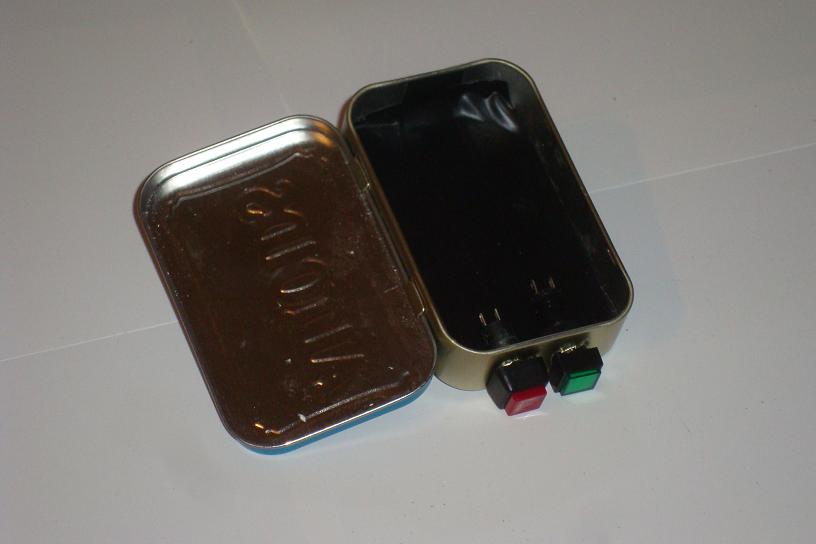
·The holes will be quite a large diameter because the switch/LED are pretty big.
·Make sure the on/off button and the LED fit into the holes snuggly and tighten them down.
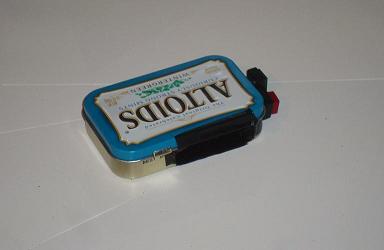
·I removed the whole back area instead of 'making things fit' perfectly. If you want things to look prettier feel free to drill perfect sized holes for the VGA and Audio output ports.
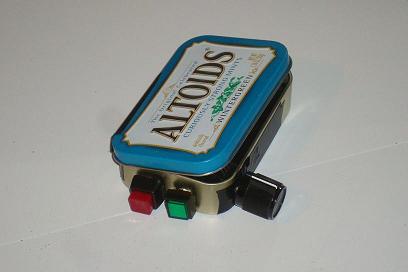
·Drill a whole into the mint box for the trim-pot as well. Attach the knob once you've got things fit inside.
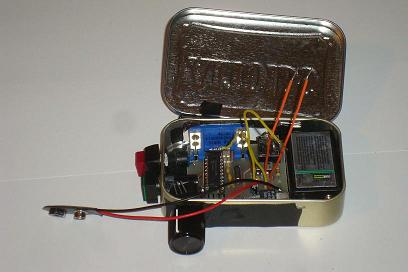
·Place all the parts inside like we saw in the initial mock-up, and solder the last 4 wires to the on/off switch and the trimpot.
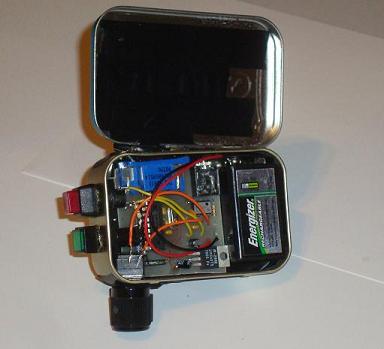
·Finished! The hardware has been built and is all ready to be loaded with the software. I used an excessive amount of electrical tape in order to make sure no short circuits occur during operation.
With a working PCB (feel free to test it out to make sure) we can proceed to actually putting it into the mint box can and finishing the hardware process.
·So gather the remaining parts: 560 Resistor, mint box, buttons, led, knob and electrical tape.
·Cover the floor of the container with electrical tape. This will prevent any short circuits that might occur from the PCB touching the tin case.

·Here is a mock up of how the parts will fit into the mint box. First lets drill holes for the on/off button and LED.

·The holes will be quite a large diameter because the switch/LED are pretty big.
·Make sure the on/off button and the LED fit into the holes snuggly and tighten them down.
·I removed the whole back area instead of 'making things fit' perfectly. If you want things to look prettier feel free to drill perfect sized holes for the VGA and Audio output ports.
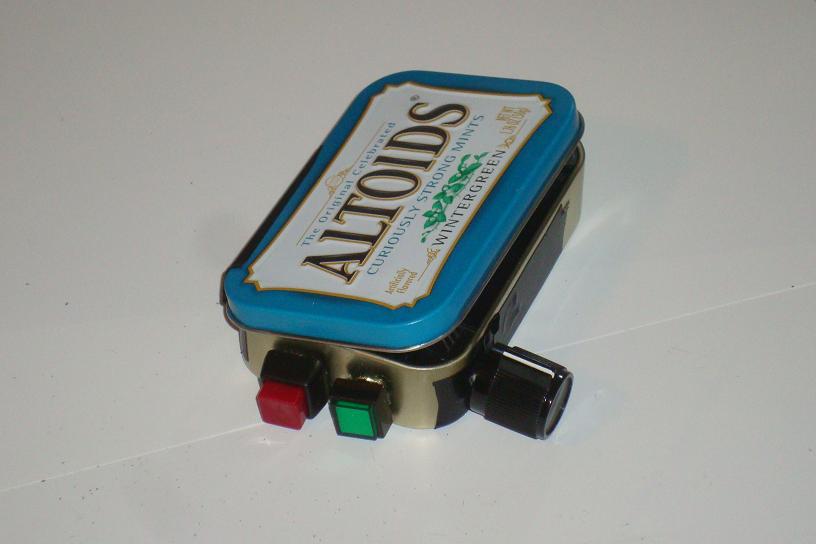
·Drill a whole into the mint box for the trim-pot as well. Attach the knob once you've got things fit inside.
·Place all the parts inside like we saw in the initial mock-up, and solder the last 4 wires to the on/off switch and the trimpot.

·Finished! The hardware has been built and is all ready to be loaded with the software. I used an excessive amount of electrical tape in order to make sure no short circuits occur during operation.