The Tenma 72-7735 DMM
Now we can take a good long look at the multimeter's front and back to see what it is capable of. The yellow button is the on/off button and the blue button is kind of like the shift key on a keyboard, you press it to select the alternate options in blue around the dial.

 I would love to go through each option and give an example of what it does and why you need it, but instead I'll cover the basics of what this multimeter seen in white around the dial from left to right:
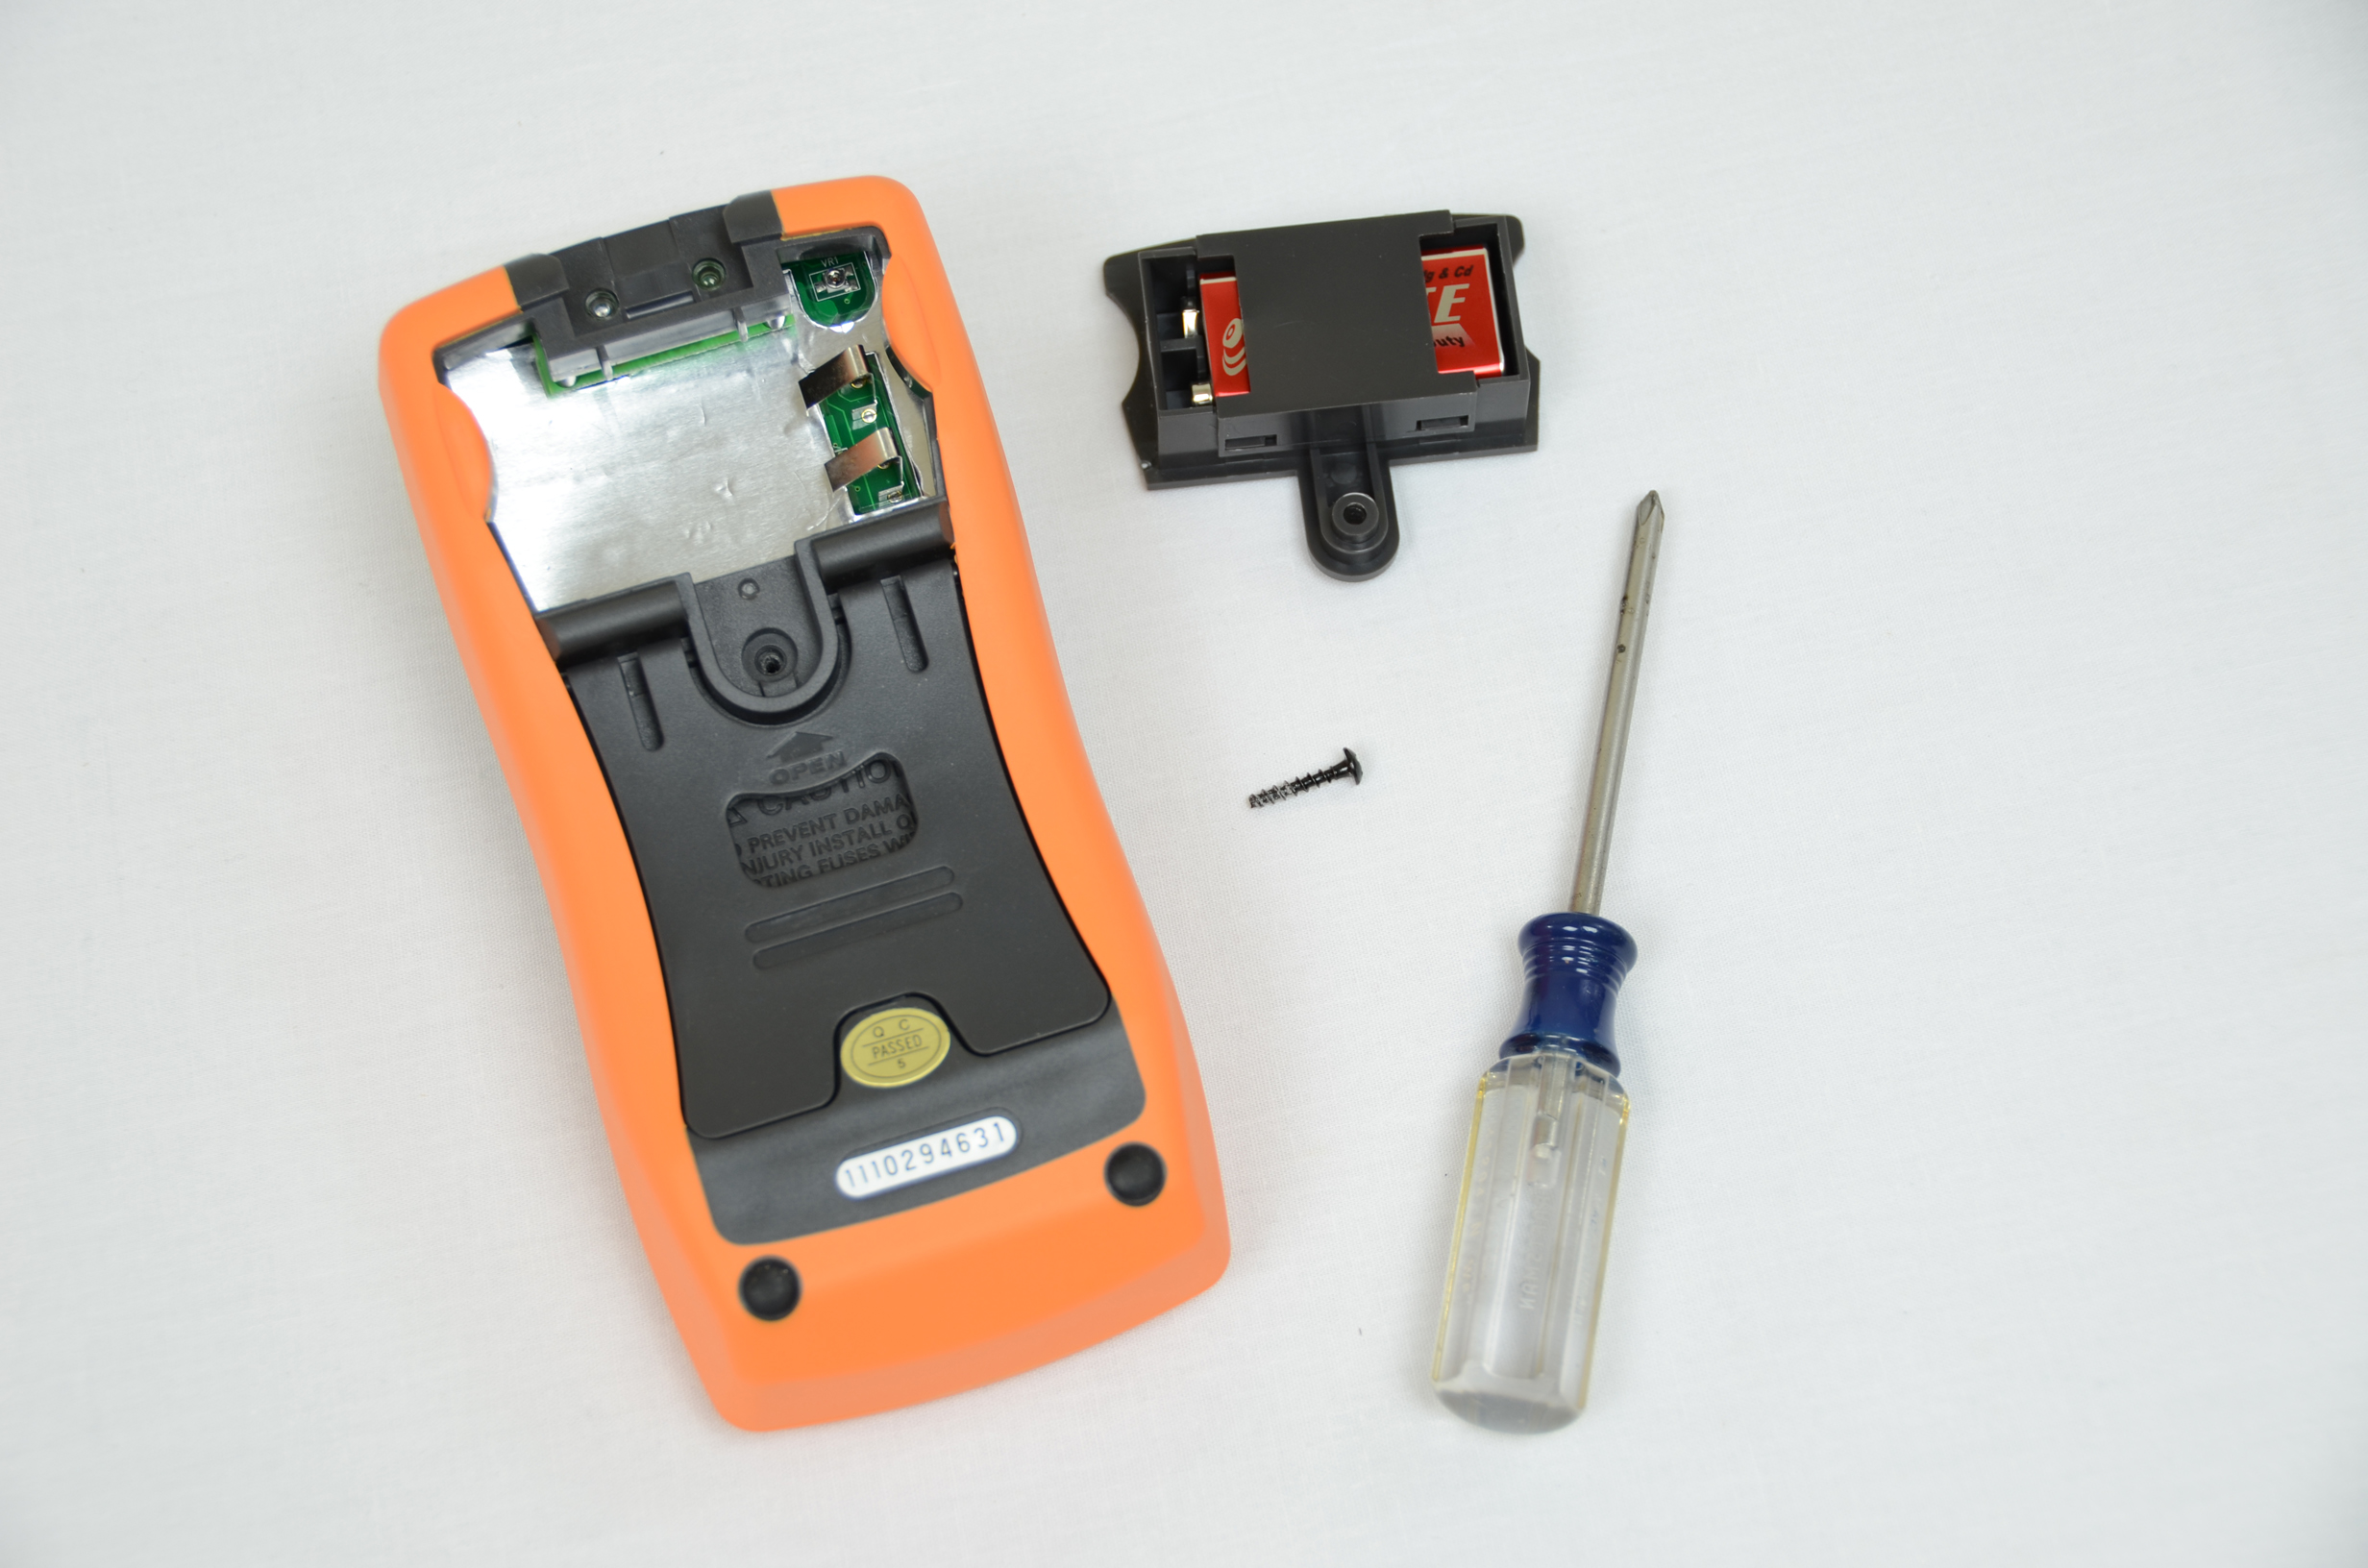
Installing The Battery
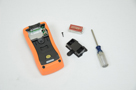
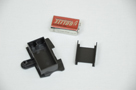
So now that we know some of the basic functions of the Tenma 72-7735 DMM, let's get moving forward to actually using it. The first step is always to install the battery. One screw holds the battery compartment in place and it is pretty easy to remove. The battery holder design seemed fairly unique to me, it doesn't use a standard +9v connector with wires, instead they have metal plates connecting to the PCB that the +9v battery holder pushes into. I liked this because it gives a great and solid contact from battery to DMM.
 Once you've gotten the battery in and the screw back in place to hold everything together, you're ready to go. Turn the DMM on with the yellow button and see what it can do. The best thing to do is mess around with all the settings to get a feeling for
how it works and what settings are available.
Once you've gotten the battery in and the screw back in place to hold everything together, you're ready to go. Turn the DMM on with the yellow button and see what it can do. The best thing to do is mess around with all the settings to get a feeling for
how it works and what settings are available.
A Minor Annoyance
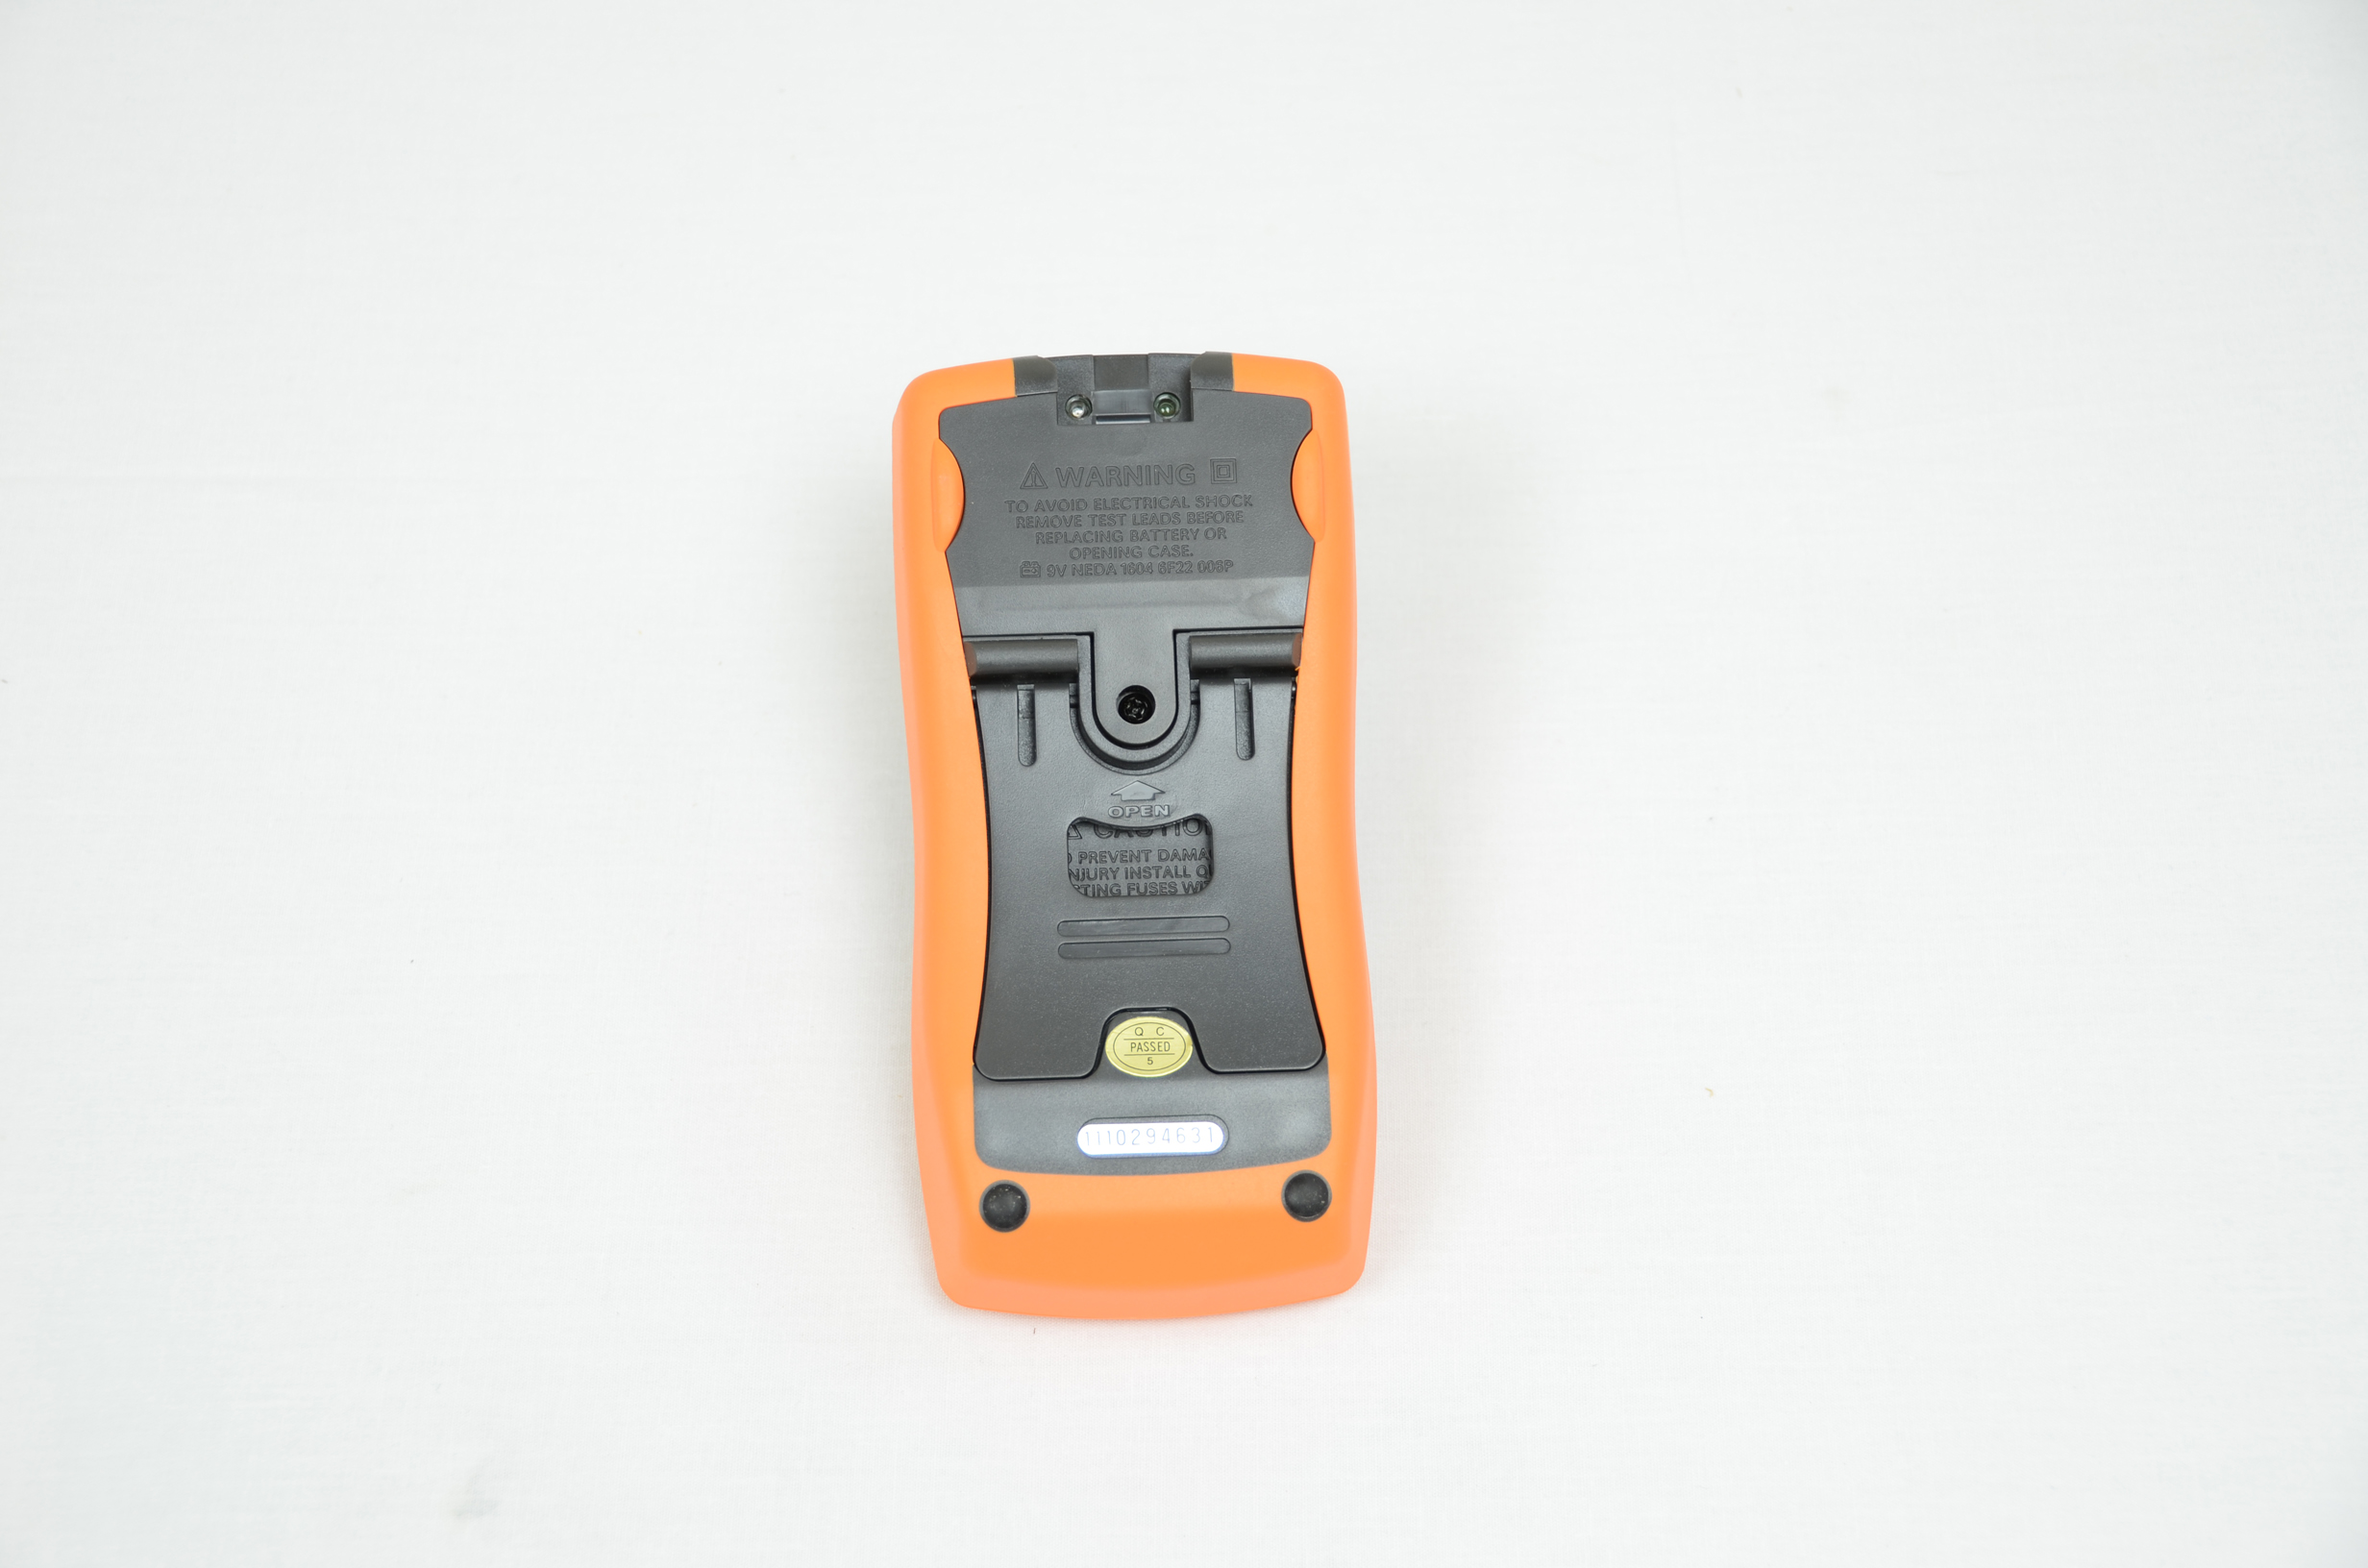
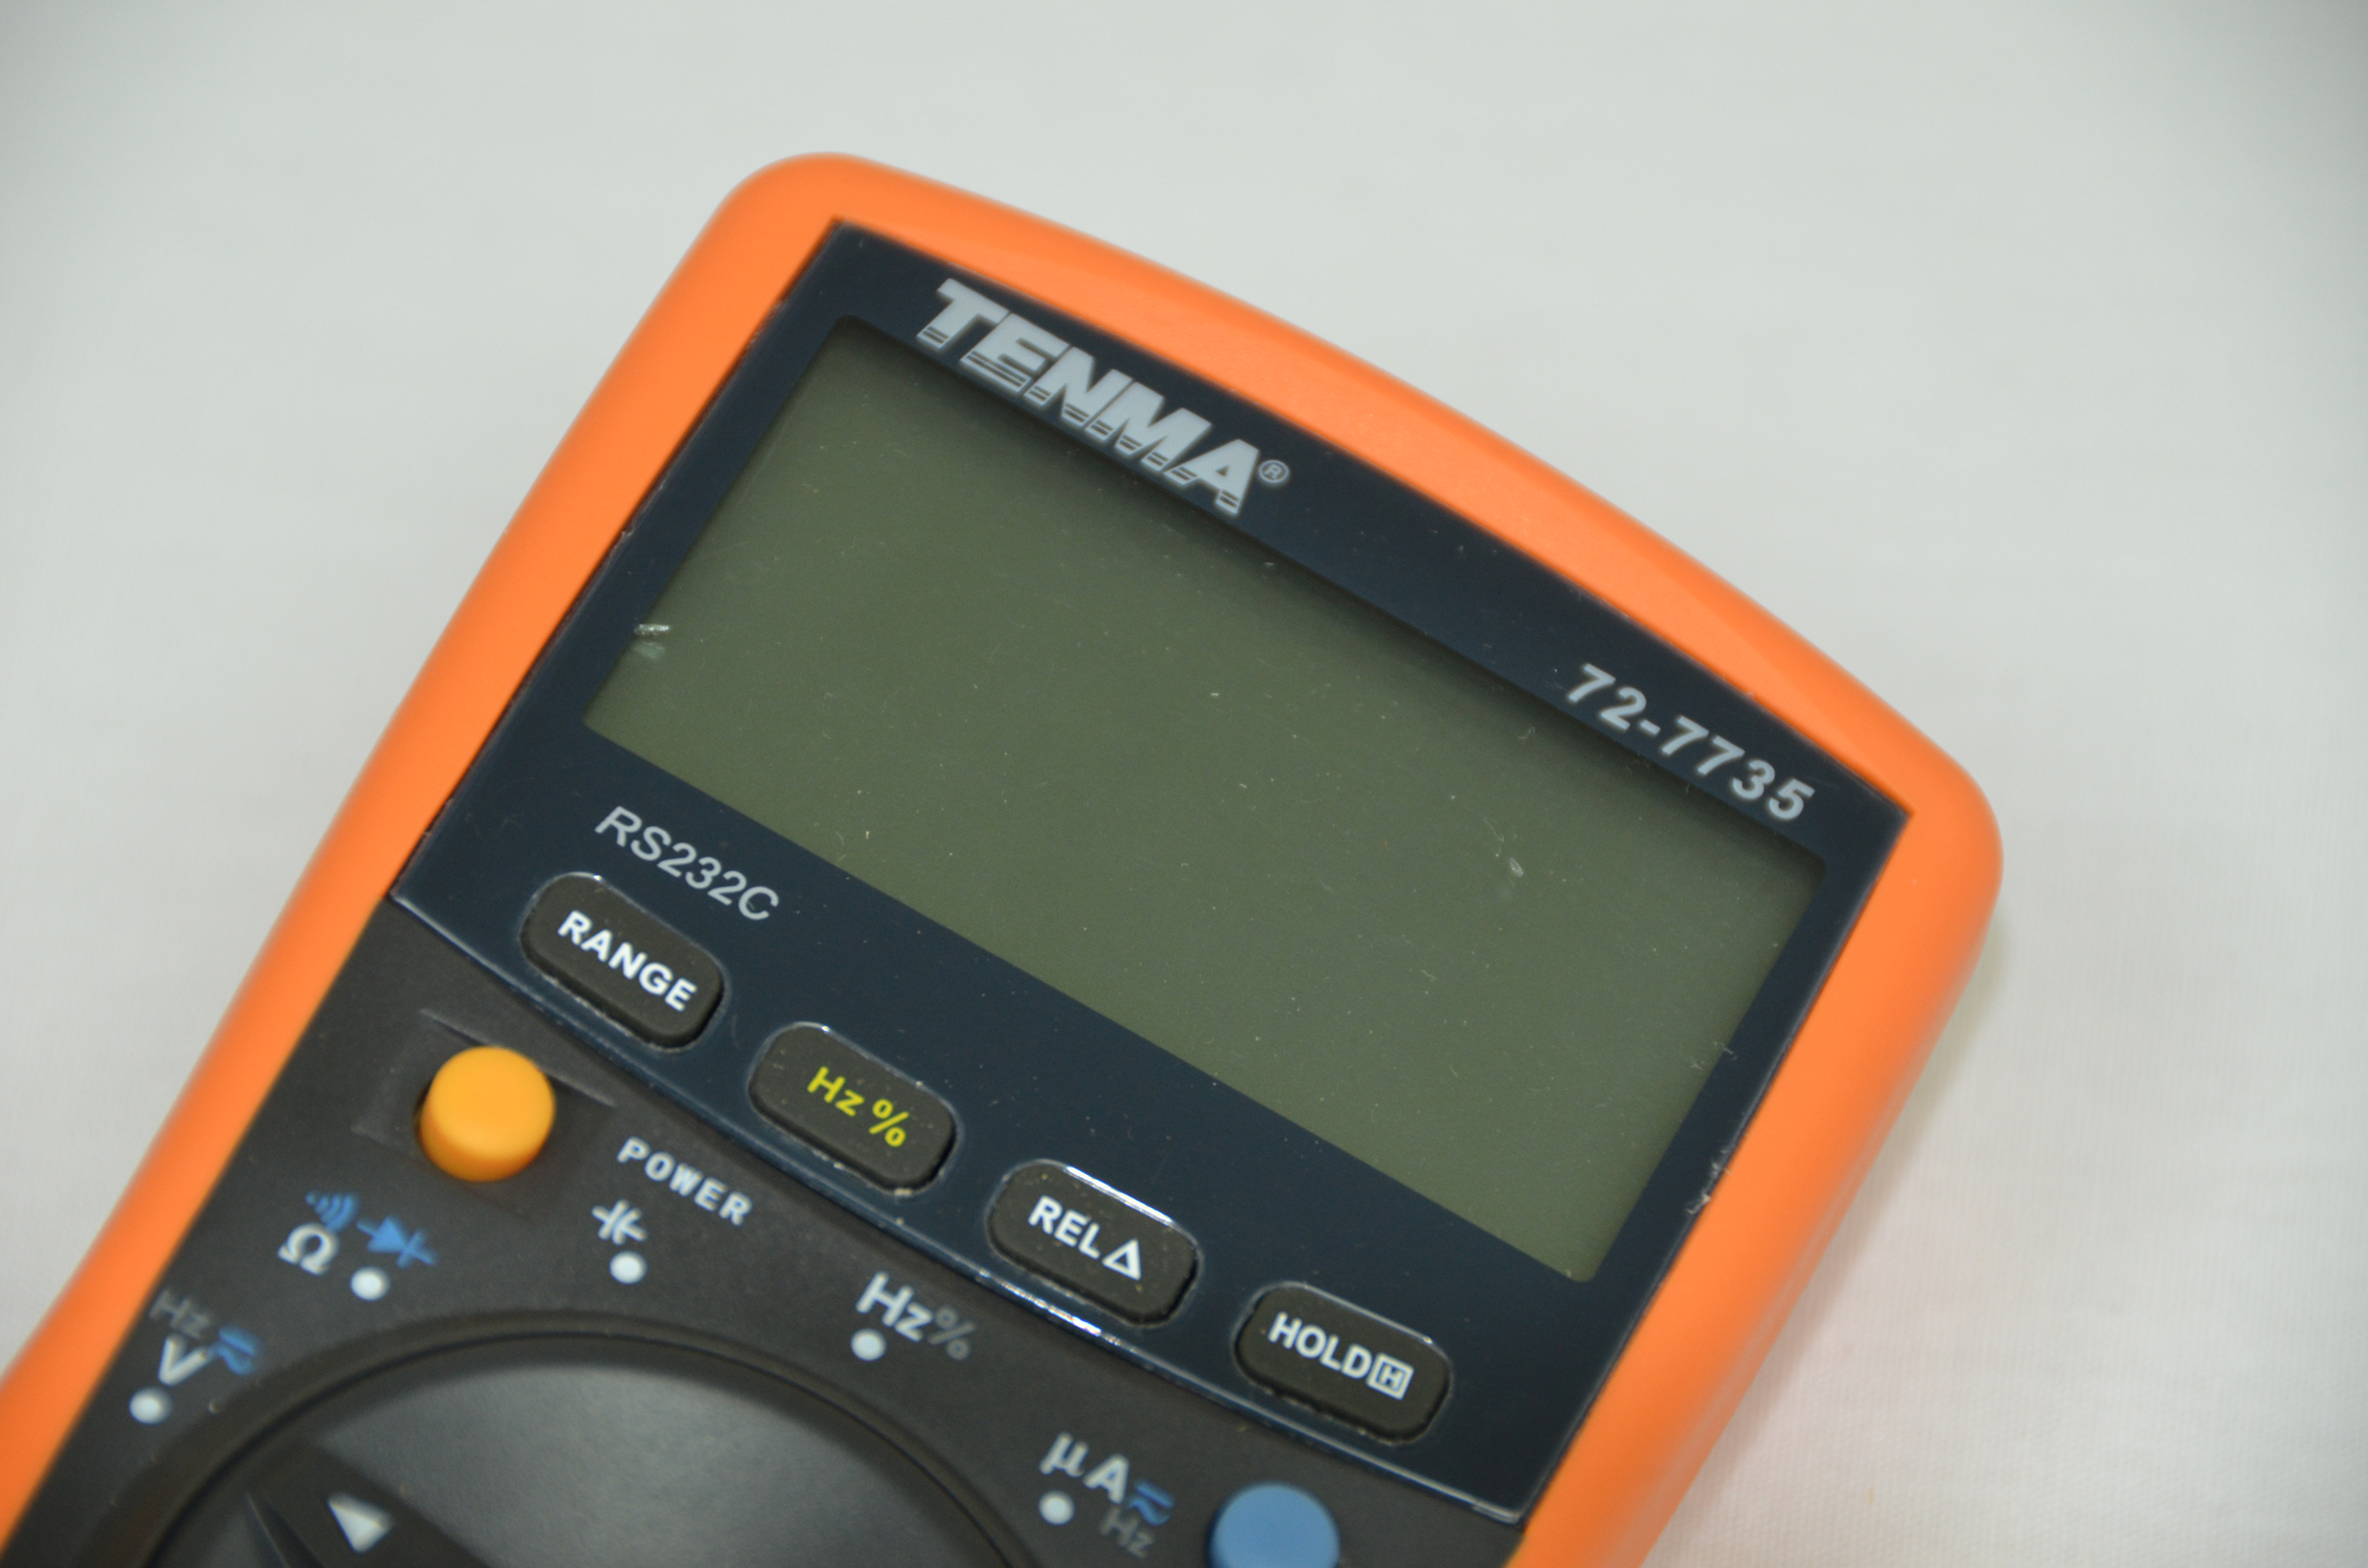
When I first got a good look at the screen after turning on the DMM, I noticed there were a few specks of plastic in the middle and on the left hand side. I wasn't sure if it was a flaw in the LCD or just something stuck to the plastic covering.

Regardless of what it is, we'll take a closer look later on when we pull things apart to get a look inside, maybe then we can clean off whatever it is.
Now we can take a good long look at the multimeter's front and back to see what it is capable of. The yellow button is the on/off button and the blue button is kind of like the shift key on a keyboard, you press it to select the alternate options in blue around the dial.
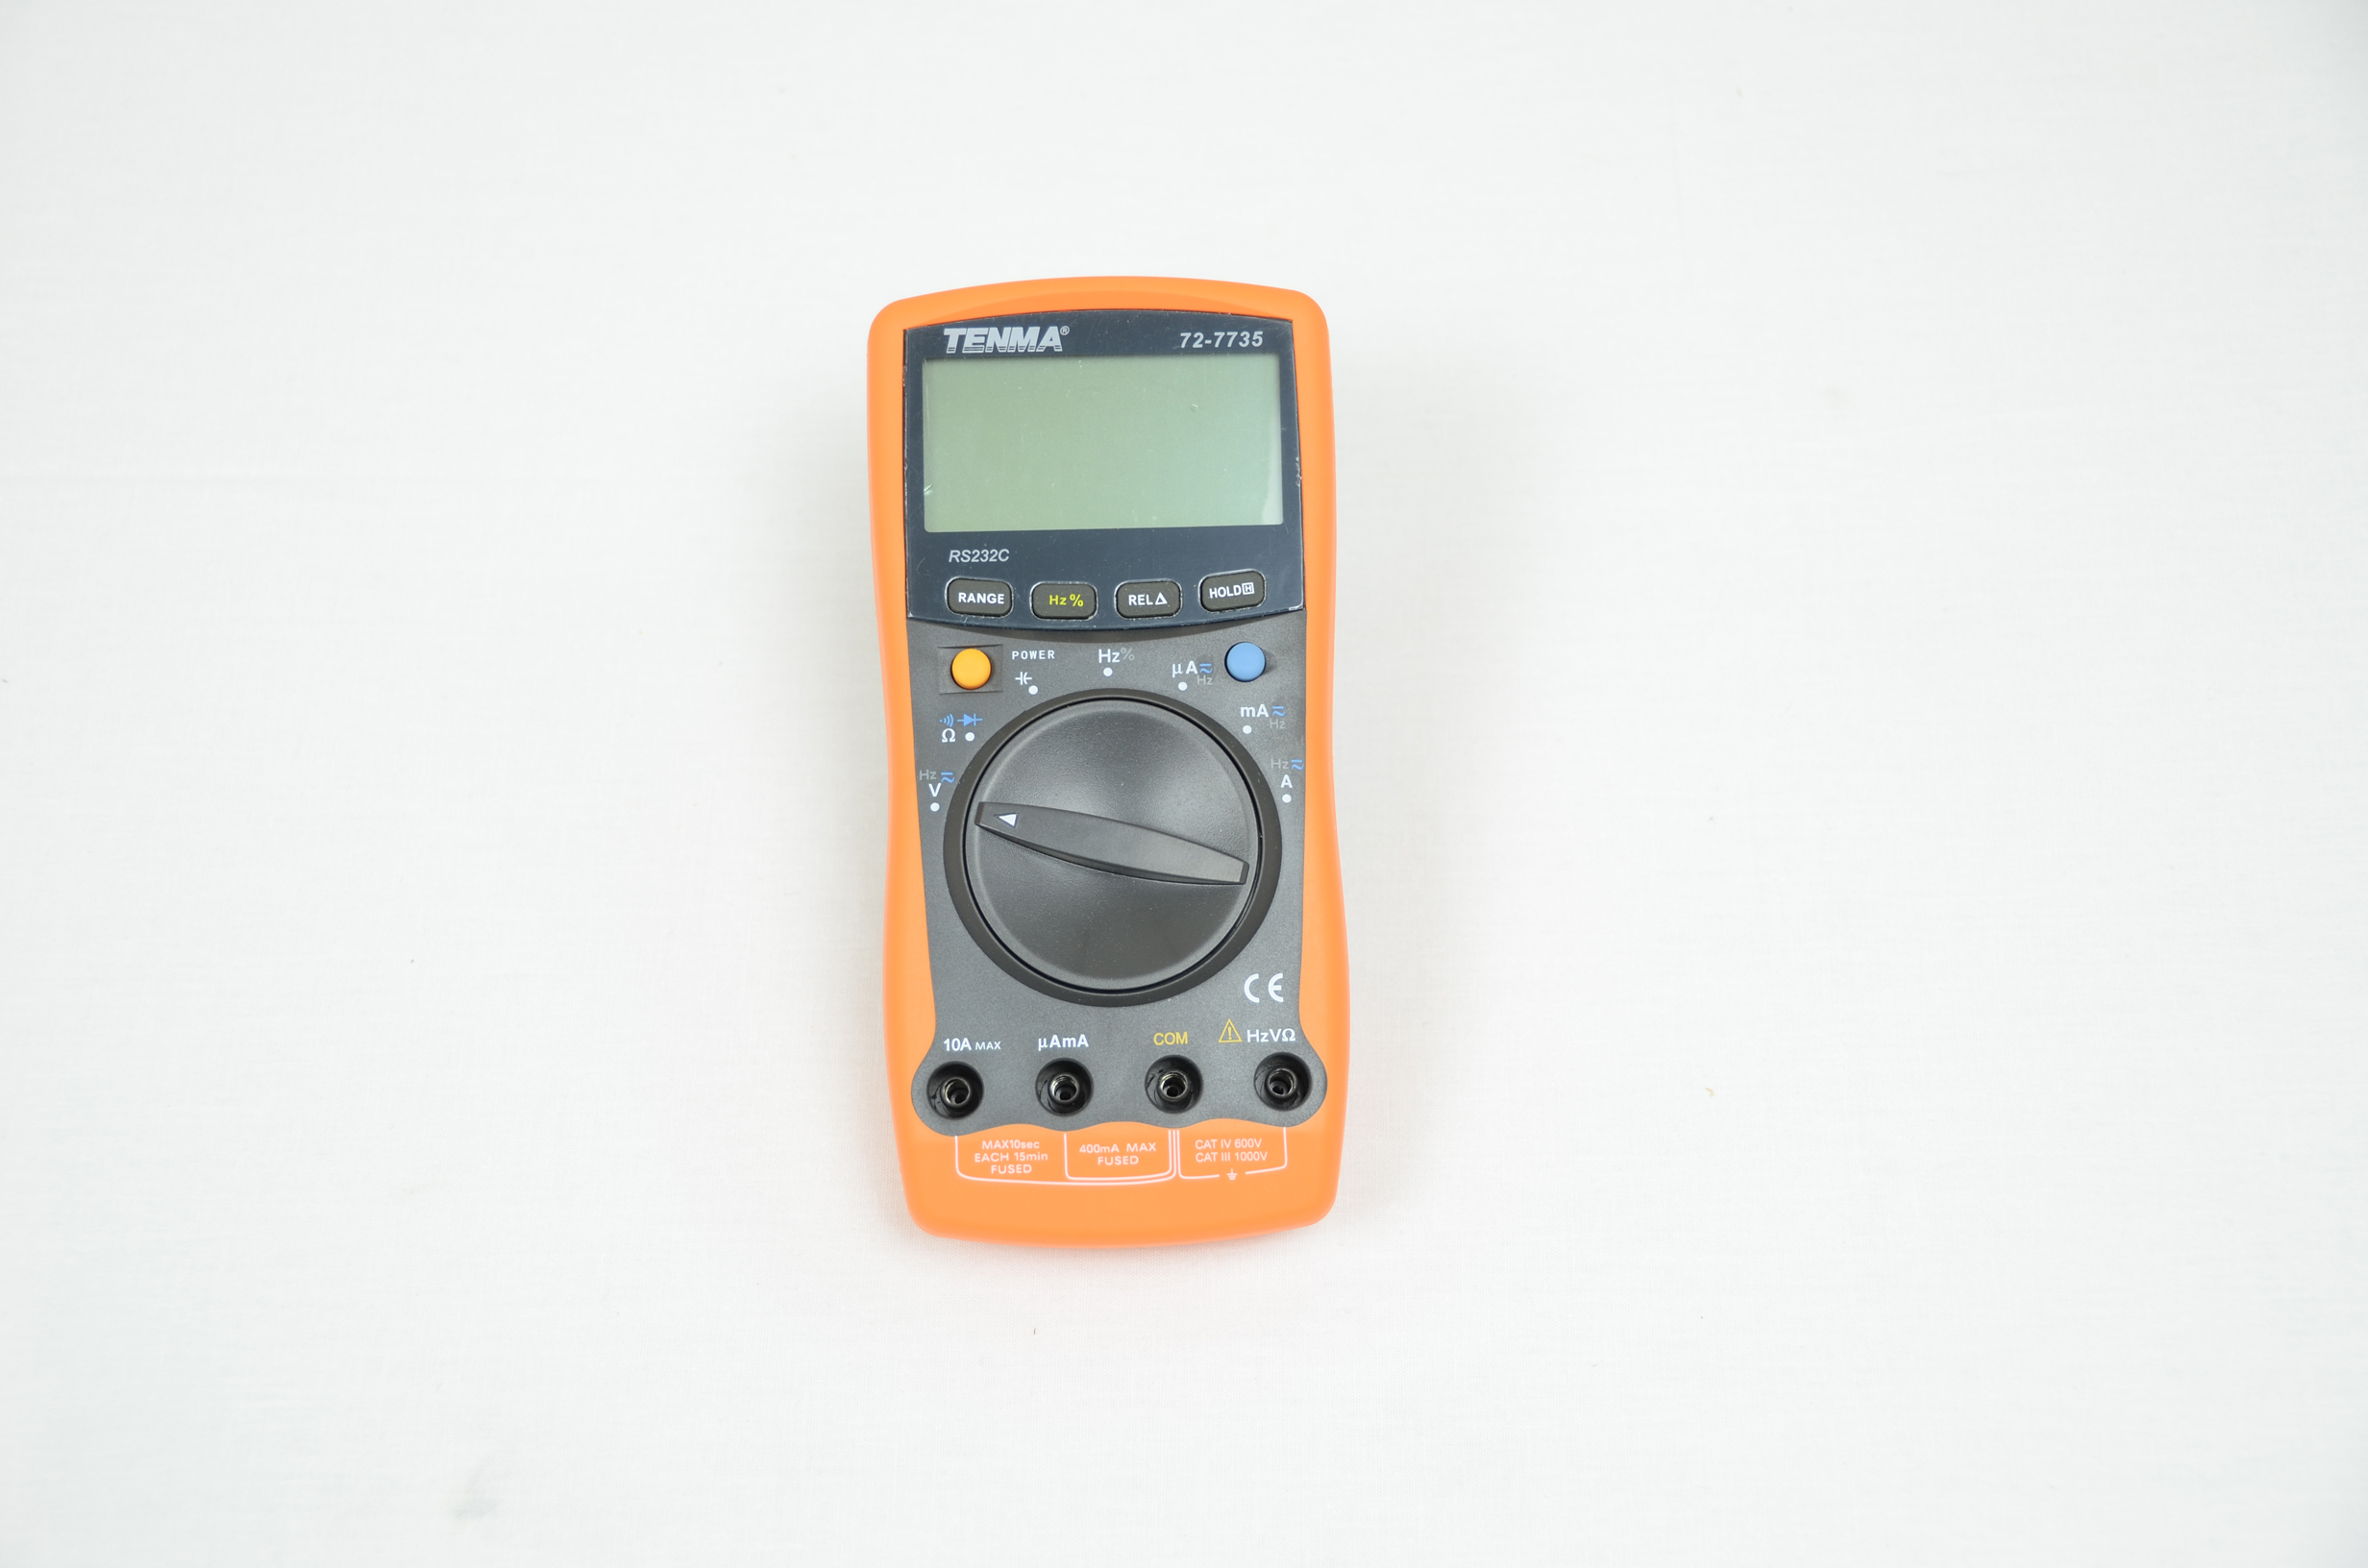
| Symbol | Description |
| V | This symbol stands for Voltage, automatically DC voltage is measured. Press the blue button for measuring AC voltage. |
| Ω | This is the greek letter Omega and it's the unit used for displaying resistance. Since this DMM is an auto-ranger, you just touch the probes on the resistor and look at the display. |
| -||- | This symbol is a capacitor, and it will measure capacitance. Notice the range is about 50uF down to about 10nF. |
| Hz | Hz is the unit of frequeny, Hertz. This measurement mode will tell you the frequency that a signal is oscillating at. Press the blue button and you can measure duty cycle as a percentage! |
| µA | There are three different settings for current measurement. This first one measures current in microamps. Good for low power circuits. |
| mA | This next current measurement will tell you how many miliamps are flowing to the circuit. |
| A | The last current measurement can measure up to 10 Amps of current before the internal fuse blows. |
Installing The Battery
So now that we know some of the basic functions of the Tenma 72-7735 DMM, let's get moving forward to actually using it. The first step is always to install the battery. One screw holds the battery compartment in place and it is pretty easy to remove. The battery holder design seemed fairly unique to me, it doesn't use a standard +9v connector with wires, instead they have metal plates connecting to the PCB that the +9v battery holder pushes into. I liked this because it gives a great and solid contact from battery to DMM.


A Minor Annoyance
When I first got a good look at the screen after turning on the DMM, I noticed there were a few specks of plastic in the middle and on the left hand side. I wasn't sure if it was a flaw in the LCD or just something stuck to the plastic covering.
Regardless of what it is, we'll take a closer look later on when we pull things apart to get a look inside, maybe then we can clean off whatever it is.