Hardware Design
For this project, luckily we can take a breather as no real hardware design is necessary. Most of the hard work will come when we want to write software to control the board.
Connecting The TMCM-1110 To Our Mechanics
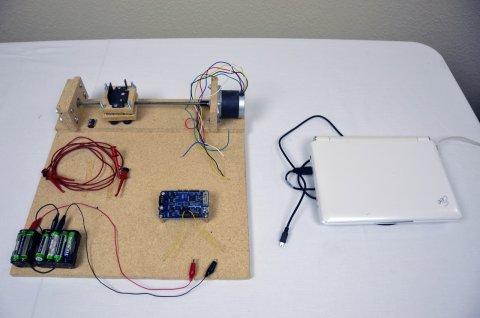
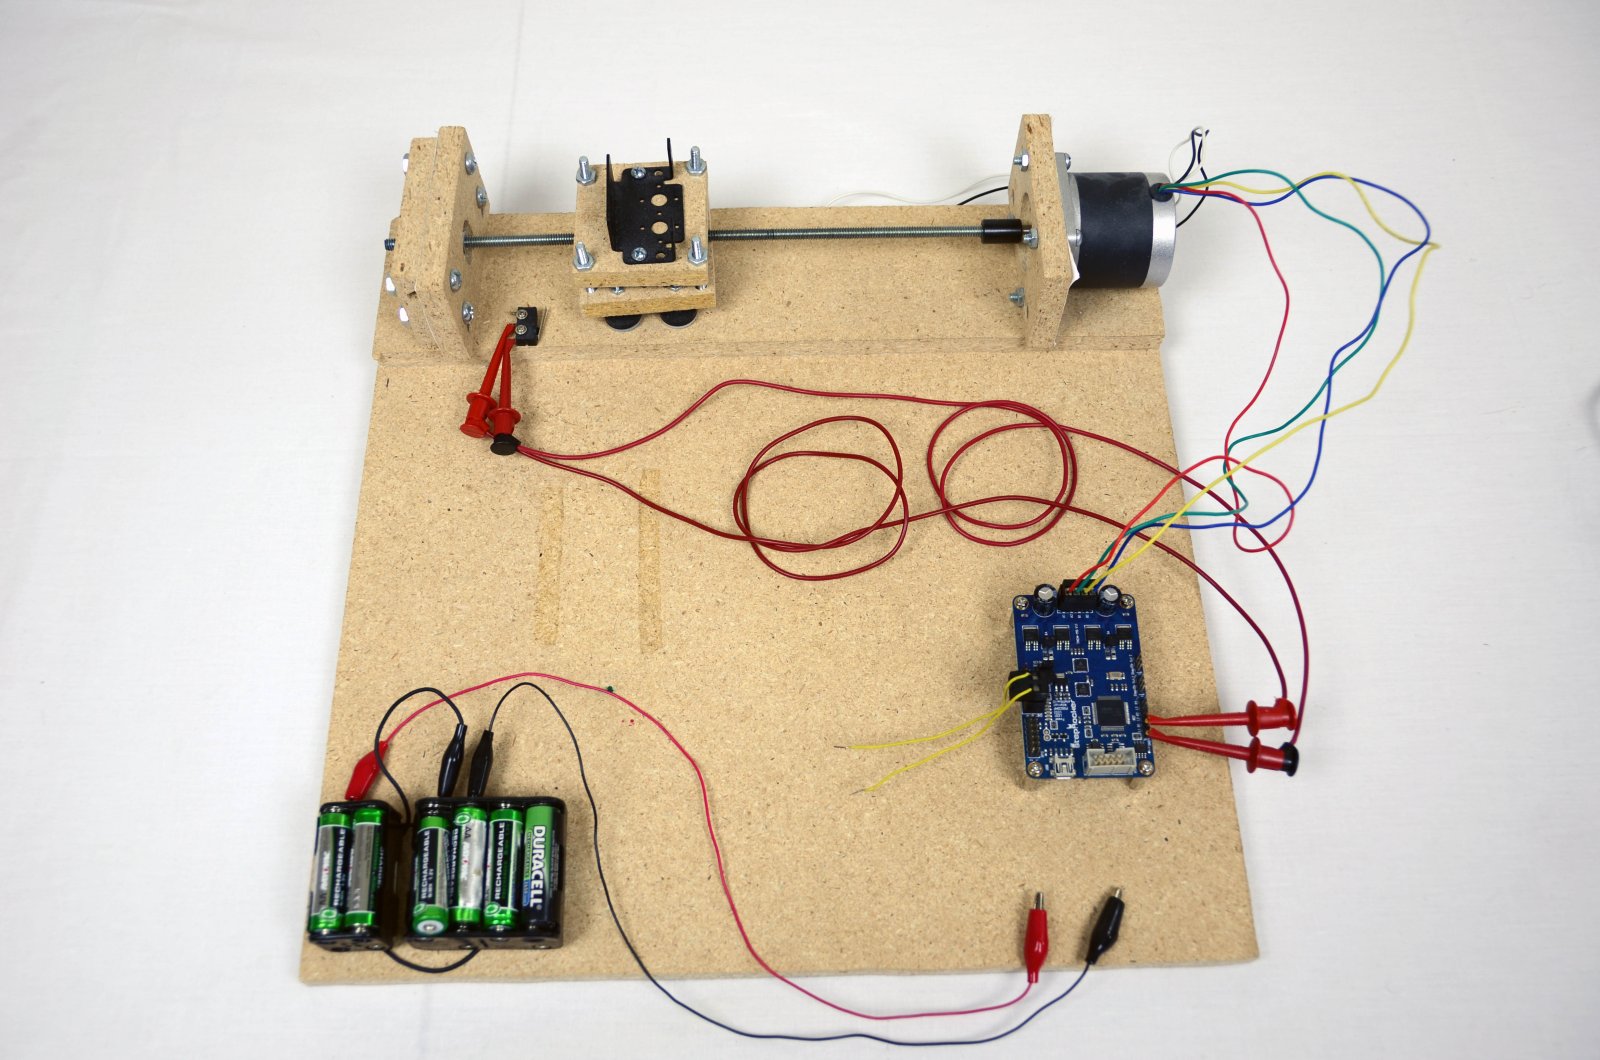
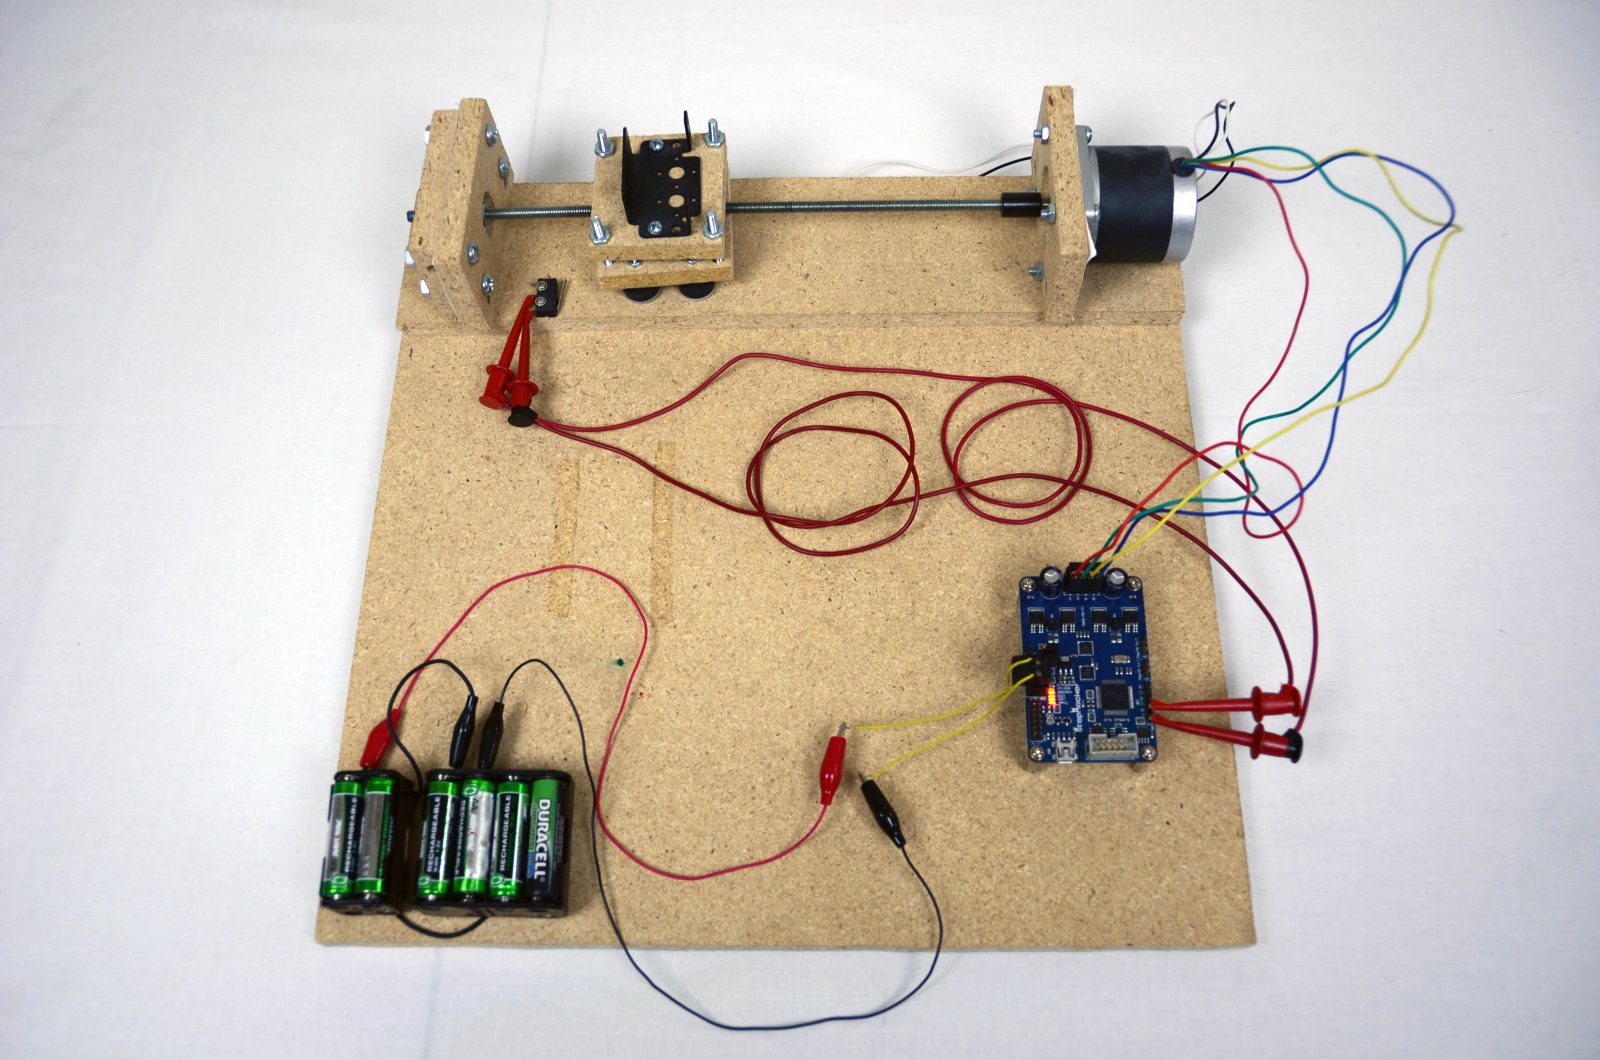
The task of connecting the sharpie dotifier mechanics to the TMCM-1110 stepRocker motor controller is pretty straight forward. First, I'll gather the parts together as you can see below:
·First the stepper motor's 4 wires are connected to the controller board. Look on the datasheet of your stepper motor to know which color wire connects to which coil of your stepper motor.
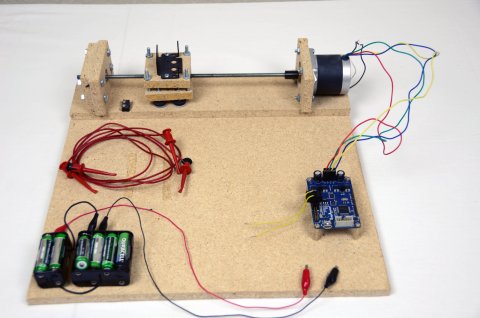
·Next, we used some clips to connect the two pins of the limit switch to the R1 pin and ground pin on the stepRocker board.

·Finally, we connect the power supply to the terminals.
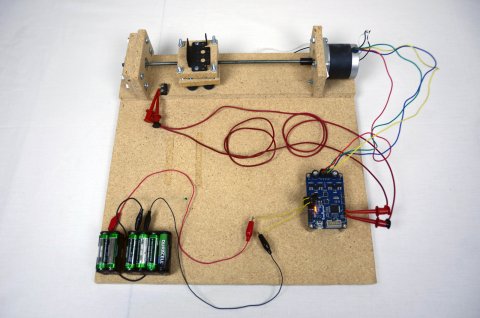
·Trinamic included some awesome terminals that screw in and create a secure connection for power and motors, which is super nice. With the mechanics successfully connected to our controller board, it's time to get software on it.
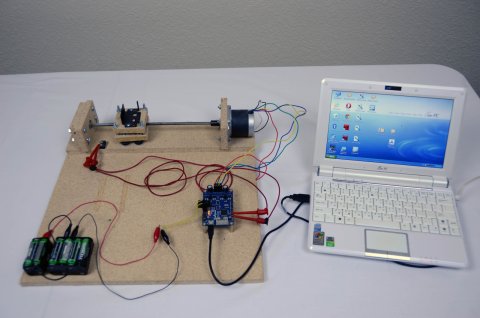
·Trinamic included some awesome terminals that screw in and create a secure connection for power and motors, which is super nice. With the mechanics successfully connected to our controller board, it's time to get software on it.
For this project, luckily we can take a breather as no real hardware design is necessary. Most of the hard work will come when we want to write software to control the board.
Connecting The TMCM-1110 To Our Mechanics
The task of connecting the sharpie dotifier mechanics to the TMCM-1110 stepRocker motor controller is pretty straight forward. First, I'll gather the parts together as you can see below:
·First the stepper motor's 4 wires are connected to the controller board. Look on the datasheet of your stepper motor to know which color wire connects to which coil of your stepper motor.

·Next, we used some clips to connect the two pins of the limit switch to the R1 pin and ground pin on the stepRocker board.
·Finally, we connect the power supply to the terminals.
·Trinamic included some awesome terminals that screw in and create a secure connection for power and motors, which is super nice. With the mechanics successfully connected to our controller board, it's time to get software on it.

·Trinamic included some awesome terminals that screw in and create a secure connection for power and motors, which is super nice. With the mechanics successfully connected to our controller board, it's time to get software on it.