Electrical Hardware Design
The electrical side of this project is seemingly easier to do than the hardware side as only a few connections need to be made and built onto the breadboard.
Building The Mock-up Face and Circuit
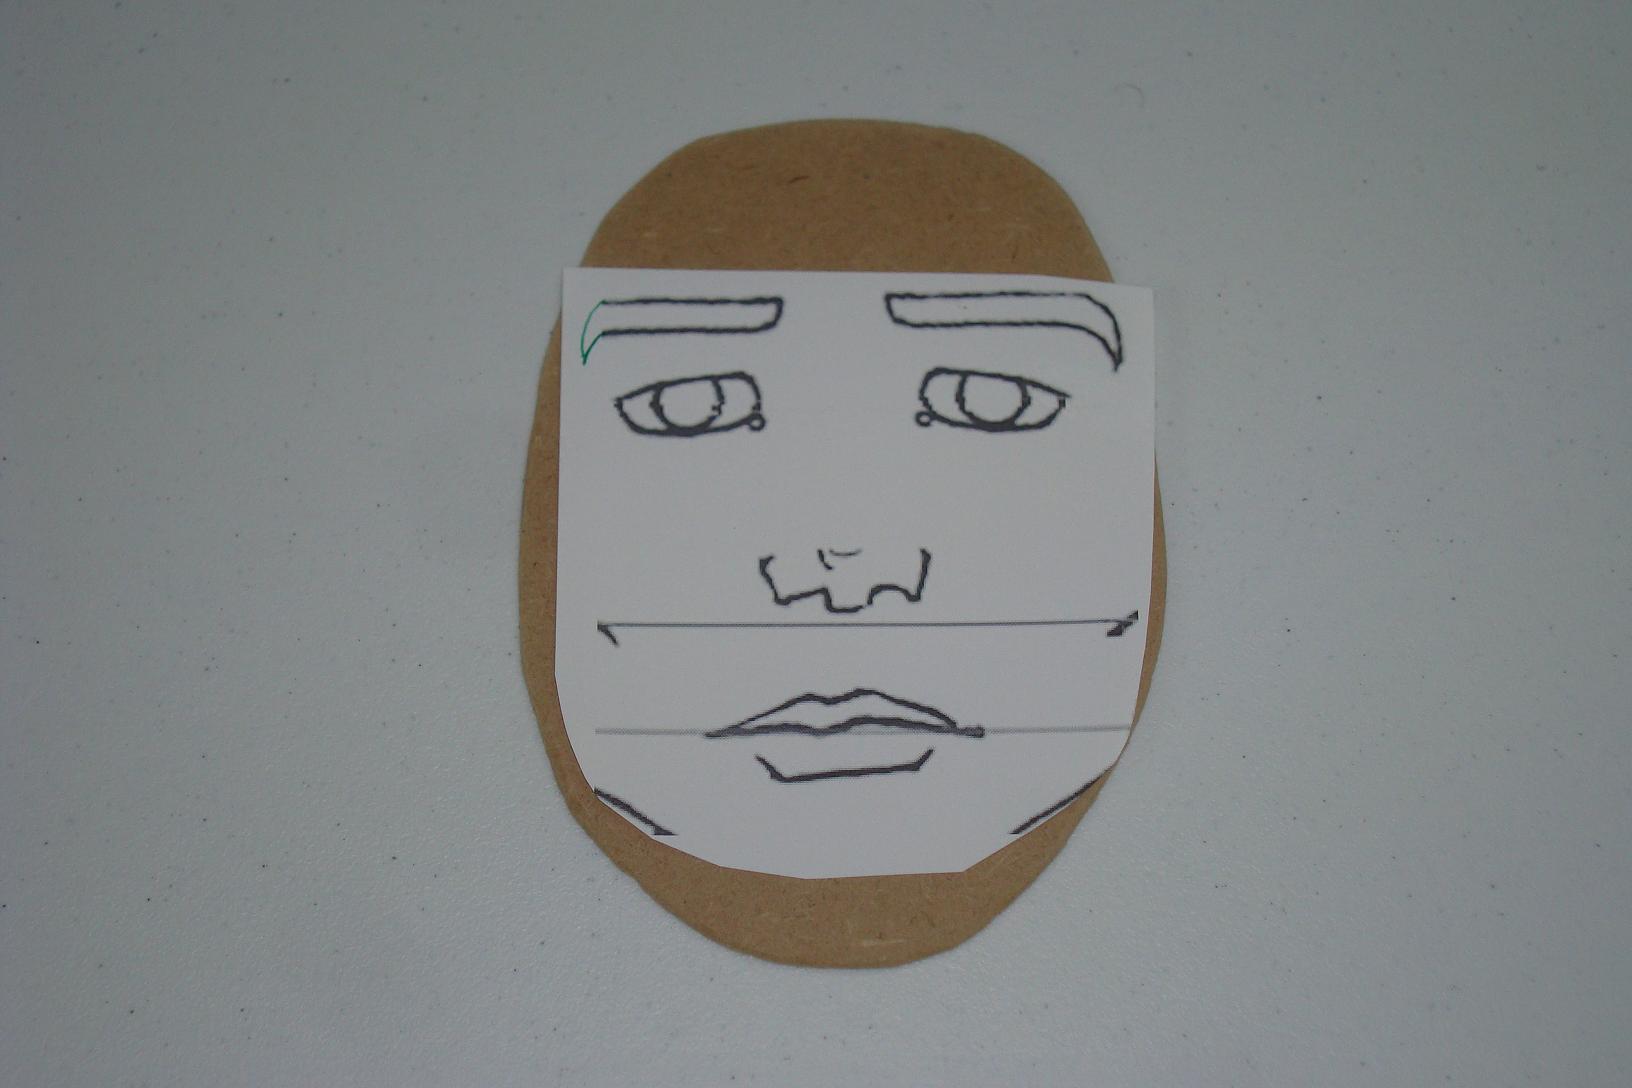
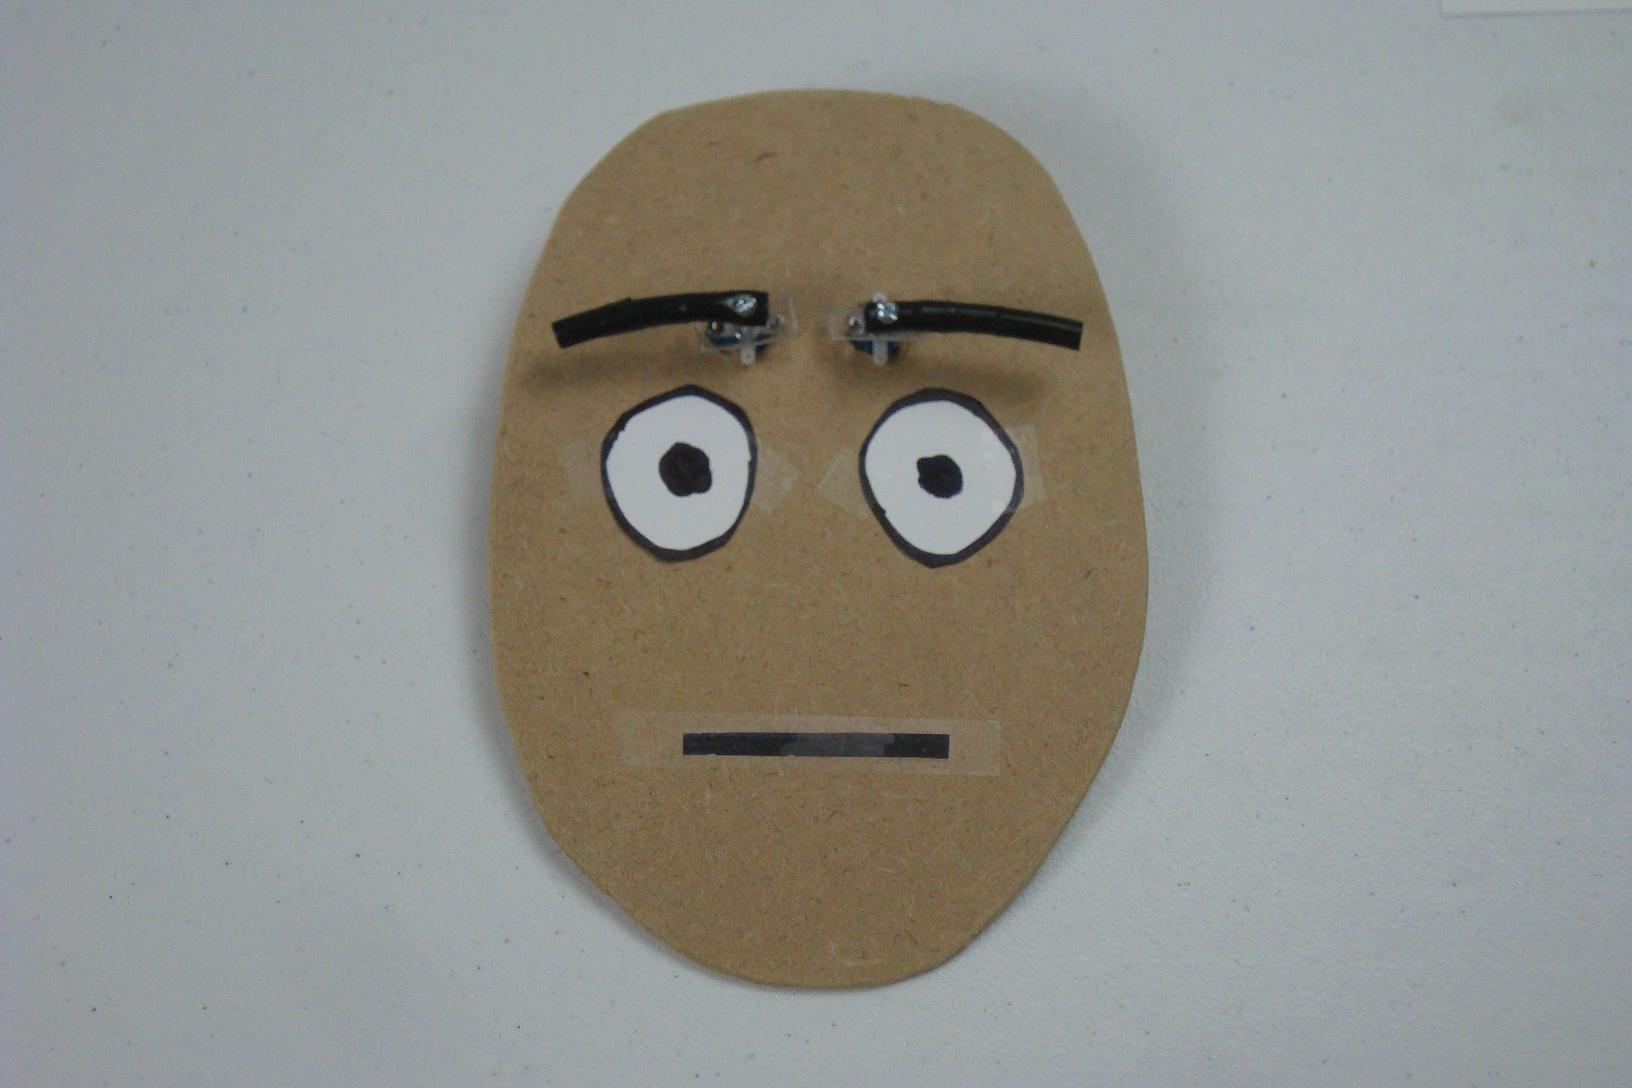
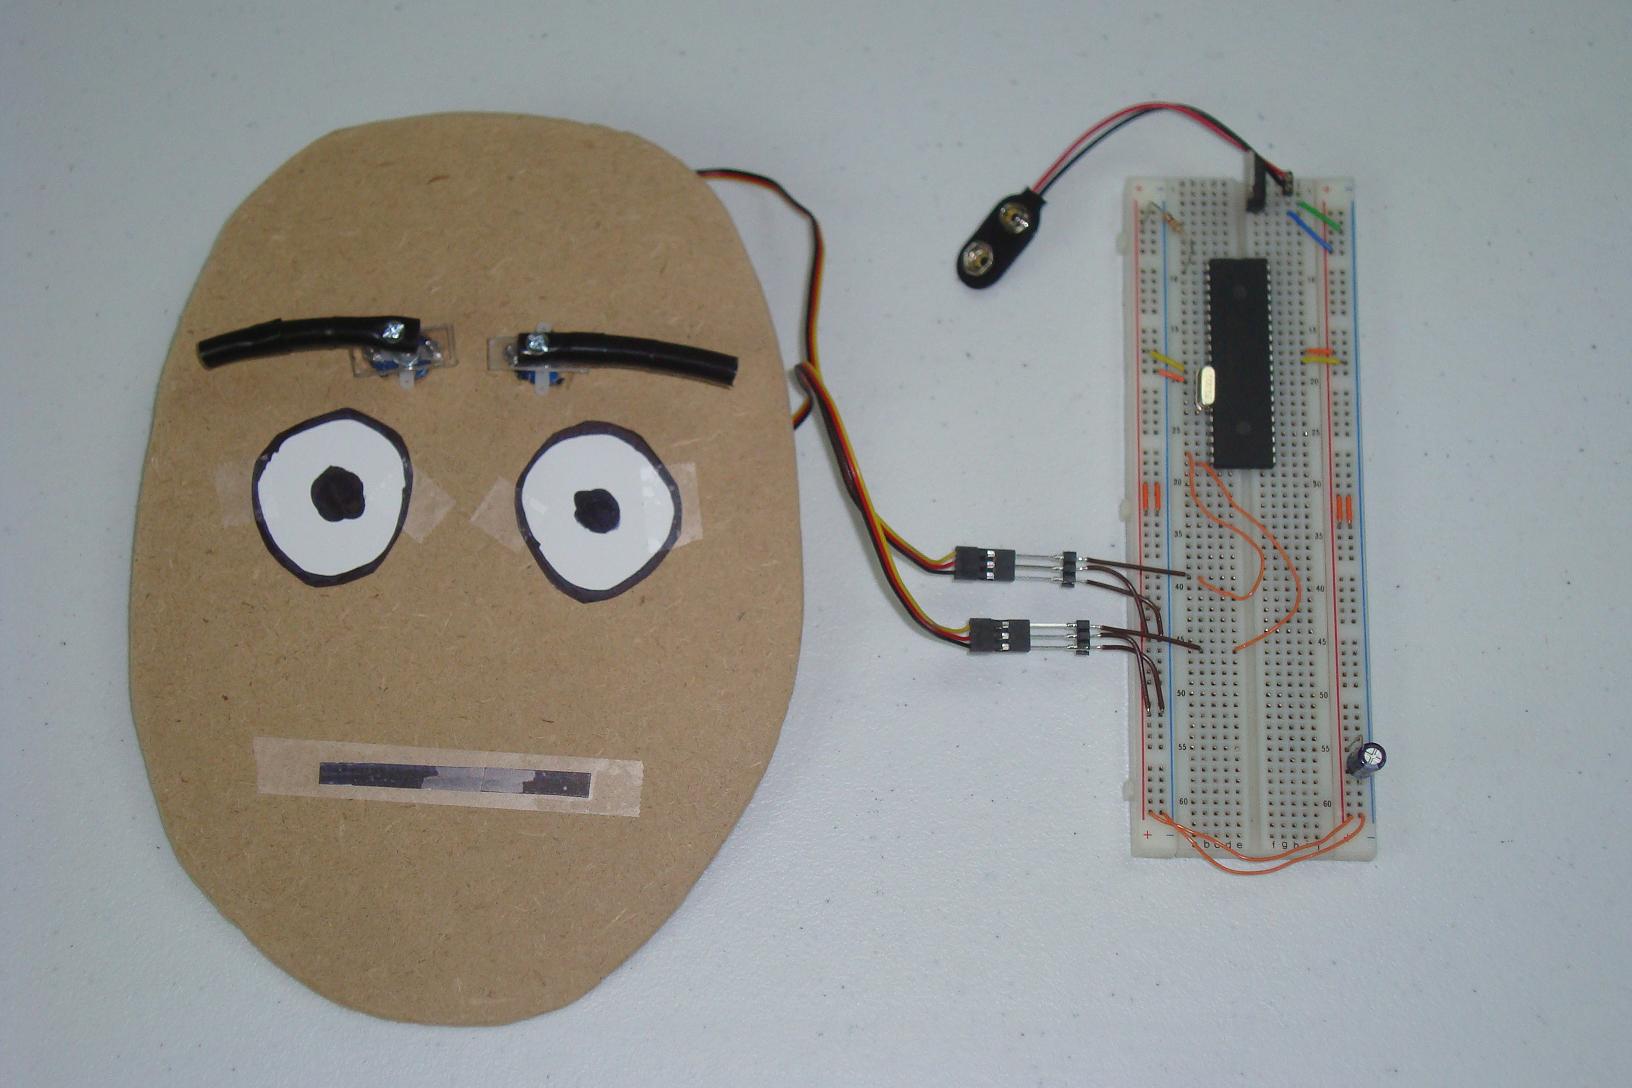
·Below is a mock-up face for where all the features should go. Mark where the eyebrows should go.
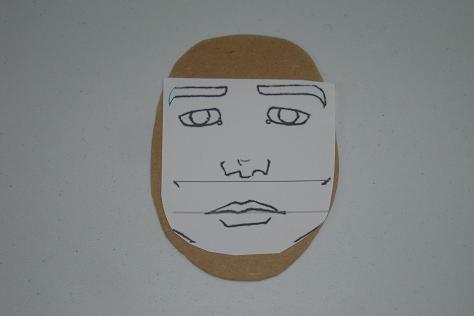
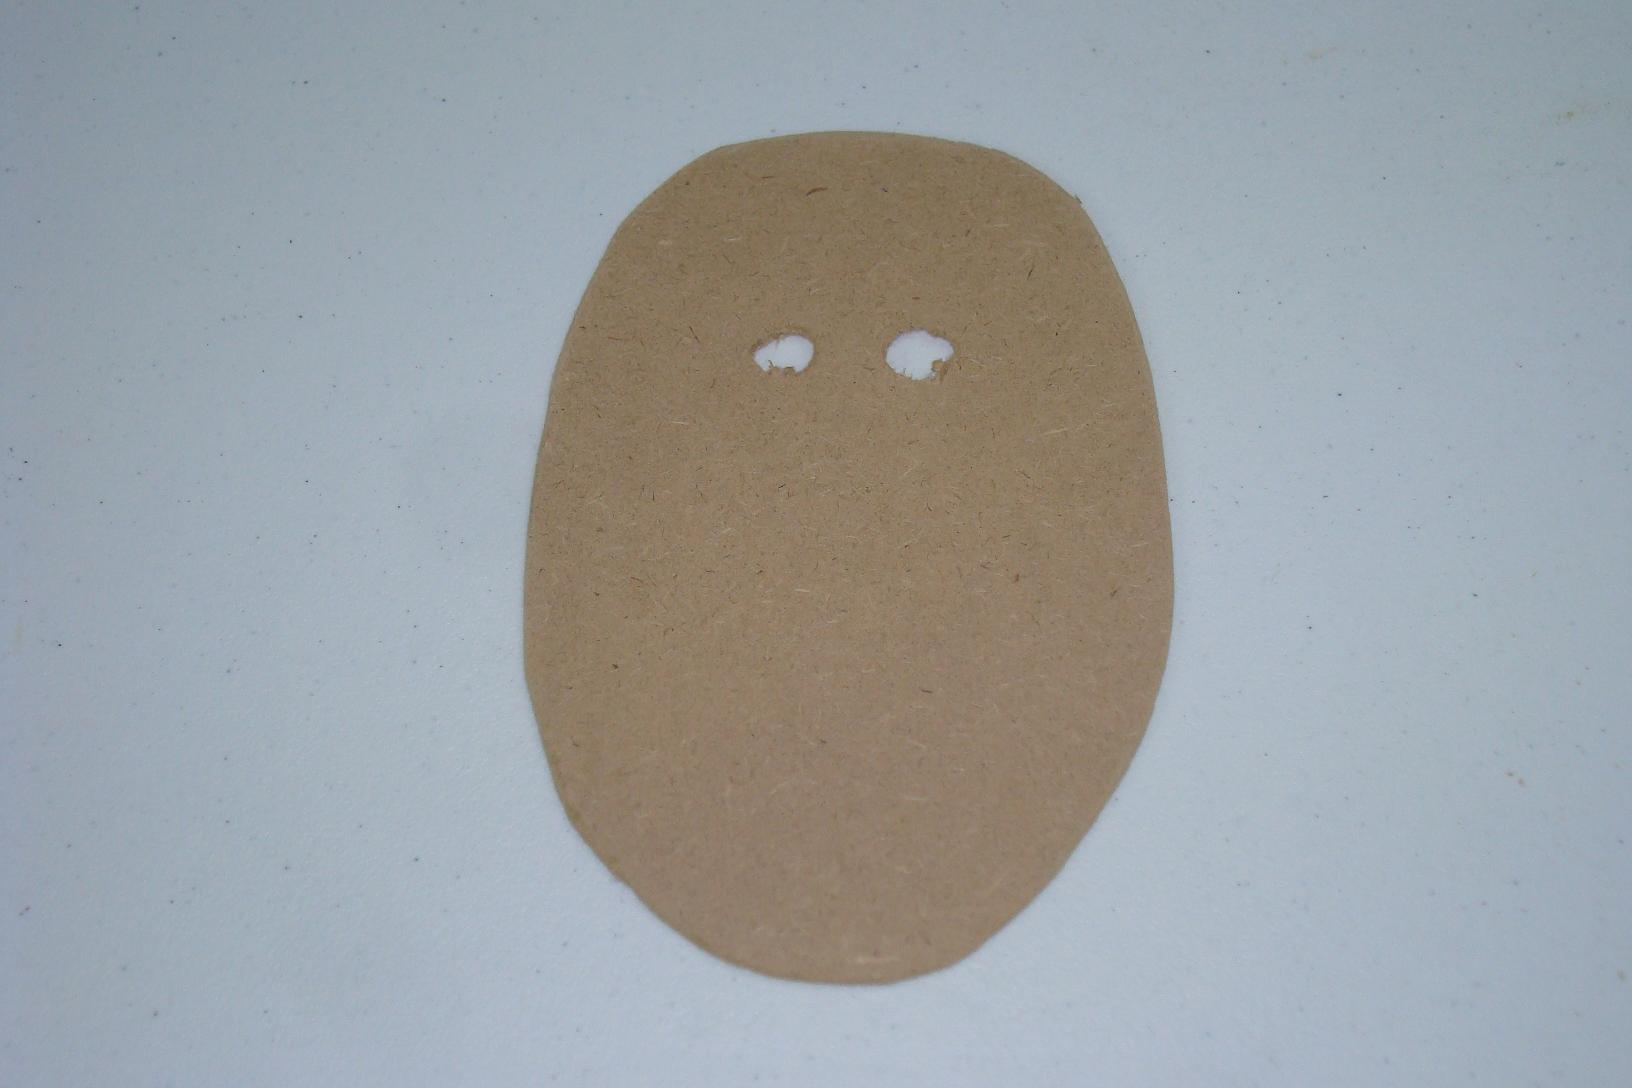
·Two holes are made for the point of actuation of the eyebrows, inbetween the eyes.

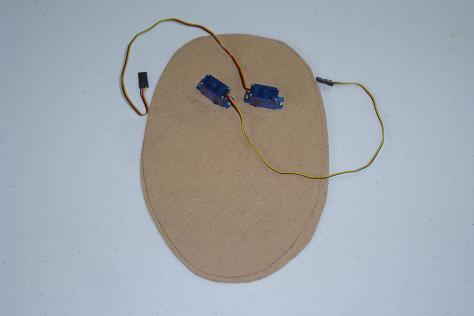
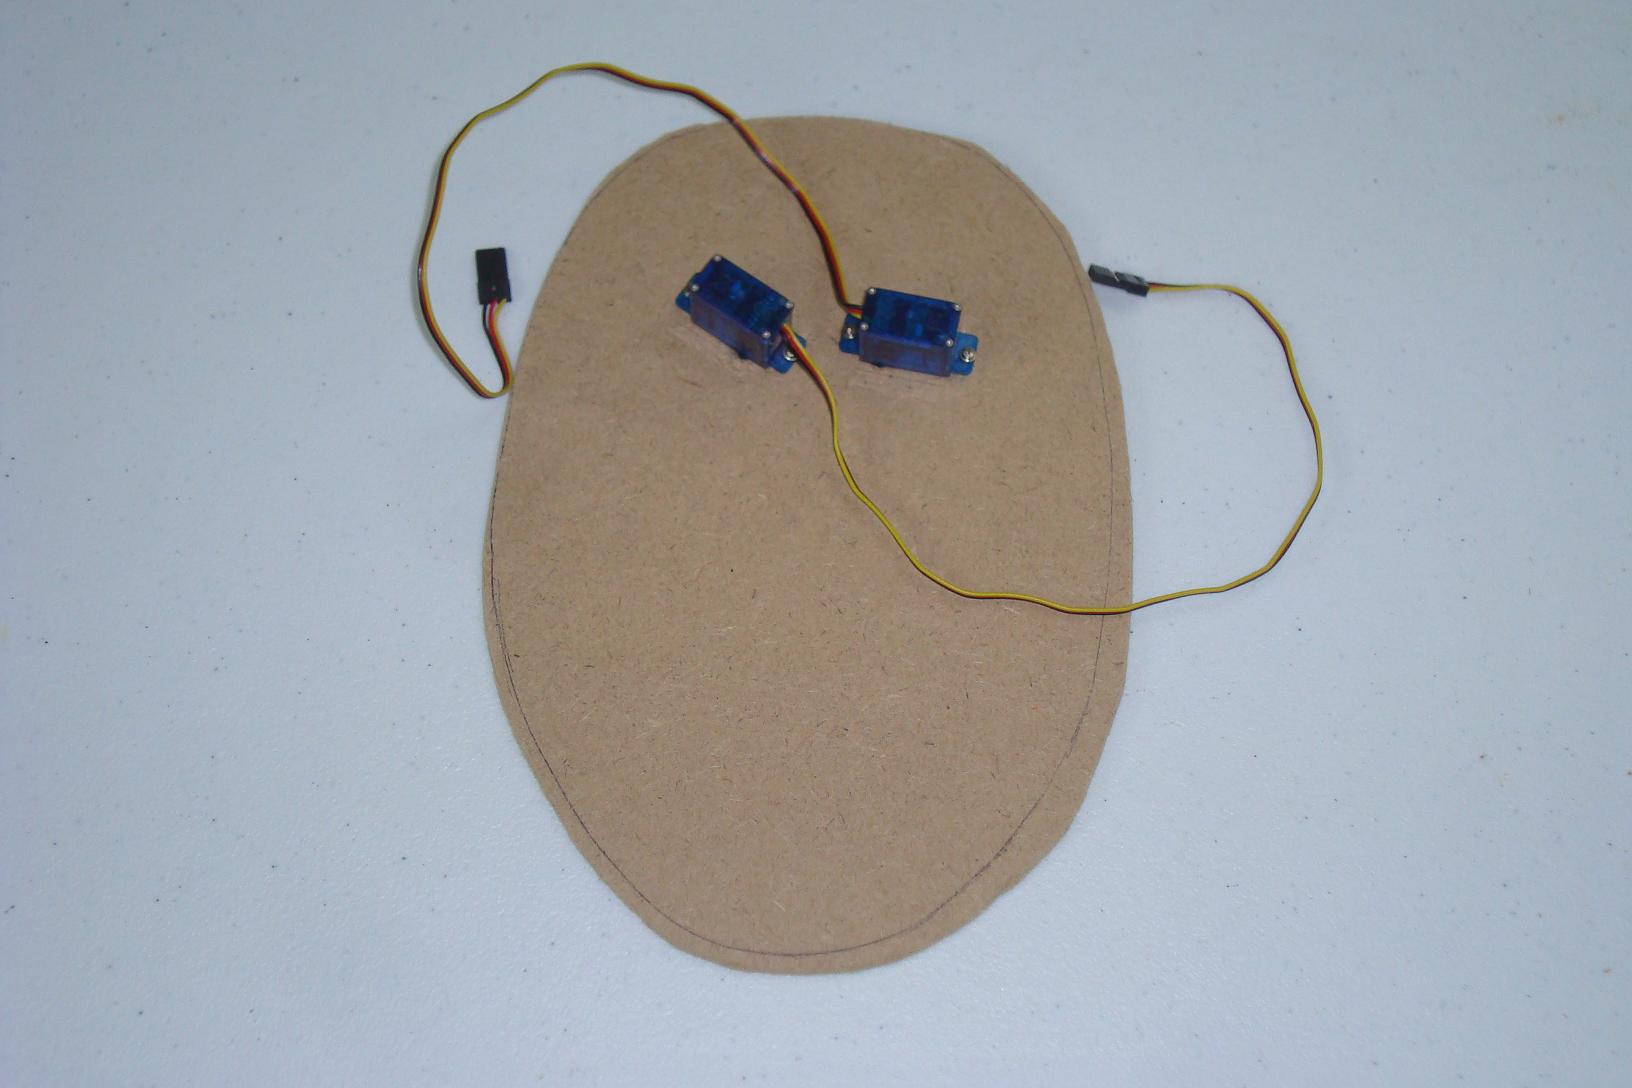
·The servos are inserted and held inplace with two screws per servo.
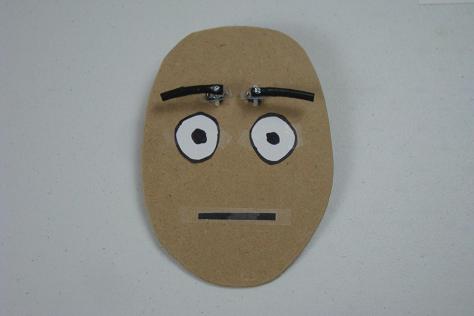
·Makeshift eyes and mouth are added to give the face a blank look.
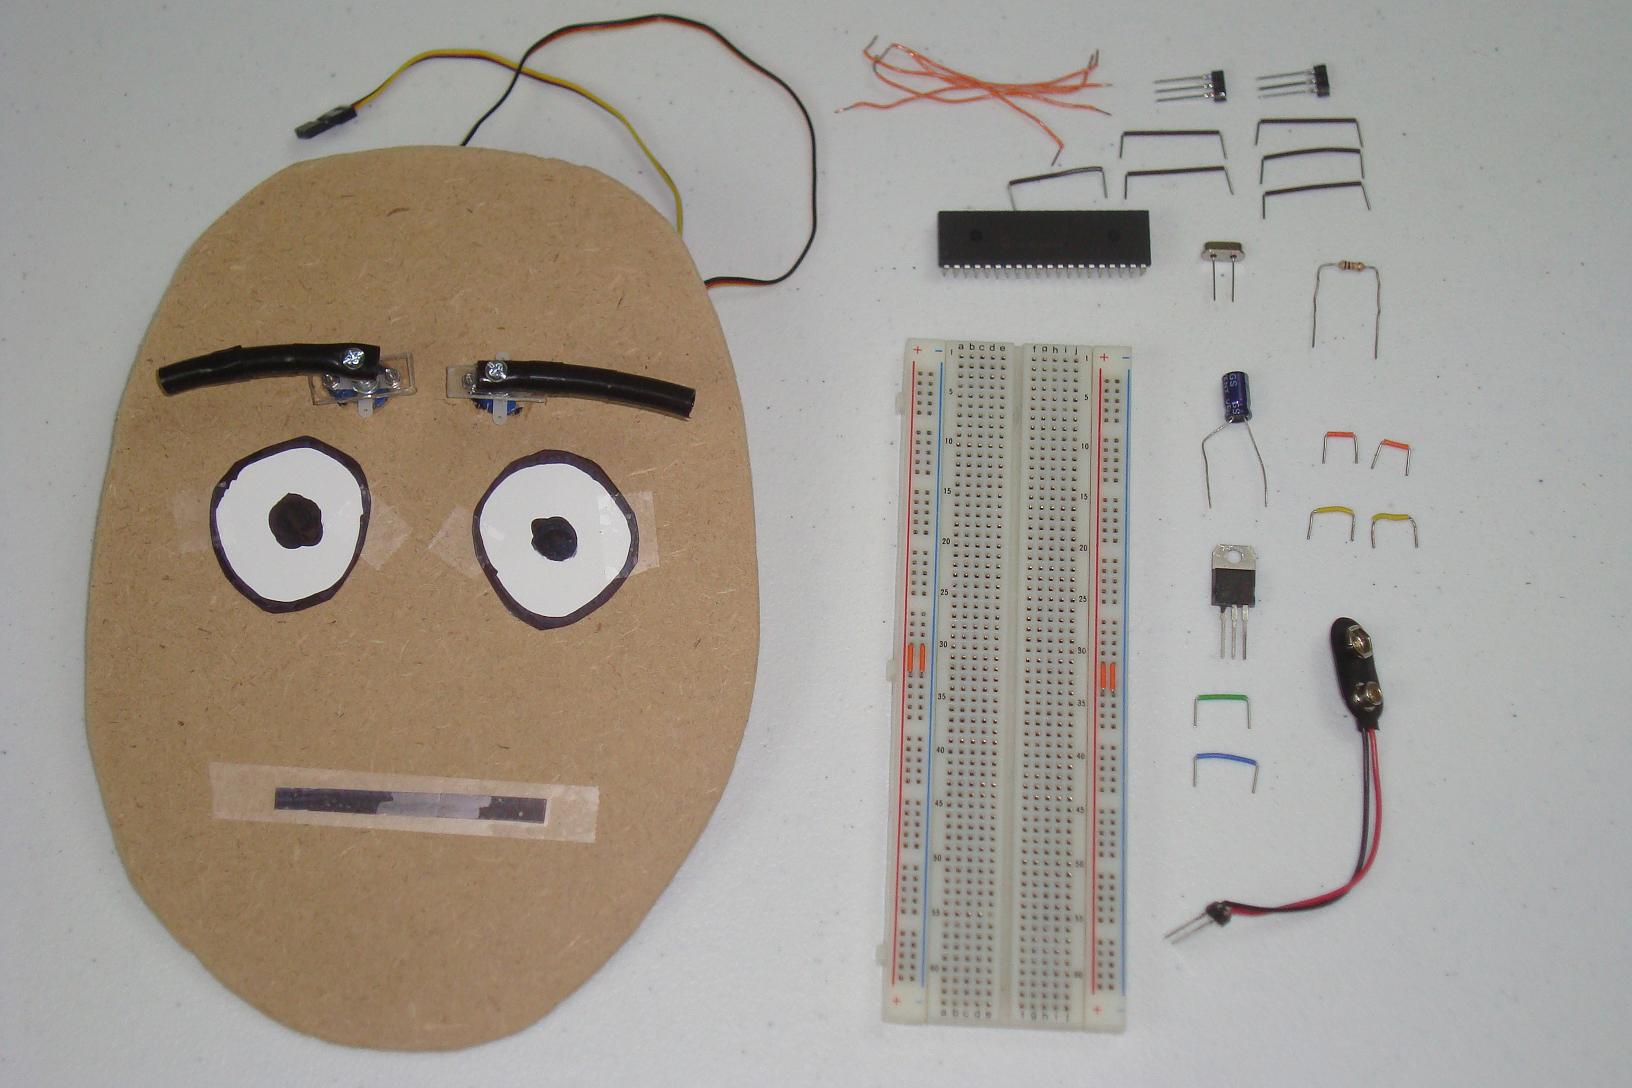
·Now we gather together all of the electrical parts to control the animatronic eyebrows.

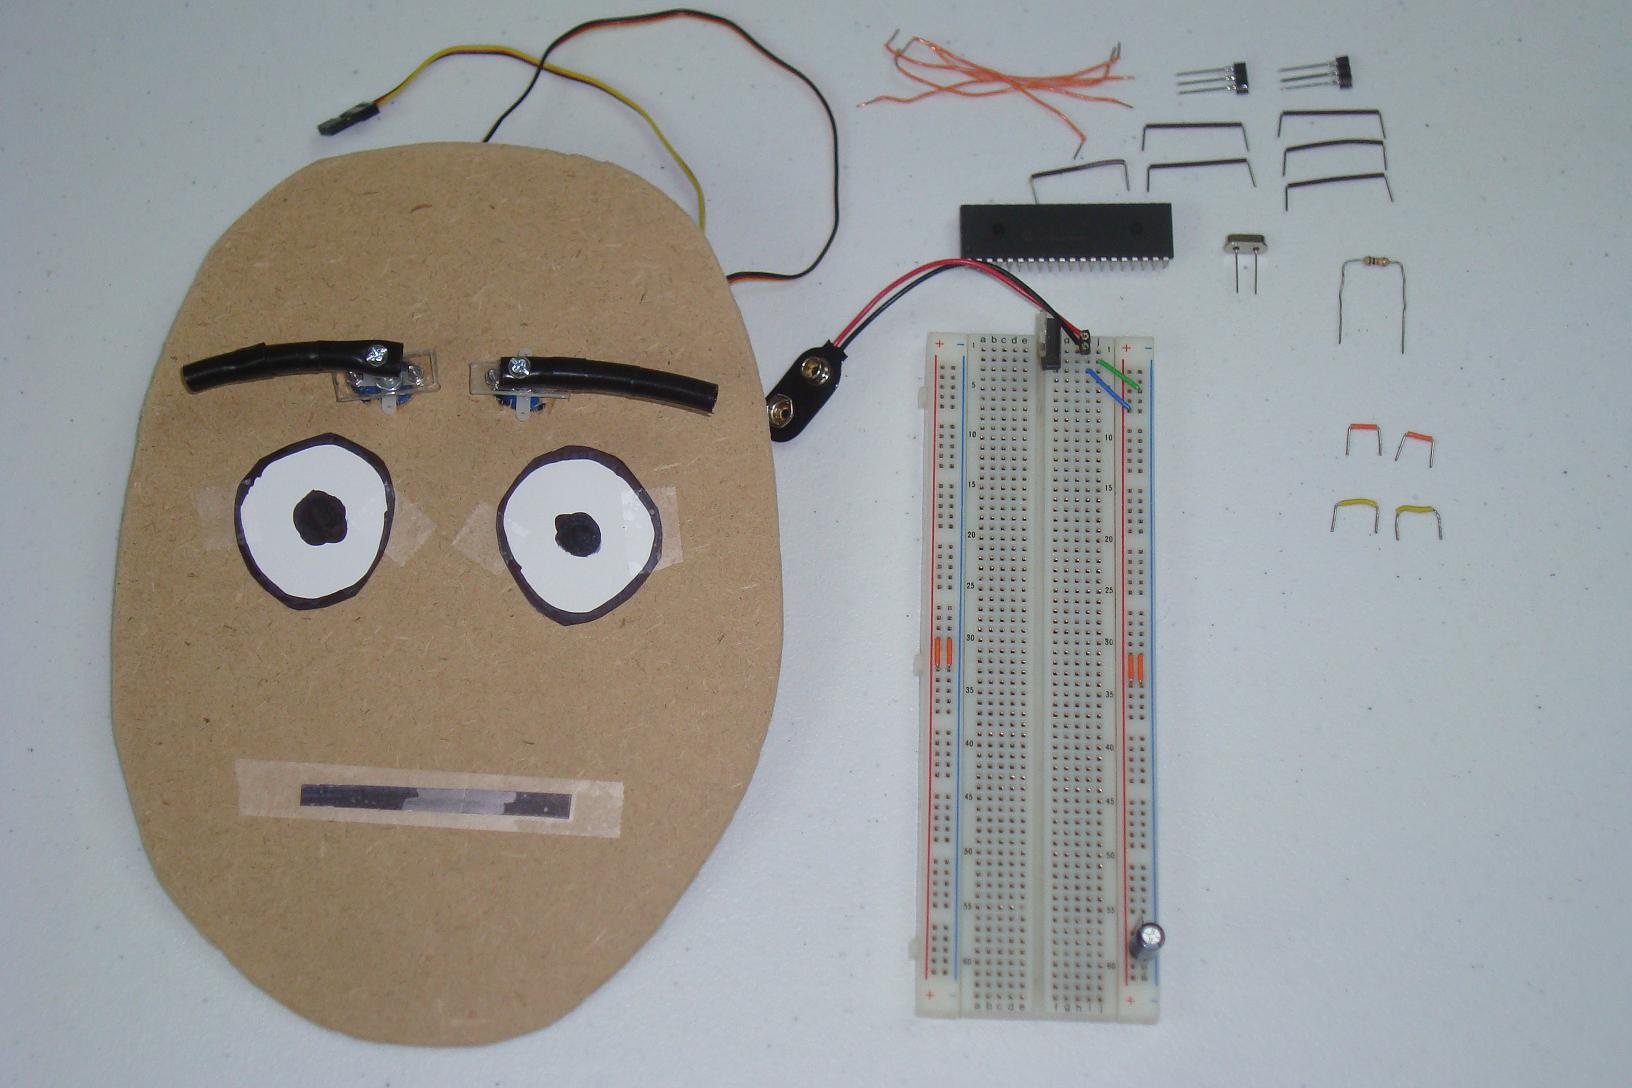
·First the 7805 power regulation circuit is connected on the board.

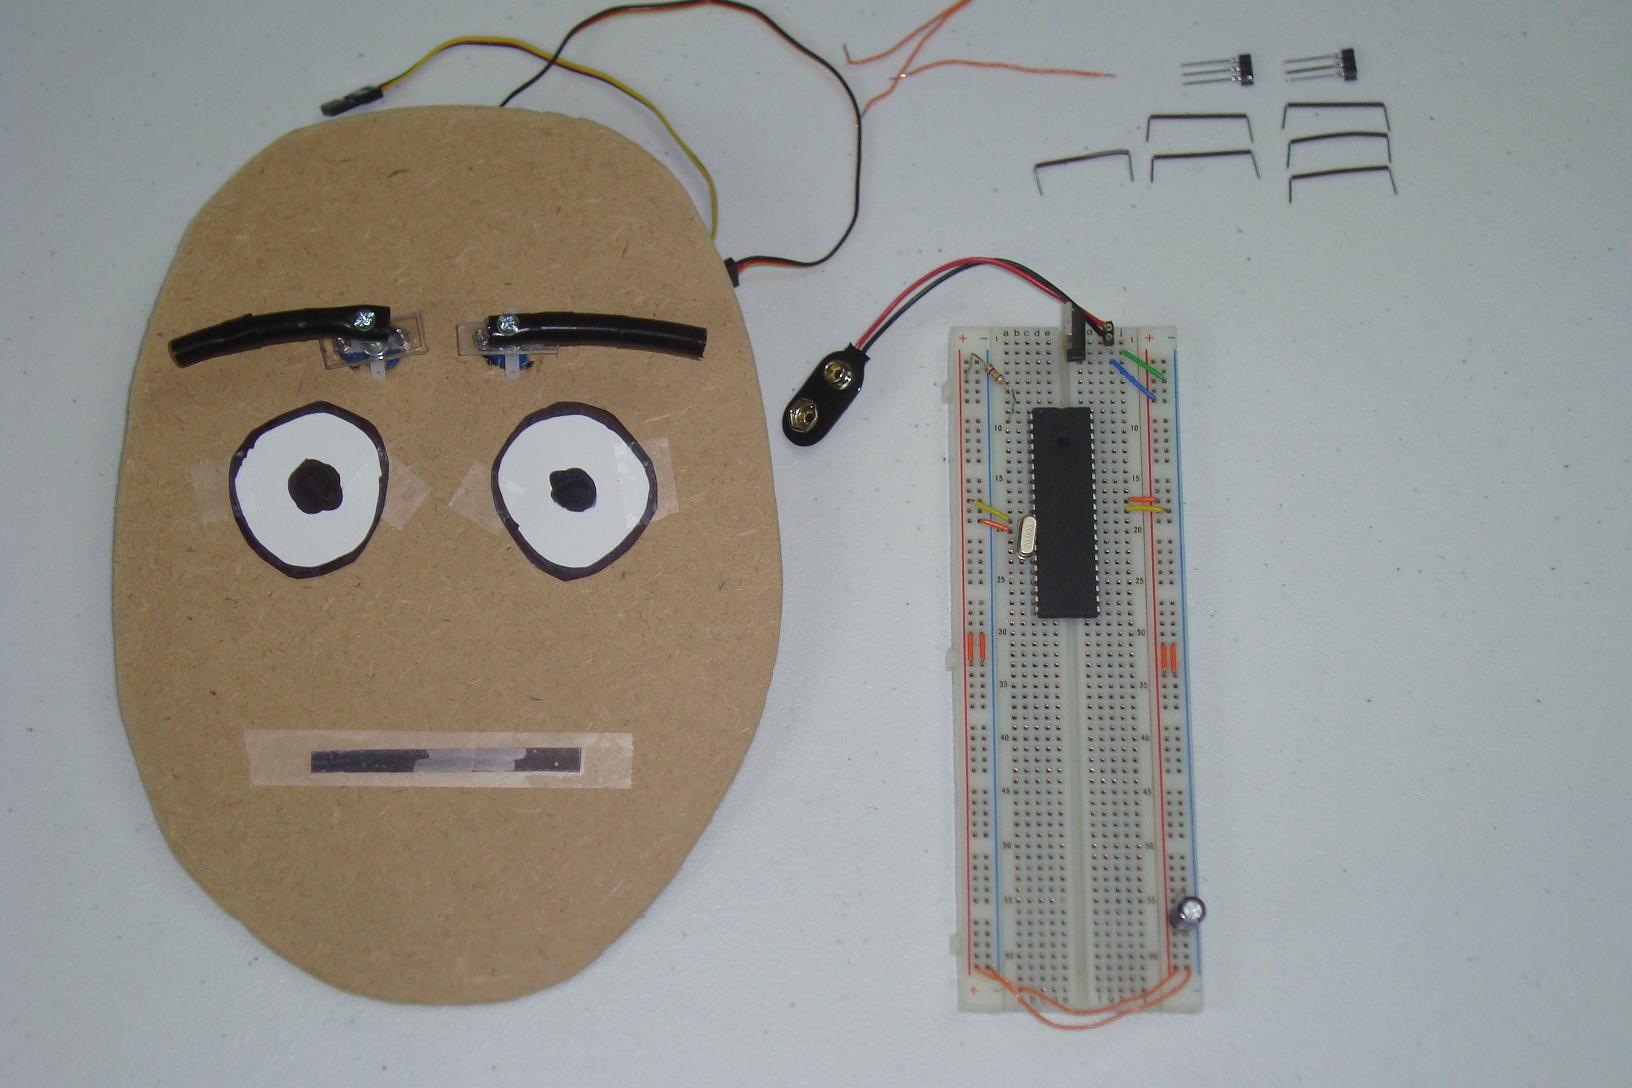
·Next the PIC microcontroller circuit is wired up and connected.

·Lastly, using some SIPs and a few wires, we make the servo connector.
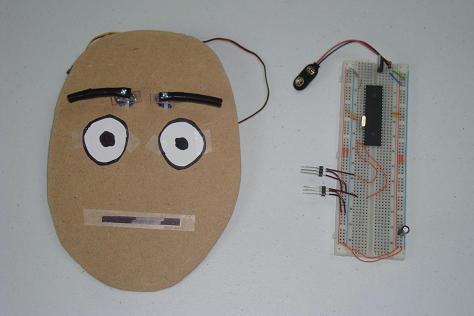
·The servo connectors are connected to the circuit and we're ready to go.
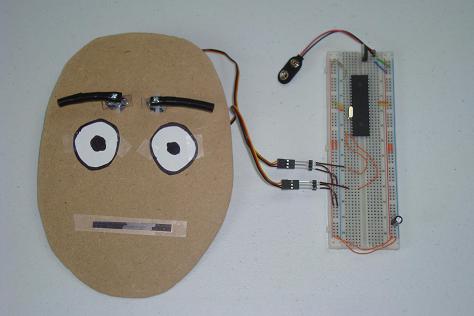
·Now let's take a look at the software, get it downloaded to the PIC and get this system tested!
The electrical side of this project is seemingly easier to do than the hardware side as only a few connections need to be made and built onto the breadboard.
Building The Mock-up Face and Circuit
·Below is a mock-up face for where all the features should go. Mark where the eyebrows should go.
·Two holes are made for the point of actuation of the eyebrows, inbetween the eyes.
·The servos are inserted and held inplace with two screws per servo.
·Makeshift eyes and mouth are added to give the face a blank look.
·Now we gather together all of the electrical parts to control the animatronic eyebrows.
·First the 7805 power regulation circuit is connected on the board.
·Next the PIC microcontroller circuit is wired up and connected.
·Lastly, using some SIPs and a few wires, we make the servo connector.

·The servo connectors are connected to the circuit and we're ready to go.
·Now let's take a look at the software, get it downloaded to the PIC and get this system tested!