Hardware Design
The focus of this article has been purely on the proximity sensor that we'll be adding to our robot. So finally, after all that learning, we are ready to add it to our project. Along with the proximity sensor, some LEDs, resistors and a speaker will be added to the breadboard circuit.
Building The Circuit
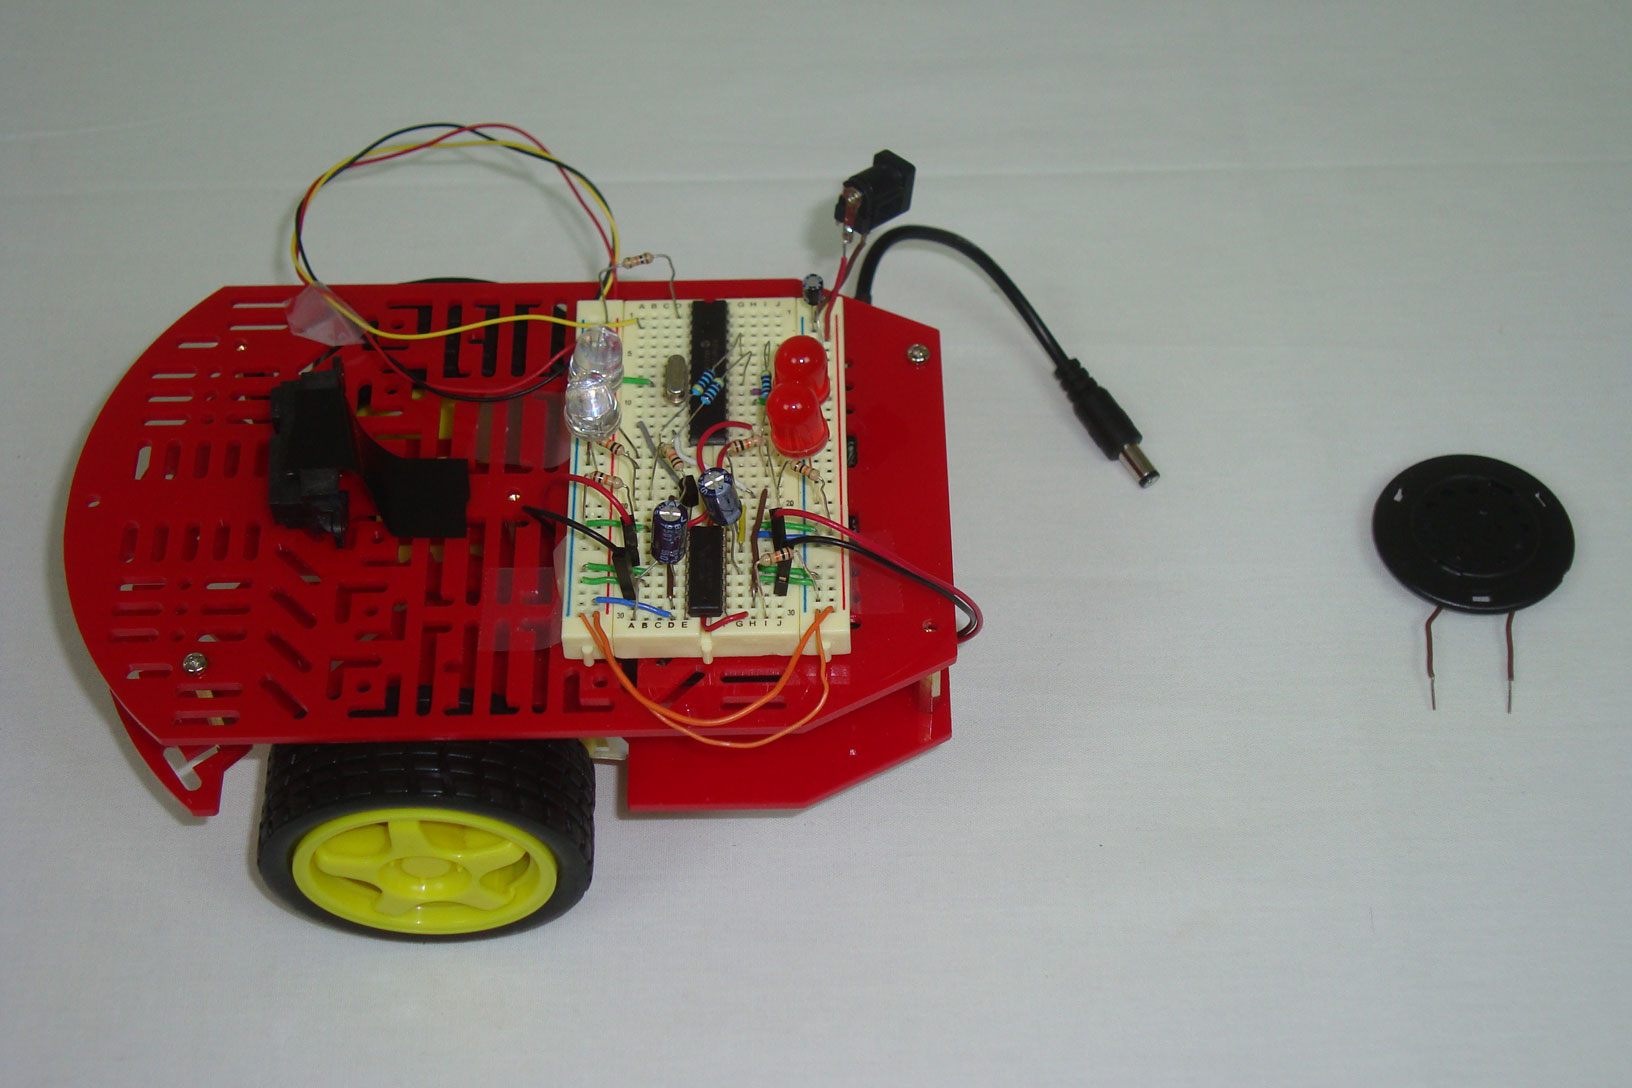
The first photo below, shows you the existing robot platform and the parts that we will add to the breadboard.

·First, the proximity sensor will be connected to power, ground and PIN 2 of the PIC.

·Next, the blue LEDs are added.

·The red LEDs are connected here.

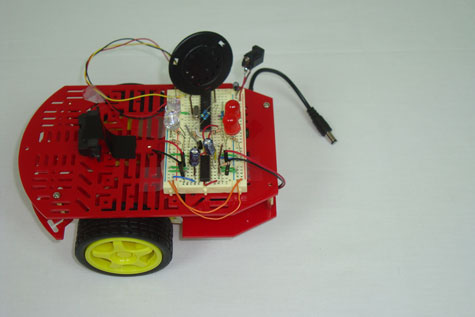
·The last step, is adding our little speaker, connecting it to the PIC and to ground.
·Wasn't that painless? Good, because now comes the harder part, software!
The focus of this article has been purely on the proximity sensor that we'll be adding to our robot. So finally, after all that learning, we are ready to add it to our project. Along with the proximity sensor, some LEDs, resistors and a speaker will be added to the breadboard circuit.
Building The Circuit
The first photo below, shows you the existing robot platform and the parts that we will add to the breadboard.
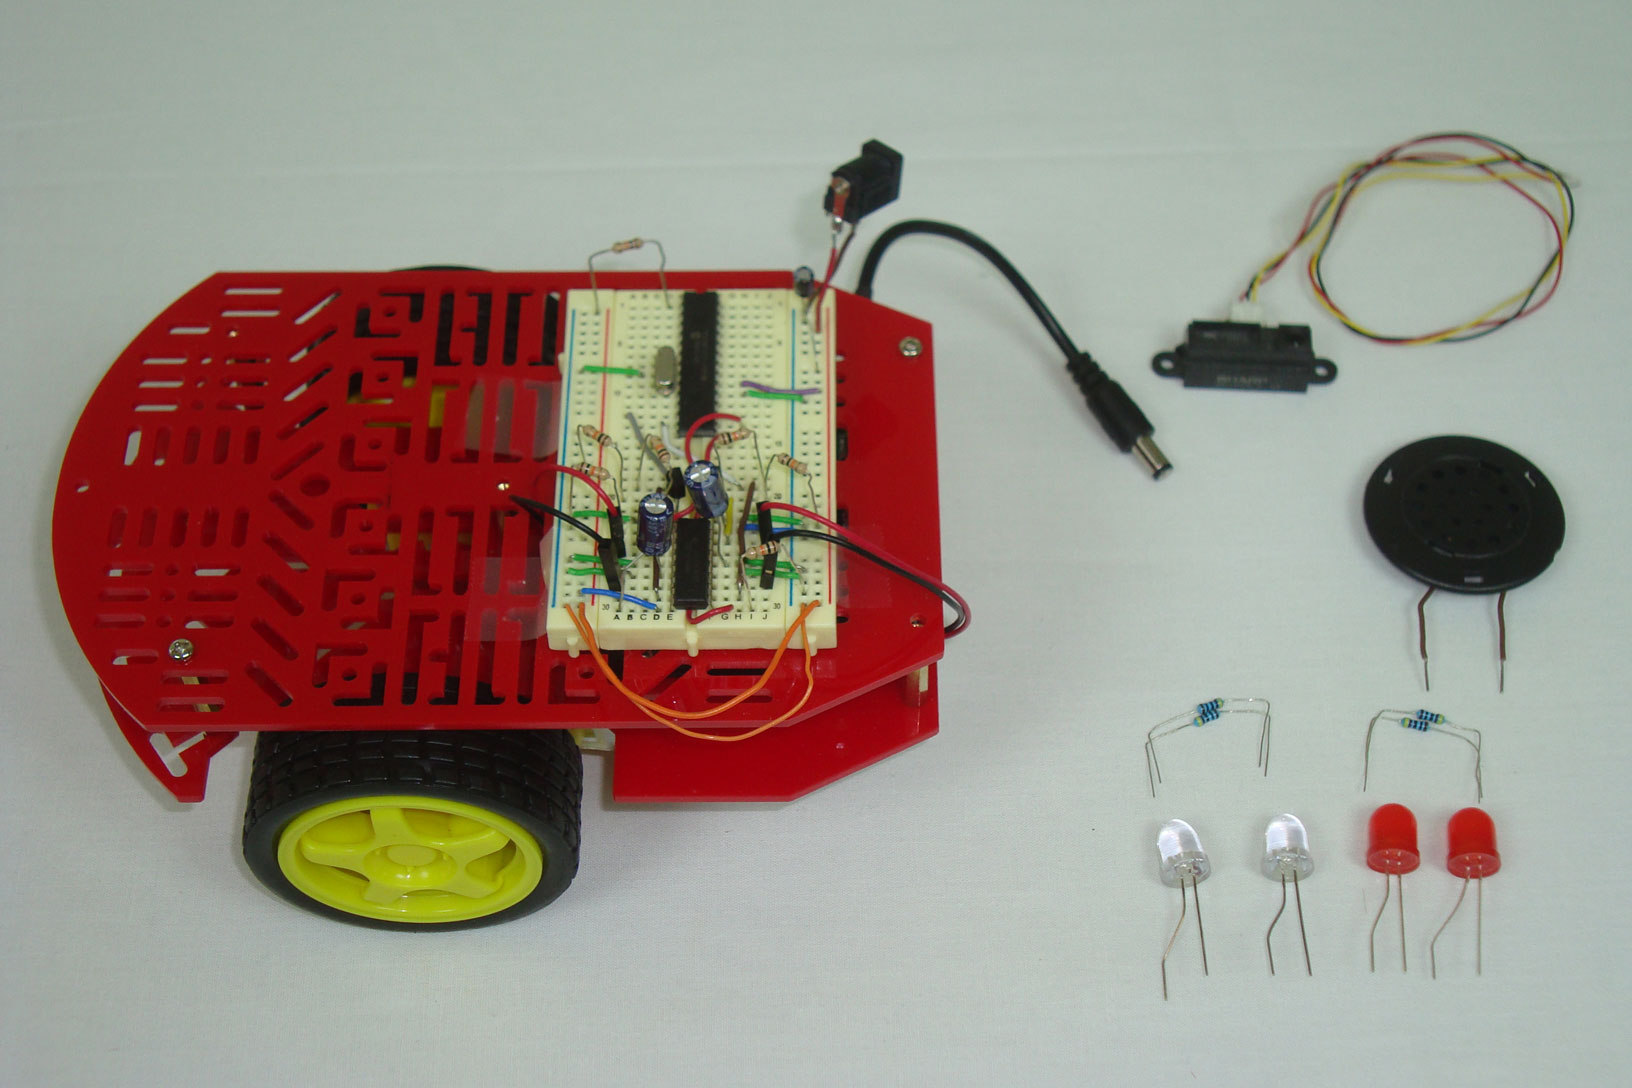
·First, the proximity sensor will be connected to power, ground and PIN 2 of the PIC.
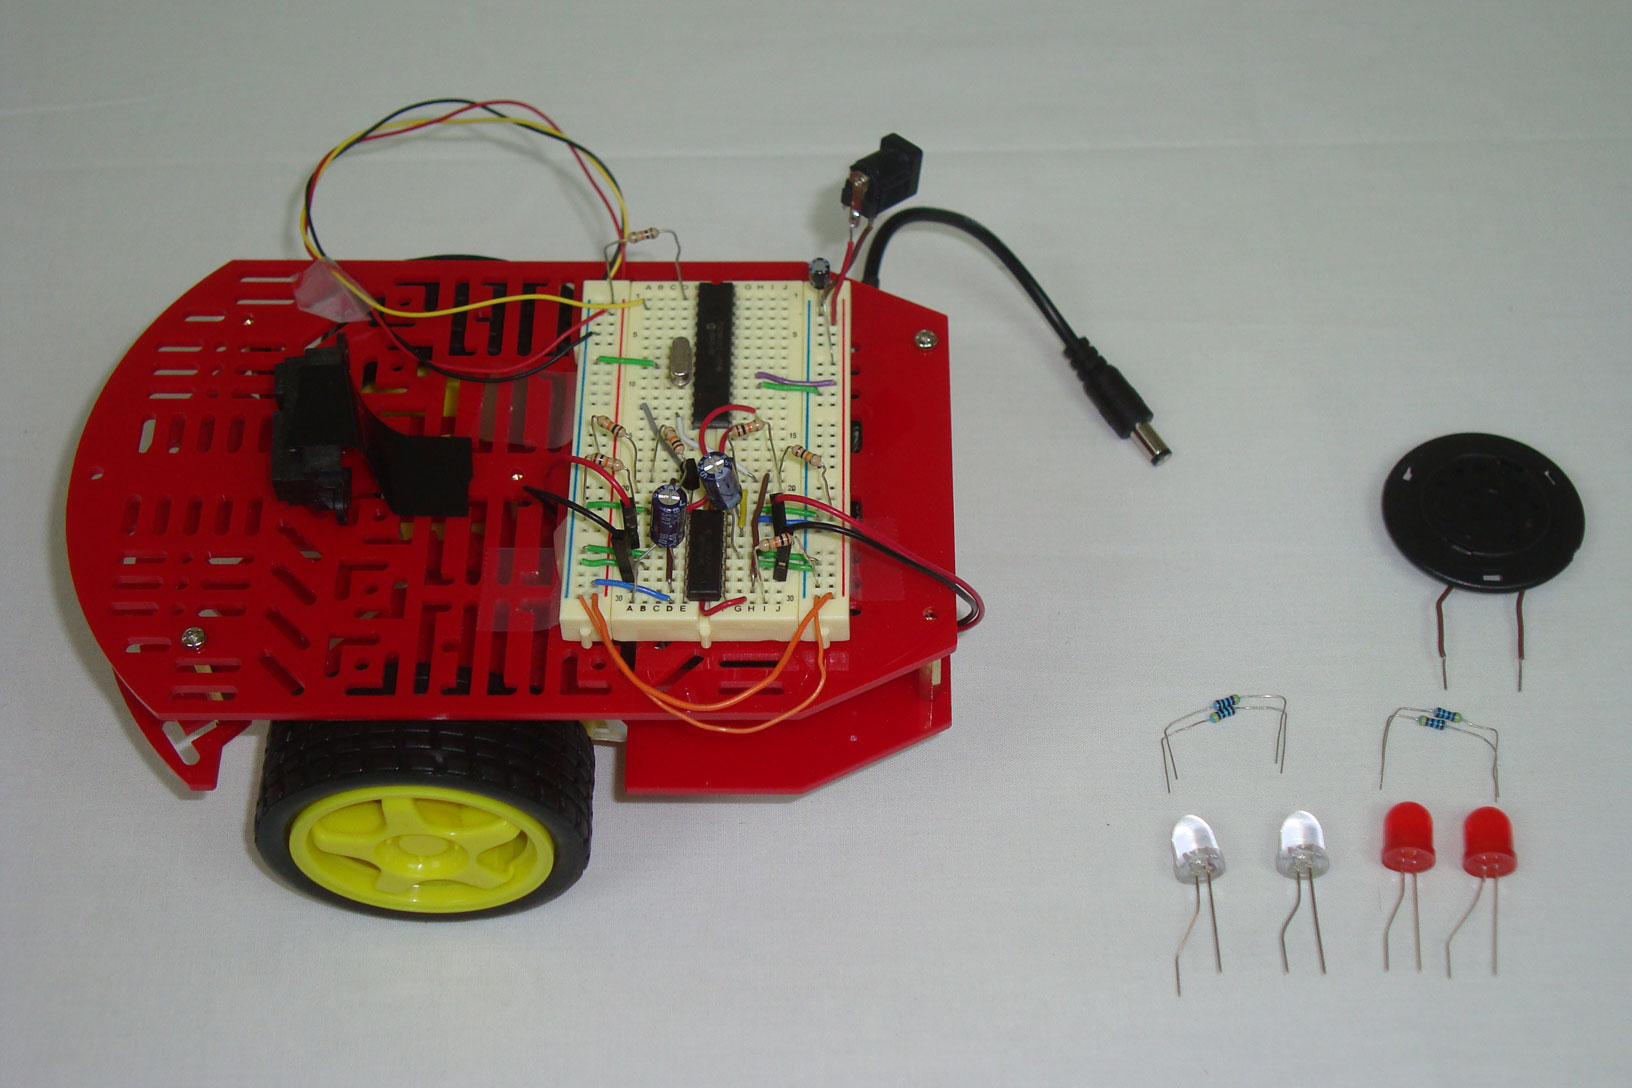
·Next, the blue LEDs are added.
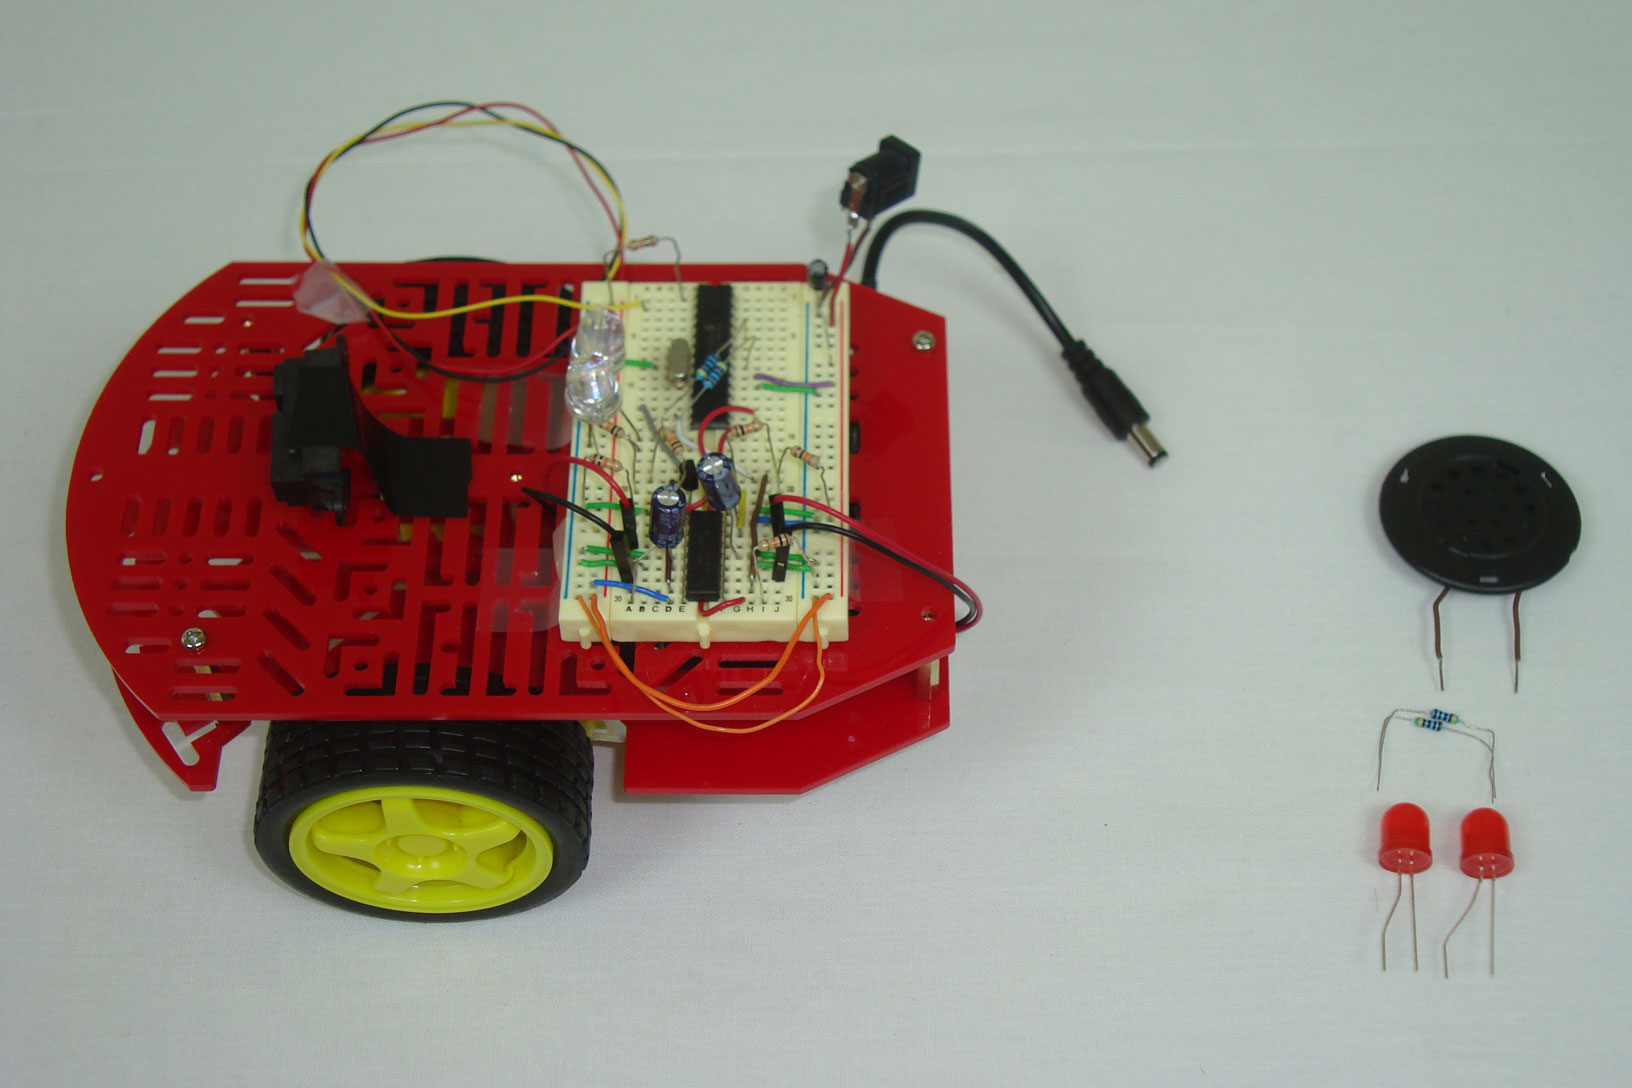
·The red LEDs are connected here.
·The last step, is adding our little speaker, connecting it to the PIC and to ground.

·Wasn't that painless? Good, because now comes the harder part, software!