Project Info
Author: Chris
Difficulty: Easy
Time Invested: 1 Hours
Prerequisites:
Take a look at the above
articles before continuing
to read this article.
Author: Chris
Difficulty: Easy
Time Invested: 1 Hours
Prerequisites:
Take a look at the above
articles before continuing
to read this article.
We have already explored how to control a servo motor using a PIC microcontroller, but this time let's take a look at how to control a servo motor using the Arduino platform. We're not trying to do anything extra-ordinary in this article, just trying to make the servo motor move to the specific angle that we want it to be at and stay there.

Purpose & Overview Of This Project
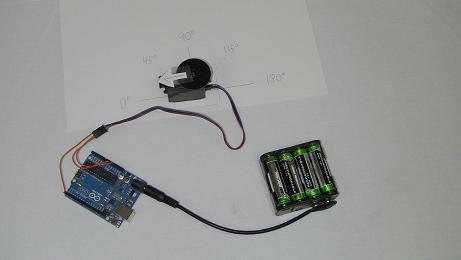
The purpose of this project is to use an Arduino UNO system to control a standard hobby servo motor. The control will be in the form of moving the motor to specific angles, like 0°, 90° and 180°. Most hobby servos will be compatible with the control method used in this article, however to be sure, only use Futaba or Hi-Tec brand servo motors with the control method set forth in this article.
To control the servo motor we will require 3 signals from the Arduino UNO, a power signal, ground signal and PWM signal. The PWM signal will come from one of the Arduino's digital output pins and will tell the servo motor where it should move to. Luckily the Arduino platform offers specific software libraries that make the software side of this project a breeze, so if you're scared of programming, don't fear, this one isn't too bad!