MySQL is the most popular open source relational database management system to date. When talking about MySQL, you should pronounce it "My S-Q-L." Some individuals call it "My Sequel," but they probably also think peanut butter and the bitmap image format introduced by CompuServe are the same. Don't let these people fool you, the official pronunciation is "My S-Q-L" and to think otherwise would be uncivilized. With that important detail out of the way, it's time to install.
Install MySQL
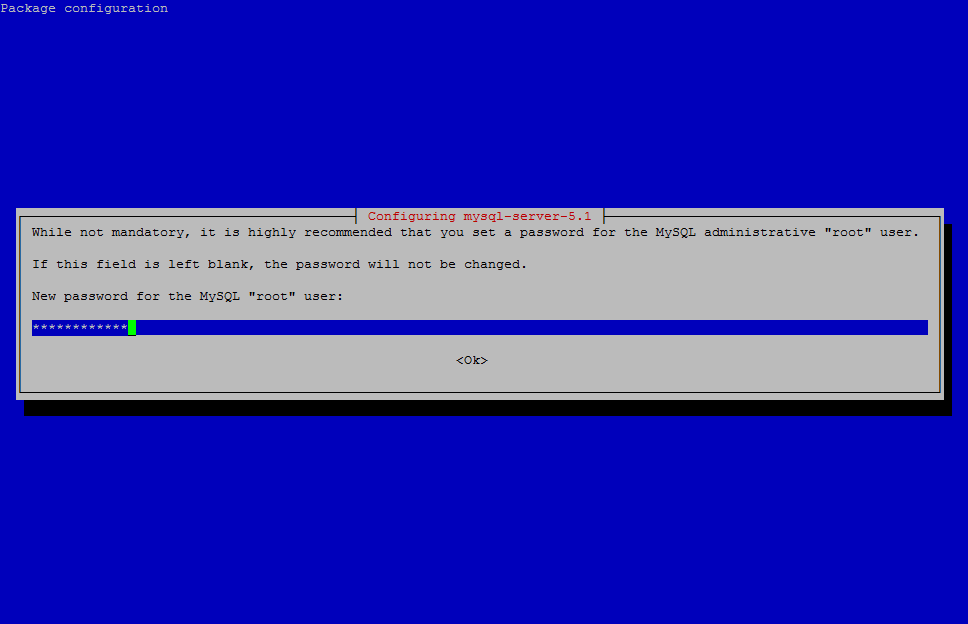
ben@pyro-dev:~$ sudo apt-get install mysql-server
After installing MySQL, we are going to run a program called mysql_secure_installation to improve its security. You can answer "yes" to all its prompts, although it is not necessary to re-set the root password since we already did.
Secure MySQL Installation
ben@pyro-dev:~$ sudo mysql_secure_installation
Next, let's create a new user, an example database, and grant the proper privileges. To do this, we will need to log in to MySQL and issue a few commands.
MySQLben@pyro-dev:~$ mysql -u root -p mysql> create user 'ben'@'localhost' identified by 'mypass'; mysql> create database pyroelectro; mysql> grant all on pyroelectro.* to 'ben'@'localhost'; mysql> quit;
Our database is now set up and our user has privileges to do anything and everything with it. If you are unfamiliar with MySQL, please feel free to visit their online documentation at http://dev.mysql.com/doc/refman/5.5/en/tutorial.html. While it is beyond the scope of this article, we highly recommend studying and experimenting with databases, as they are a valuable tool in web development. With MySQL installed and configured, let's move on to PHP.