First, we need to install Linux on our machine. Head over to http://www.debian.org/distrib/ to download Debian in whichever format you prefer. We will be using the 64-bit small installation image for this article. Burn it to a CD, insert it into the computer you plan to use for your web server, and fire it up!
The installation process for Debian is pretty straightforward, but we will go through some of the important steps in detail to help those who have never installed Linux before. If you have installed Linux before, you may skip to the Configure Debian step below. Also, please note we are using a separate machine to install on. If you do not have access to a separate machine, you can use a Virtual Machine.
The first steps are pretty obvious. Select "Install" and follow the screens to set your location, keyboard layout, hostname (we chose "pyro-dev"), domain (we left it blank), passwords, username, and time zone.
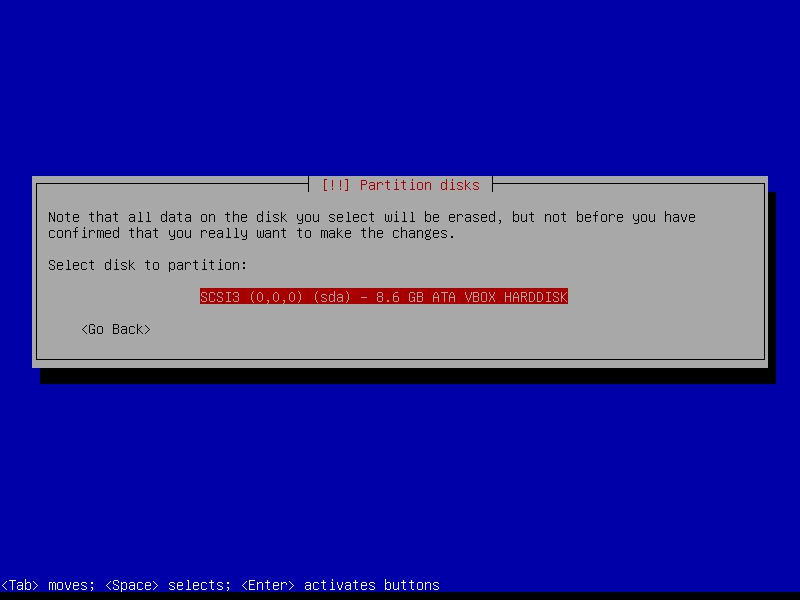
Partition The Disk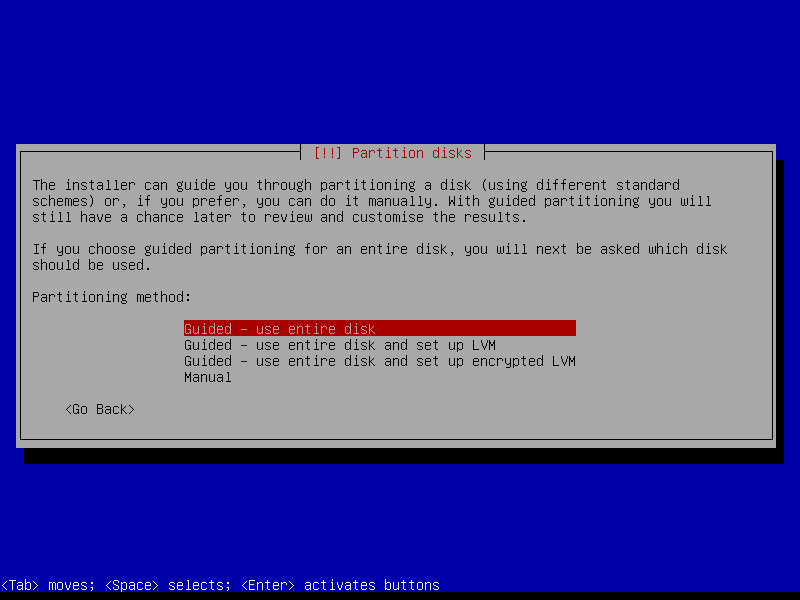
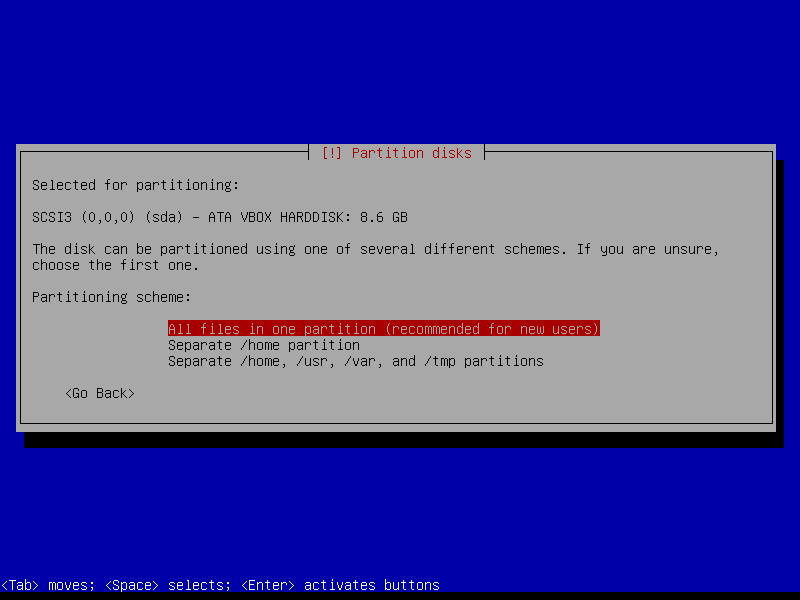
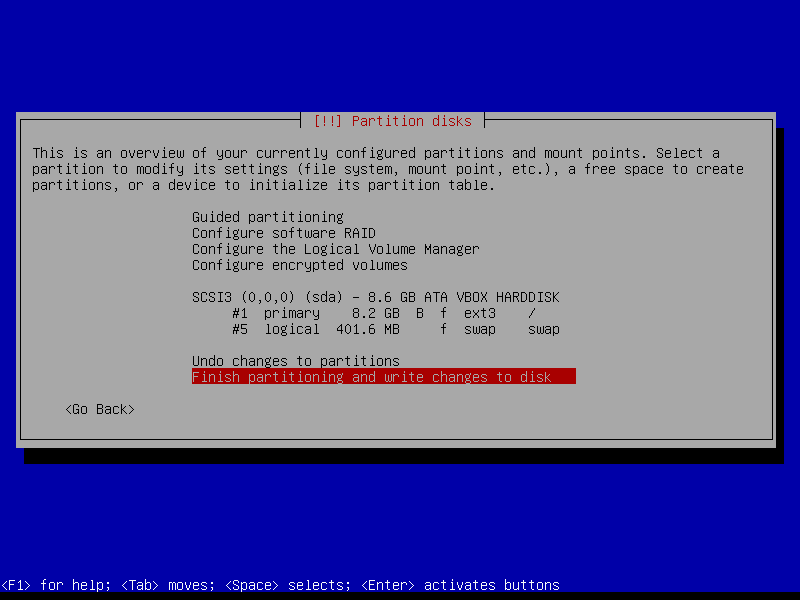

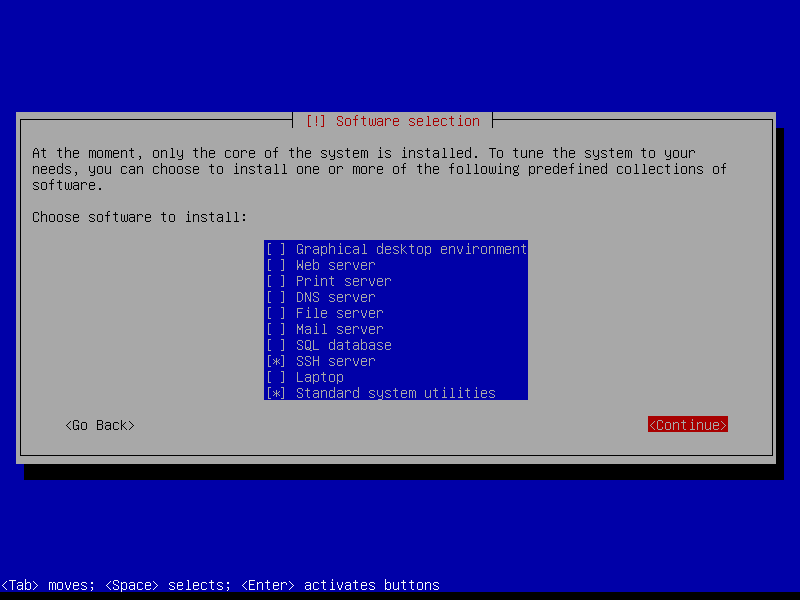
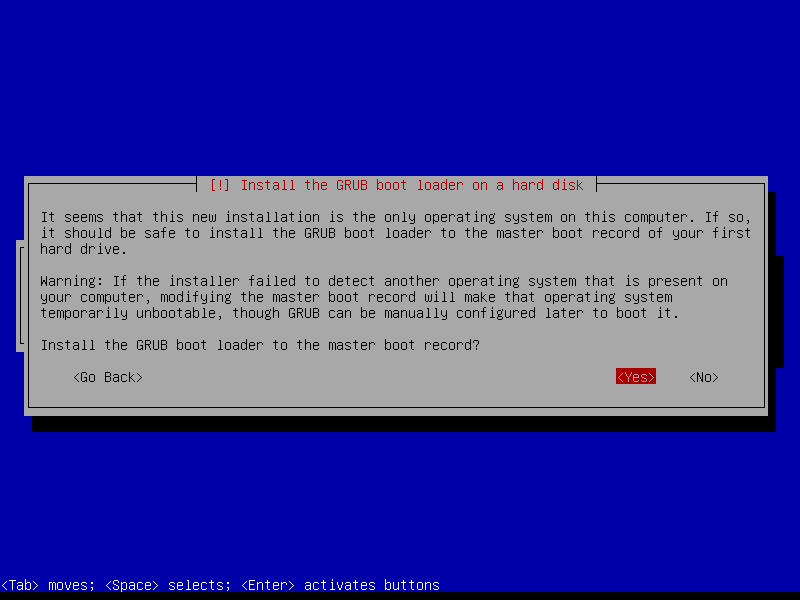
Once the partitioning is done, you can pretty much just hit ENTER until you reach the software selection screen. Once there, we want to remove any selections that are chosen by default by hitting the SPACEBAR while they are highlighted. We only want to install the Standard System Utilities and the SSH Server.
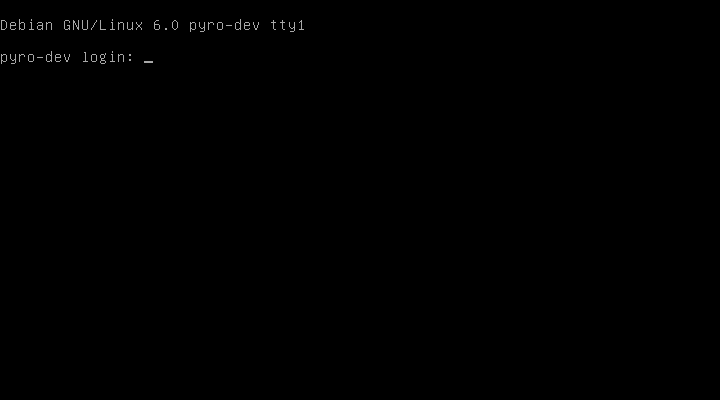
After logging in, we will install sudo and add our user to its group to allow us to run commands on the system as the root user. If you'd like to understand why this is important, please head over to http://wiki.debian.org/sudo to learn about sudo.
Install sudo and exit superuserben@pyro-dev:~$ su Password: root@pyro-dev:/home/ben# apt-get install sudo root@pyro-dev:/home/ben# adduser ben sudo root@pyro-dev:/home/ben# exit
Now that we have sudo installed and configured for our user, we can continue installing some other useful packages. Since we have no Graphical User Interface for our server, we need a command line text editor: our favorite is vim. Then, we will synchronize the web server's clock with the Internet using ntp (Network Time Protocol).
Install vim and ntpben@pyro-dev:~$ sudo apt-get install vim ben@pyro-dev:~$ sudo apt-get install ntp ntpdate
Next, let's get Apache installed!