Hardware Design
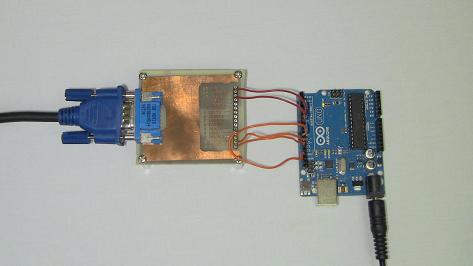
Look out! This is probably one of the easiest circuit assemblies I have ever written about. Grab your Arduino UNO, jumper wires and VGA connector and get connecting!
Building The Complex Circuit
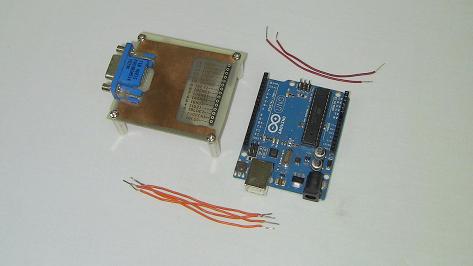
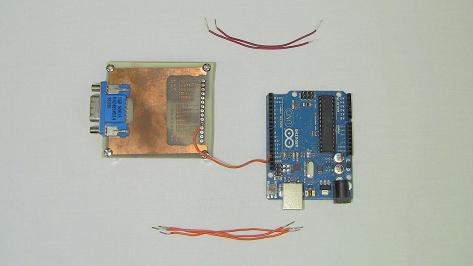
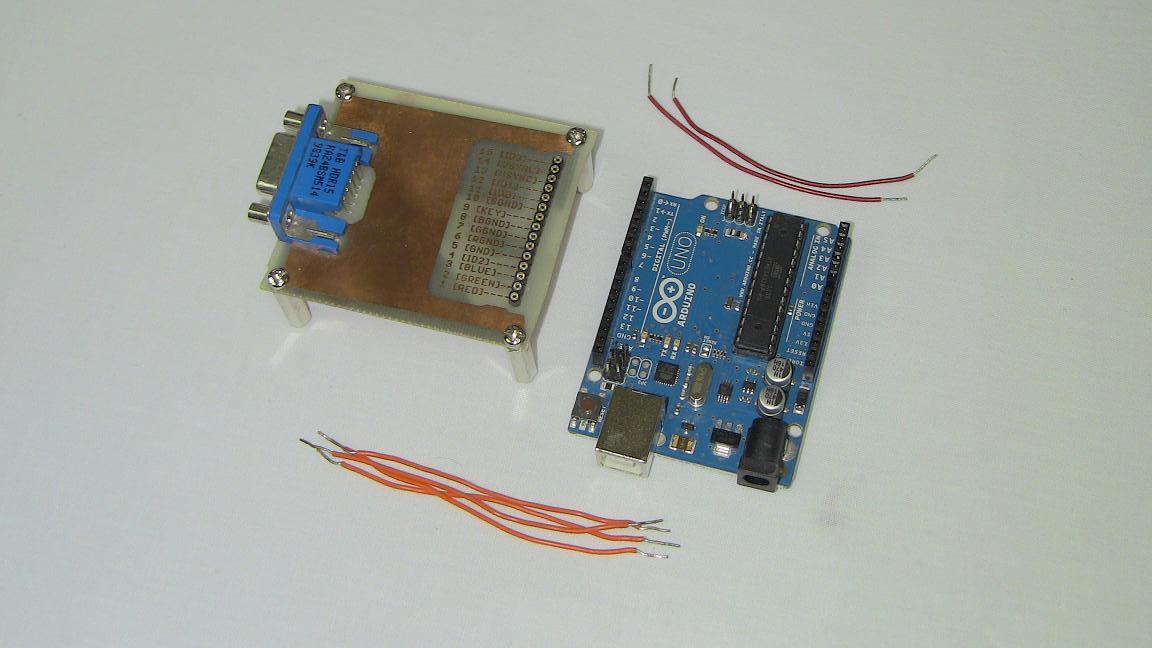
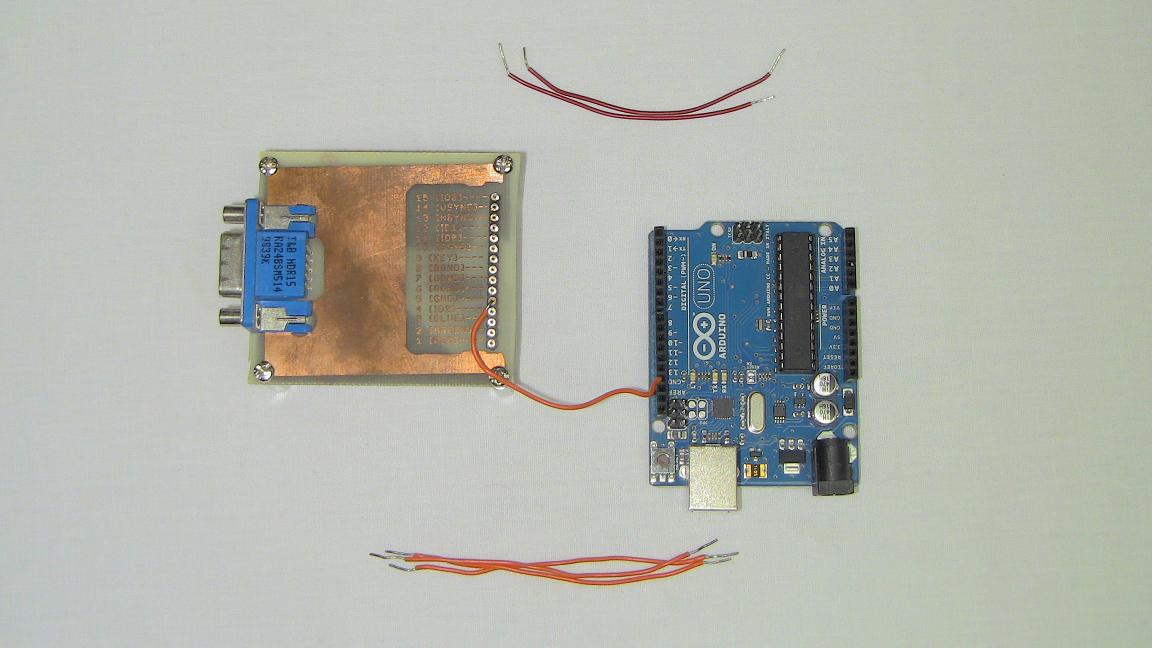
Below you can see all the parts necessary to get started wiring the circuit up exactly as you saw in the schematic details.
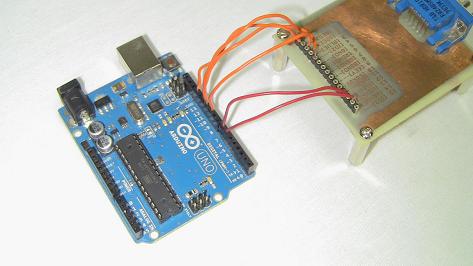
·First the single ground connection is made to PIN 5 of the VGA connector.
·Next the three color pins, Red, Green and Blue are connected over.
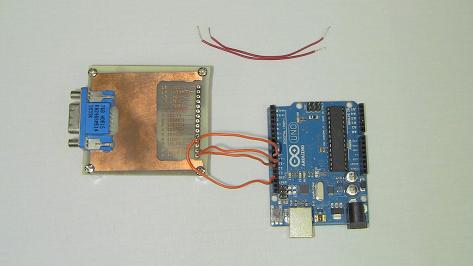
·Finally, the Hsync and Vsync connections are made so that the monitor can catch what resolution an timing you want to display to it.
·The breakout board I'm using is from the Masochist's Video Card project. Go check it out to see how the breakout board was made.
·Harware is connected, let's move to software mode and see how everything is done.
Look out! This is probably one of the easiest circuit assemblies I have ever written about. Grab your Arduino UNO, jumper wires and VGA connector and get connecting!
Building The Complex Circuit
Below you can see all the parts necessary to get started wiring the circuit up exactly as you saw in the schematic details.
·First the single ground connection is made to PIN 5 of the VGA connector.
·Next the three color pins, Red, Green and Blue are connected over.

·Finally, the Hsync and Vsync connections are made so that the monitor can catch what resolution an timing you want to display to it.

·The breakout board I'm using is from the Masochist's Video Card project. Go check it out to see how the breakout board was made.

·Harware is connected, let's move to software mode and see how everything is done.