An Overview Of The Arduino VGA via Interrupts
Interrupts are a great tool that most microcontrollers have. They offer us a way to perform exact timing based off of changes, timing flags and conversion flags. In this article we used a single timer to interrupt every 3.2uS which let us know the Hsync had finished and it was time to output VGA signals again. While this method didn't give the main loop much time to execute code, it was okay since we only had some simple if statements in the main loop to determine output color.
What To Do Now
If you want to make something more advanced with VGA output, then I suggest moving into AVR assembly so that you can really get the timing down perfectly and get the maximum performance out of the Arduino platform. Other than that, outputting VGA signals with C code @ 16 MHz is a pleasantry but not meant to be high performance. So if you choose to continue VGA development with Arduino C, good luck! But I suggest poking around in AVR assembly.
Conclusion
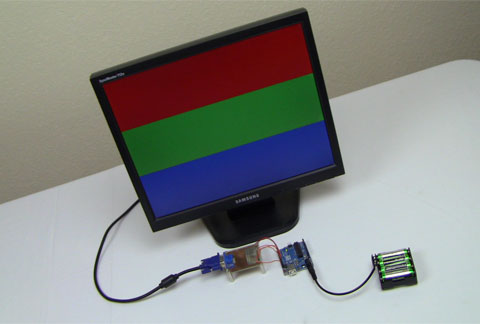
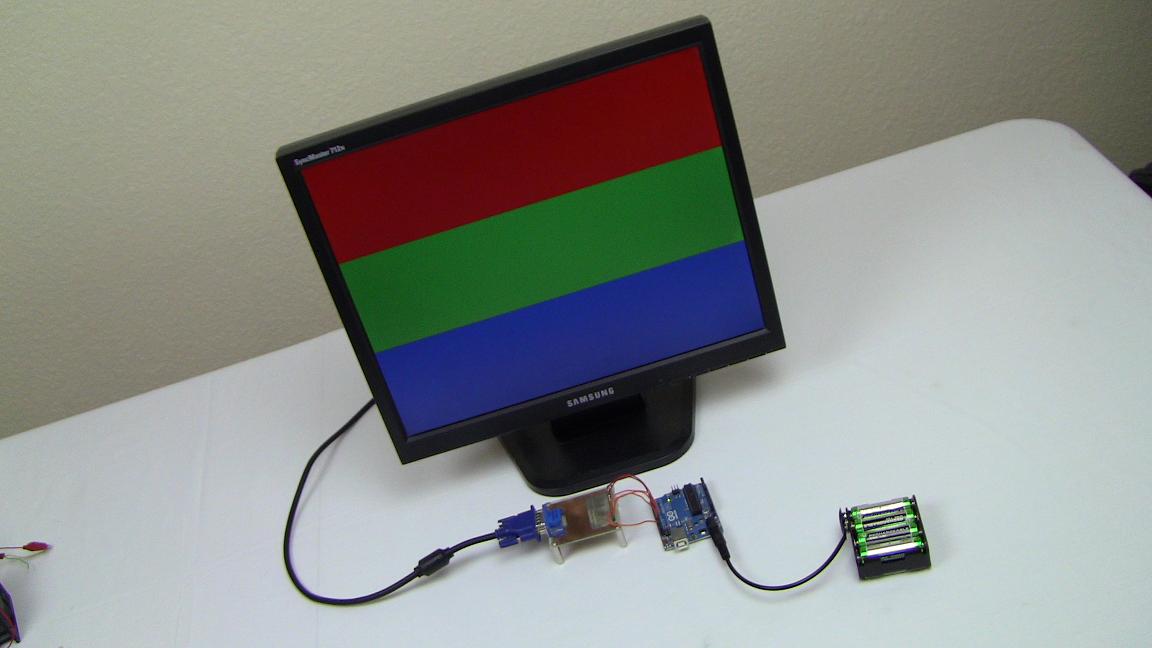
The main goal of this article was to duplicate the results from the original Arduino VGA article, but to do so using timer interrupts instead of with tons of loops in the main section of our software. The interrupts did their job in this case and the VGA timing was met as was verified by the video in the data section. While perhaps not the most interesting outcome, it's important to understand that if you are able to create a system like this, you're ready to output control signals to virtually any time sensitive system in the microsecond and sub-microsecond range, a great leap forward!
If you have any further questions, I implore you...don't be shy, take a look at the forums or ask a question there. I check them out regularly and love getting comments & questions.
Interrupts are a great tool that most microcontrollers have. They offer us a way to perform exact timing based off of changes, timing flags and conversion flags. In this article we used a single timer to interrupt every 3.2uS which let us know the Hsync had finished and it was time to output VGA signals again. While this method didn't give the main loop much time to execute code, it was okay since we only had some simple if statements in the main loop to determine output color.
What To Do Now
If you want to make something more advanced with VGA output, then I suggest moving into AVR assembly so that you can really get the timing down perfectly and get the maximum performance out of the Arduino platform. Other than that, outputting VGA signals with C code @ 16 MHz is a pleasantry but not meant to be high performance. So if you choose to continue VGA development with Arduino C, good luck! But I suggest poking around in AVR assembly.
Conclusion
The main goal of this article was to duplicate the results from the original Arduino VGA article, but to do so using timer interrupts instead of with tons of loops in the main section of our software. The interrupts did their job in this case and the VGA timing was met as was verified by the video in the data section. While perhaps not the most interesting outcome, it's important to understand that if you are able to create a system like this, you're ready to output control signals to virtually any time sensitive system in the microsecond and sub-microsecond range, a great leap forward!
If you have any further questions, I implore you...don't be shy, take a look at the forums or ask a question there. I check them out regularly and love getting comments & questions.